Saturday 26 March 2016

Let Leonie loose samples continued

Morning everyone. It's a grey old day here in the borough - which may not be a bad thing. I don't need to be distracted by the weather - I have designing to get on with today, and deadlines to meet :)

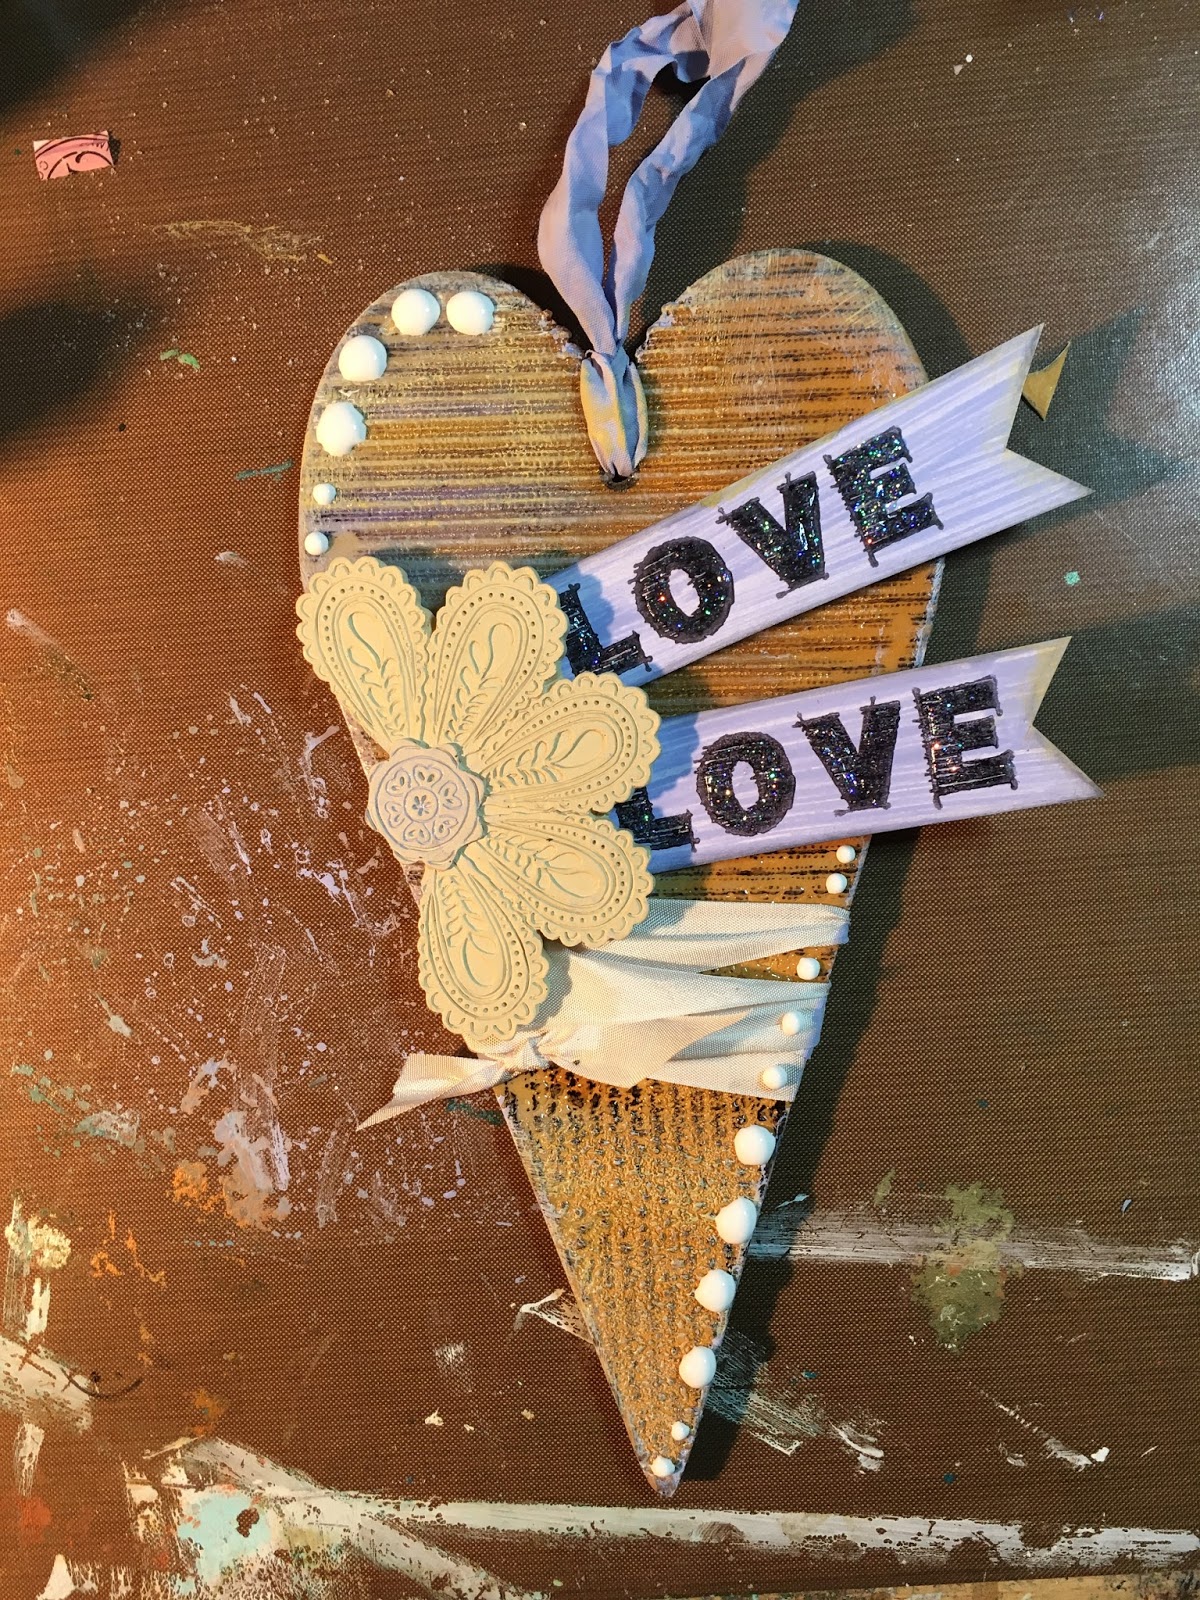
I forgot to share this photo the other day:

This was one of the scenes created in the pan. I haven't quite mastered Frans amazing technique yet for this one - but I'm pretty chuft with it. I created in the same way as the scenes posted a couple of days ago, so please check back if you missed that one.

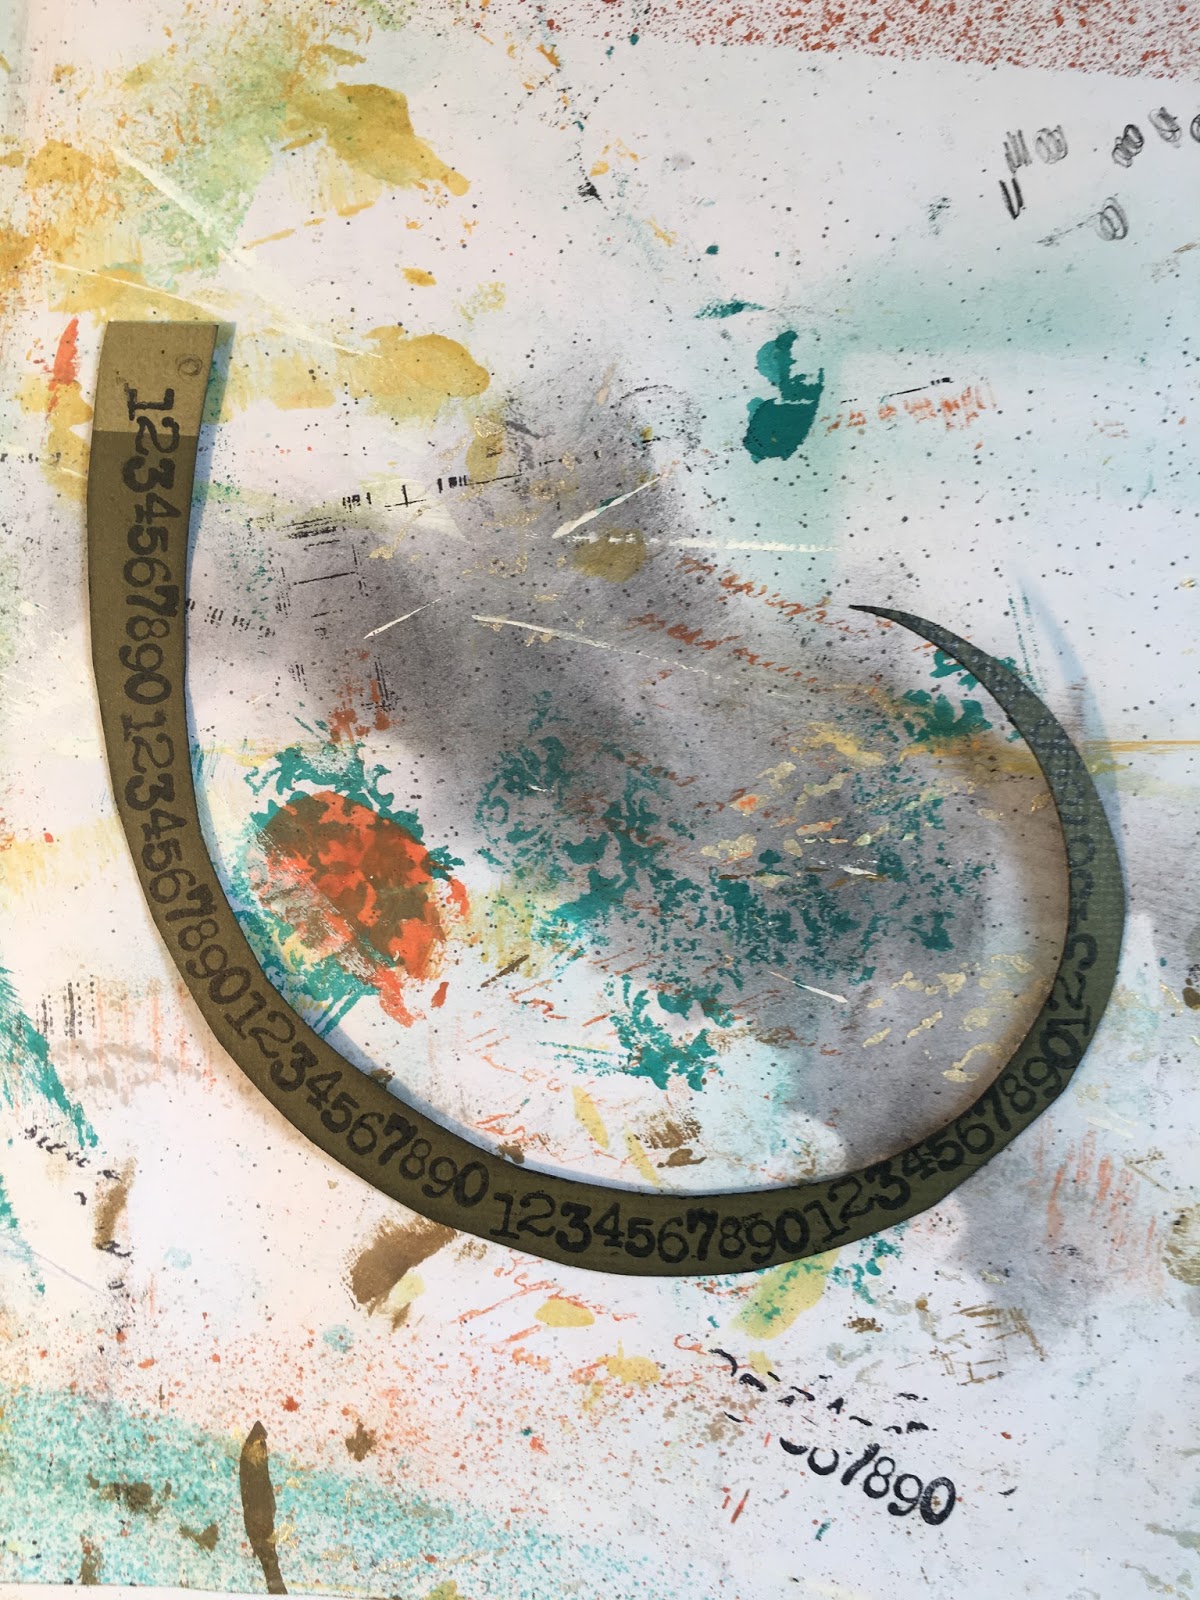
In the show I also used some really beautiful stamps, for my main image and to stamp into the molten embossing powder. It makes a wonderful effect:


This can be done with the heat gun. I like the white one for this technique, which looks similar to a hair dryer, as it's not as quick and forceful as the heat tool, so you don't blow the powder away.

Start with a layer of versamark, and add a layer of your clear embossing powder. Emboss until it's melted, and then add another layer. I added 2 layers of clear then started sprinkling on the colour. You can add as many colours as you wish.

Ink up the stamp, either with clear or coloured ink, and then stamp into your powder when it's nice and melted. Hold the stamp for a few moments, then gently pull out of the embossing powder. The effects are stunning.

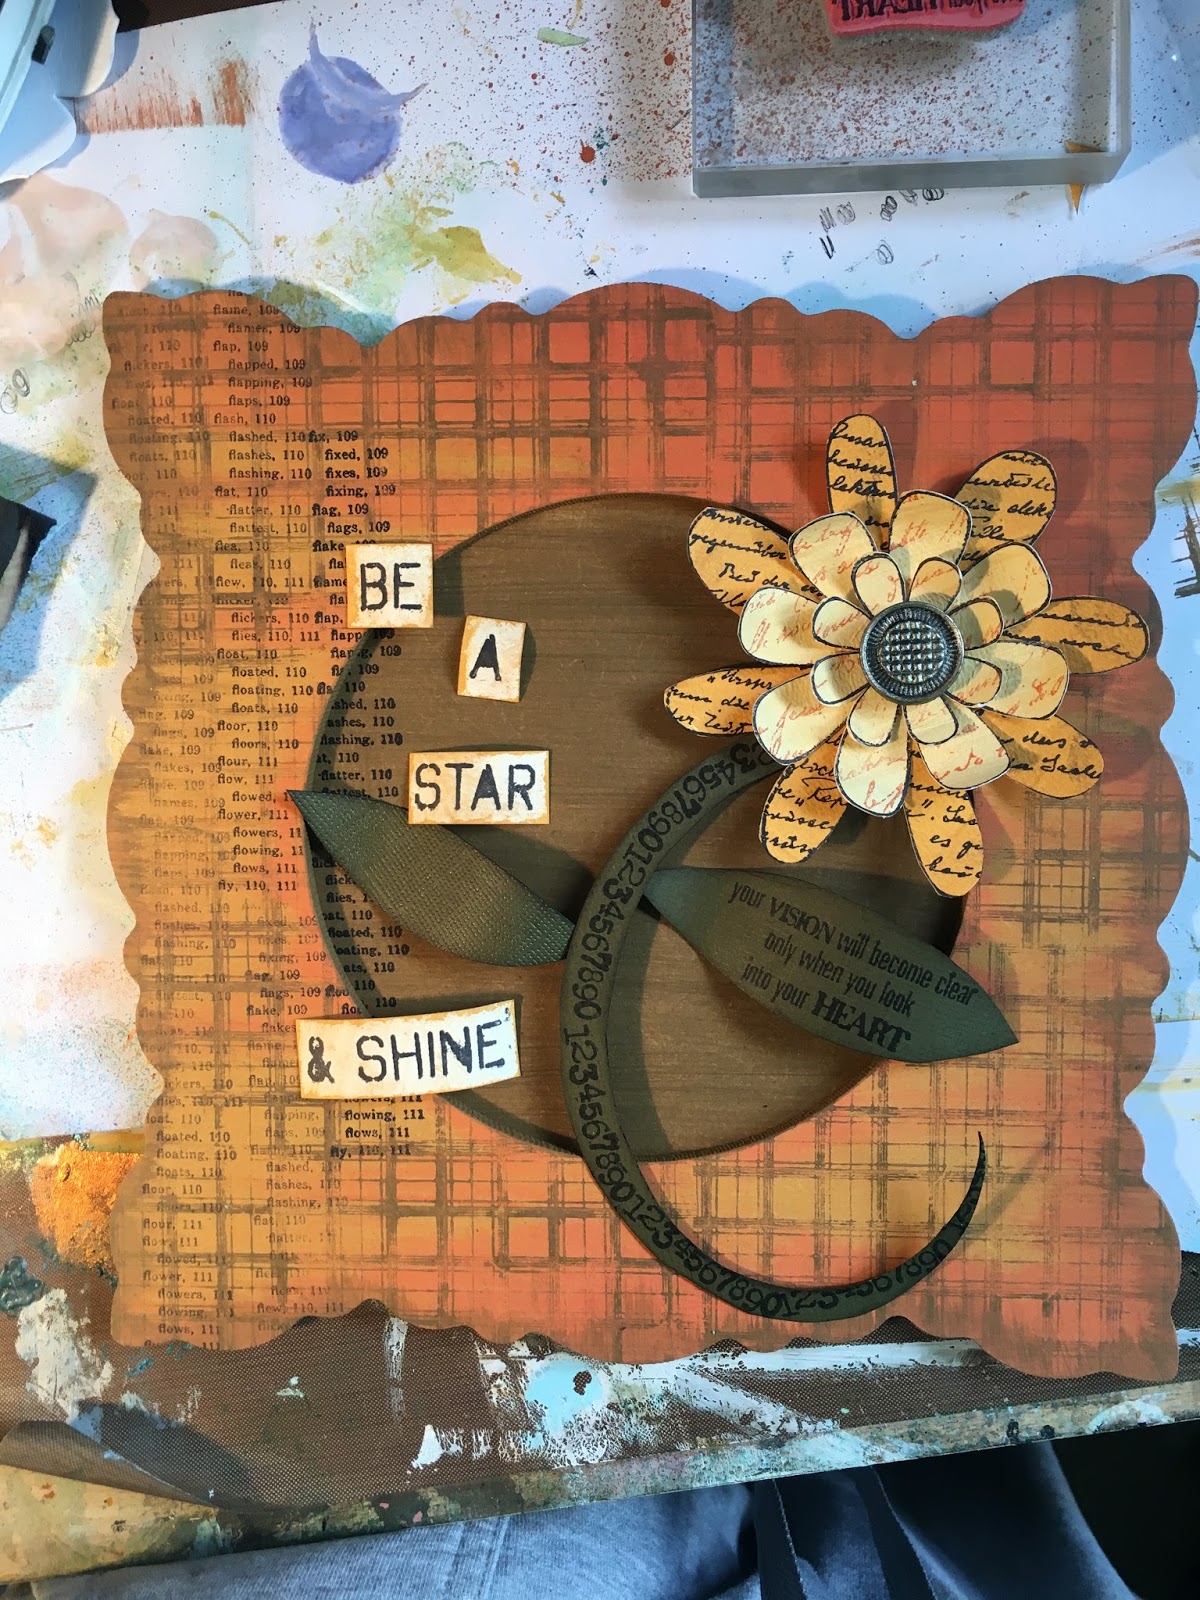
I'll share the other one i did tomorrow, as I haven't taken a photo of it for some reason.

Friday 25 March 2016

More embossing techniques

Hi crafters, and happy Easter. I hope you are all having a lovely Easter Friday. I'm in Hochanda today, and it's a really lovely day. Very chilled and everyone seems in good spirits.

I wanted to share a couple more makes from my let Leonie loose show - and again if you have any questions let me know, and I'll do my best to answer you.


Moulds. I've always loved using moulds, which was really easy if you are lucky enough to own a melt pot, but if you don't, how do we melt the power.

You can use a pie tie, melting the powder in the tin and then pouring. Make sure it's really clean, as I found the oil seemed to seep out of no where! I did find, however, using my electric pan allowed me to pop the mould directly into the pan, and then just sprinkle my powder into the mould. The colours I wanted to see I sprinkled first, and then filled the mould with clear embossing powder. You can use silicone cake tins, blank jewelley findings, you can embed things in them. Try beads, mdf elements, sequins, micro beads. If you dust your mould first with mica powder you'll get a fantastic sheen - and you can work a little gilding wax over the top when the embossing powder has cooled down. Stunning. And the result is always different.

Some moulds have been designed so you can pop wire into the mould which will then imbed into the embossing powder when it melts - these are perfect for jewellery.


Love the results!! Dig out all your powders and have a play :) 


Thursday 24 March 2016

Embossing techniques

Hi crafters. 

I thought I'd better try and do some serious catching up - I've been really busy of late, and my poor blog has really suffered.

I did have a plan....you know what happens to them!! I was going to photograph my samples for the let Leonie loose shows, and blog them. However, I end up making the sample and then remembering "the plan". Everytime. Or I'll take a photo of the first step, and then forget! Obviously enjoying myself to much and just getting caught up in the crafty moment.

Instead, I will share some of the makes and try and explain the techniques. If you have any questions, I will read the comments and try to help.


I'm so happy I have tried this technique brought to us by the talented Fran. 

She uses an electric pan, which essentially acts like a very large melt pot. This means you have lots of space, so can do larger pieces.  

I worked on a piece of mount board, as this will withstand the heat and the layers you are going to add. Pop a piece of heat resistant craft sheet directly in the pan, and then your mount board.

Add a layer of ultra thick clear embossing powder onto your card, and allow it to melt - if you pop the cover on the pan it will melt quicker with the intensity of the heat.

Once it has fully melted, start adding colour. Work down from the top, so I went for blues, and then into greens for the grass .

Whilst all this is taking place, on a separate piece of heat resistant craft sheet melt "puddles" of embossing powder. These will be your flowers. Remove the puddles from the pan and allow them to cool, and then add them onto your scene. How cool is that! Do check out Frans book for more wonderful ideas.


This was my spring time creation, using little scraps of embossing powder for my flowers! Really love it, and it's certainly something I wouldn't have thought of myself, but will definitely experiment.

Wednesday 16 March 2016

Let Leonie loose

Just a very quick post before bed, tomorrow I'm back in my usual slot, 2-4, being let loose!!

I've decided, after a good response from Facebook, crafting telly is ready for mixed media!! Gulp. Wish me luck crafters....we're going in 

Until tomorrow (actually, it's today now... Wednesday). Aaaargh. Sweet dreams xx

Monday 14 March 2016

Promo day and nature pics

My job is unusual.


Good unusual....it's not every day you are requested to go to bed and chill out as part of your working day. 

That's got to be a good day by anyone's standards. 


I'm now covered in glue getting ready for Wednesday's show. Unfortunately my prep time has been reduced to 6 hours!! Eeekk....I think I'm already close to that and I've not actually finished one sample....but the paints I have picked are beautiful. So thick and rich. And the stencils :) joy.

As I've no crafty make to share with you yet, instead I'll share the photos we have been popping on fb. For those of you who don't use Facebook, there's a little challenge being passed around, where people have to share a photo of nature, each day for 7 days. I was nominated by the lovely Natasha, she knows I'm out walking my dogs every day. And I've been known to be late for work just because I've seen a kingfisher - so it's safe to say I'm a nature enthusiast.

So far, I've collected these:


Peterborough flooded again, but beautiful in a strange light and a misty morning. No filter.

Haha, this is my weird one. Mud. Crafters will get this...probably. I love the way it moves when disturbed :)


This is an oldish one - but a slight obsession of mine. I love the way grasses glow in the sun. 

And today:

A blue sky and a white blossom.

Life's too short for shoe gazing....
sometimes we worry so much about the next step we are going to take, we forget to look up and just get lost in the clouds :)

Xx


Sunday 13 March 2016

Tut tut

Good evening crafters - sorry for the lack of posts on here. I had been doing so well!! It's been a very busy, but fun week. Work has been fantastic - it was so good to work with the Crafters Companion team again. Myself and Sheena had our first giggle melt down! Oops. We couldn't speak, just stood there crying. Haha. Over the silliest thing as well. Sometimes you don't realise how much you miss people until you see them again :)

Talking of old chums, my friend Jenny came to visit and we went on a trip to the secret cinema. Obviously, it's a secret, and we are instructed to tell no one. It's a fantastic event, you don't know the film or location when you purchase the tickets. They give you your character, and what you have to wear...and eventually a location. They act out parts of the film, and give you missions! The production is amazing. We almost forgot we were going to see a film. They had a club after the film as well with a brilliant live band. Such a good night out, we will definitely be doing the next one. 

Work is busy again this week. Tomorrow and Tuesday we are filming promos, and then I'm back in on Wednesday. We are then meeting folk in London on Thursday to explain and show who we are and what we do - so I'll be demoing my own kit for the first time!! Exciting.

Okay, I'll share my schedule here for you:

WEDNESDAY 

9am - one day special 
11am - Debbie Shore
2-4pm - let Leonie loose :)

FRIDAY

11am - Be Creative with the lovely chaps, Gordon and Justin
2pm - not sure yet :)
4pm - one day special
7pm - one day special last chance

SATURDAY 

10am 
12pm - one day special
3pm - oww, chalk painting
6pm


Wednesday 9 March 2016

A little bit of glitter...

Morning crafters.

It's Wednesday - they come round really rather quickly don't they! And I've another show for you today. This time I've selected some beautiful stencils from dreamweaver, a company I've admired for many years now. I've played with quite a few techniques, so hopefully in today's show I'll manage to share those with you.

The first one is glitter overload. I was utterly covered in the stuff.

First, cut a pice of double sided adhesive sheet down so it's just bigger than your stencil, and stick it to a piece of card:


Next take your anti static bag (we'll have these on the show) and dust over the stencil


This helps you lift the stencil from the adhesive.

Next, remove the second protective sheet on the adhesive paper and place your stencil down:


Use the protective sheet to help secure the stencil in place. Make sure you use the side which will not stick to the adhesive - which is the slippy side

Now sprinkle your colours of glitter, building up your picture :


Remove the stencil when you have completely covered the image, and then fill in the remaining adhesive with another colour - I went for the crystal. Look how effective that it! 


You don't need to stick to glitter, you could use mica, gilding flakes; flower soft etc etc. I think this is one I should leave to the end demo today - or else....every demo will end up glittery. Let's see if I remember that thought!


Monday 7 March 2016

Hochanda schedule

Hi crafters. Just a quick post, as it's getting a little late and I've got an early start tomorrow.

I've been busy prepping for my show on Wednesday. I've picked some lovely stencils to work with this time - but got a bit carried away...yet don't seem to have finished anything! That's the art of faffing right there.

I'm covered in glitter. No, everything is covered in glitter!


That's quite a bad photo, I'll try to share better ones tomorrow for you.

Okay, what am I up to tomorrow:

10am - SHEENA!! Whoop whoop

2pm - SHEENA - day of the dead. Completely up my street

5pm - the amazing Sara

7pm - ending my day with my first show on Hochanda with our lovely John Lockwood

What a mighty fine day....hope to see you tomorrow :)


Sunday 6 March 2016

Workshop days with Phill


Hi crafters. I'm a sleepy little lady, but I wanted to do a quick post as I haven't updated my blog in a few days.

I will be sorting out the winners for my wonderful charity crafty auction - but it may have to be next week. Tomorrow I need to prep for my show on Wednesday - and Tuesday I will be in work. So it's a little full on. I'm not complaining, it's brilliant, but I am conscious of leaving people wondering what's going on, and how much have we raised. I will indeed update everyone, and make sure all the pieces of art are framed and sent out.

Today was brilliant. It's so good being able to do workshops again. All the ladies were really nice, and we managed to get everything done....almost :)


And I love some of the things the ladies bring to craft along with.....


Glue bottle with a teet on!  Looks kinda weird, but it's a great idea.  It allows for a really fine application of glue


Pickled cockle juice for cleaning a craft mat!!!  It's general purpose cleaner really - otherwise that table would have been avoided :)


Of course, we had a little pose for photo's as well 


Good times.  Thank you ladies, you were brilliant company - and thank you to Phill and all his wonderful helpers....I look forward to the next one :) 
xxxx


Thursday 3 March 2016

MDF Heart Project

I took my MDF heart, and painted it in two colours


I then covered it with ultra thick embossing powder, and melted it with my heat gun


I repeated this process twice more, to obtain a thick layer, which I can them emboss into.  I've left the bottom of the heart, with just one layer, so it gives an uneven, speckled texture,


Ink up the stamp, and then stamp into the embossing powder.  Once with the lines running horizontally


And then once with the lines running vertically


Wrap a piece of ribbon around the heart


Now paint a piece of scrap card with the Distress Paints, and stamp the word Love twice


Cut the Love's out, into a flag.  I had a little play with the composition


I then added paint to my ribbon so it matches the colour tone perfectly.


Heat set the paint, which adds texture to the ribbon


I glued one of the stunning Wendi Vecchi embellishments to the heart, and then the Love Flags, sitting them under the embellishment


Edge the heart with the paint, and add dots of cosmic shimmer pva to the edges of the heart


I used stickles glitter glue to the letters, and went around the rest of the flag with glossy accents


Wednesday 2 March 2016

Let Leonie Loose - MDF Frame

I thought I would share one of the projects I did for my LLL show - which will be aired today at 2-4pm.

I started with a plain MDF frame.  I coated the back piece with brown paint.  It certainly doesn't have to be perfect


I then painted the frame, using two different colours


I then edged the frame with dark brown


I then stamped the frame using one of the brilliant background stamps from Wendi Vecchi - using the brown Distress Paint


Stamp the frame 4 times to get complete coverage.


Next take the definition stamp, and stamp on the top of the frame


Line the stamp up, and then stamp on the base, so the frame can be mat and layered.  Stamp again without re-inking the stamp, so you get a faded image


Cover a scrap piece of card with paint


And then over stamp with the flower


Use another colour to cover a second piece of card


And now stamp the script stamp, using the orange Distress Paint


Over stamp with the open flower, and blast with your heat gun to dry the ink


Cut out the flowers, and gently shape.  Now layer them up and glue together


Stamp the sentiment onto a piece of scrap card


Cut the words out, and edge with Distress Paint


Cut a piece of green card, to form a swirl.  This will be the stem of your flower.  Now use the number stamp to cover the stem


Stamp one of the sentiment stamps onto scrap green card, and cut out to form the shape of a leaf.  Cut a second leaf from the same card


Pop your elements on the card to check on your composition


Now add texture by sprinkling clear embossing powder onto the frame 


I use the very gentle heat gun, which allows me to melt some of the powder, without the need to use any ink pad of adhesive


Now use a small amount of gilding wax over the edges of the frame, and very gently over the embossing powder. I then used the Cosmic Shimmer PVA, which I trailed across my frame.  This gives uneven but effective sheen


I added more dots with the cosmic shimmer, and then the gilding wax to the leaves


To finish I used glossy accents on the sentiment, and one of the fantastic Wendi Vecchi embellishments