
I did my random number generator to find the challenge, and it came up with 24 (I have taken into account the emails I received as well. The winner of the challenge this week is Myra. Thank you for the challenge, Myra, this is what she has asked me to use this time:
"Hello Leonie,
I like that machine too!
My three things are washi tape, domino and charms! Xxx"
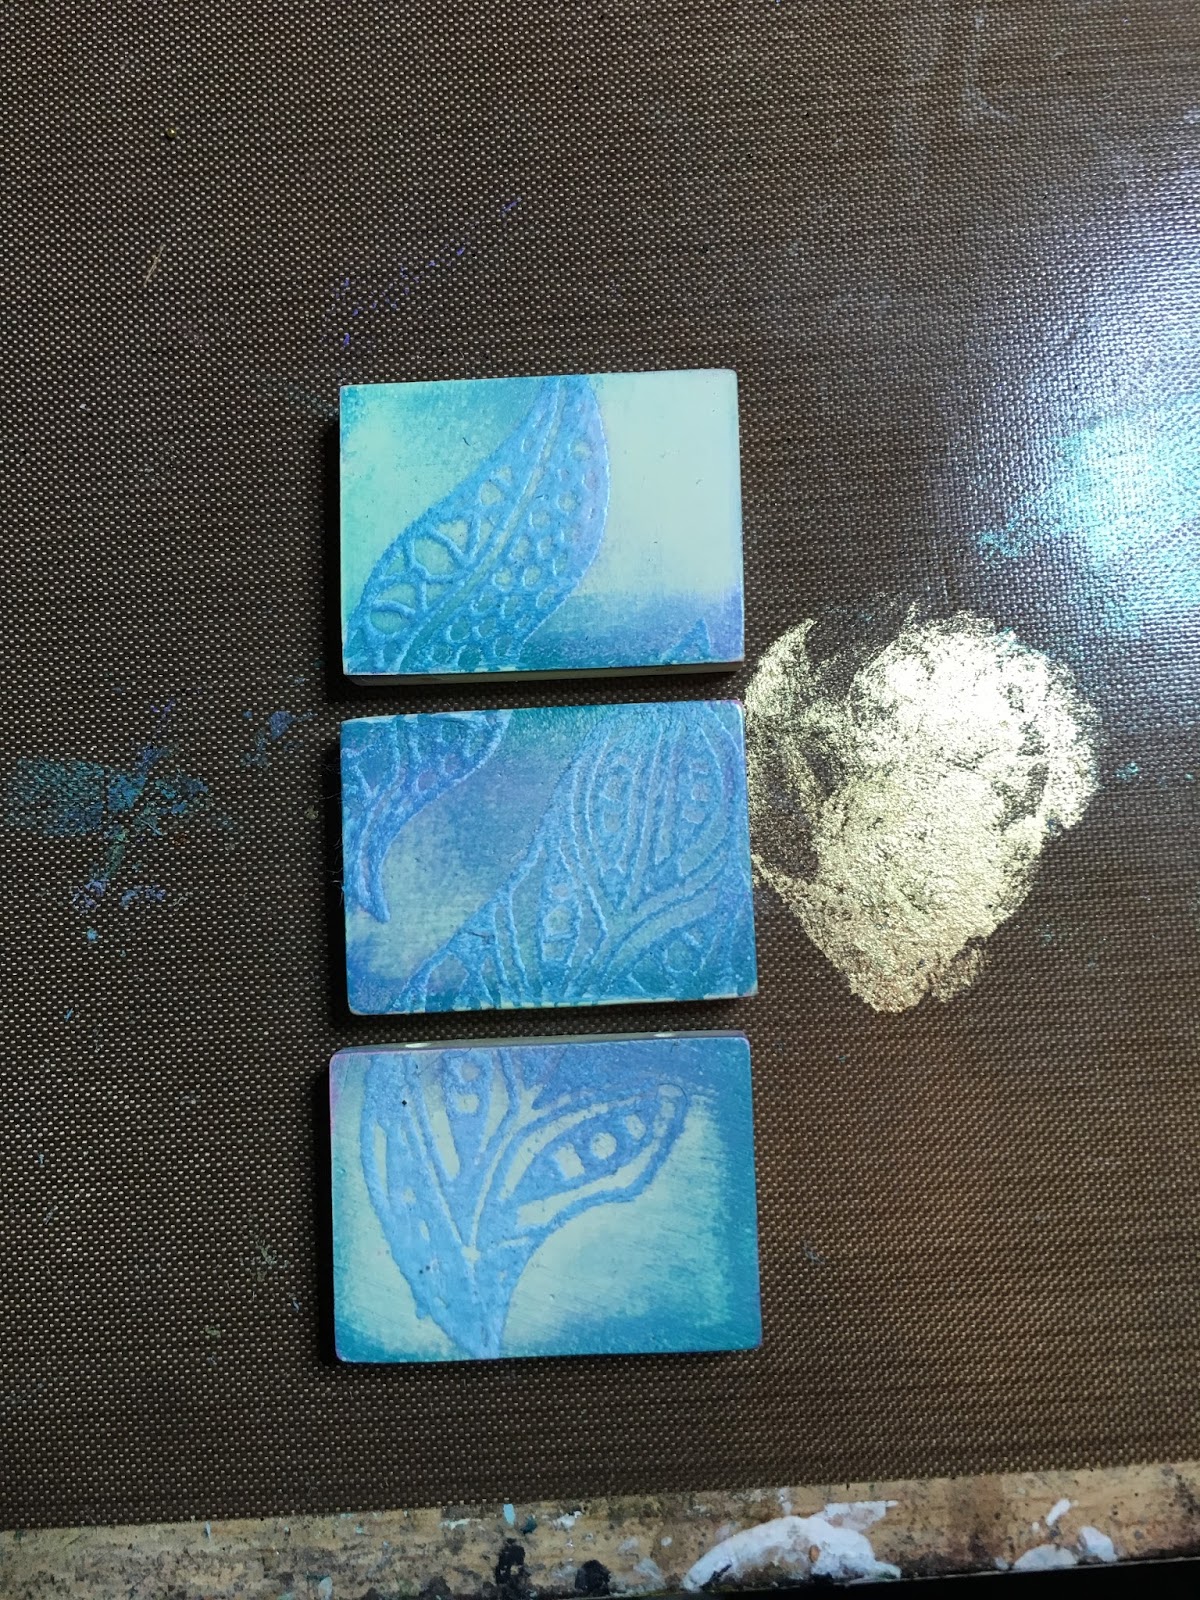
Off I trotted to look for the goodies. I don't have any dominoes (pizza!!) but I did manage to find something very similar. They are called Style Stones, and were released years ago. I'm not sure if they are still produced, but Stampboard will work in the same way. I decided to use 3, which is just a bit bigger than a domino

Before I started I just wanted to see how they would look if I scratched the ink back. So I added alcohol ink, allowed it to dry (you can give it a blast with the heat gun to speed up the drying process

When you scratch the ink back the image pops out. I just used a pokey tool

Next I used a couple of pretty stamps from Clarity, which I stamped and embossed with white embossing powder. I kept all the plates together so the stamped images go over the whole tile collection.

And then I decided to play with inks. First I tried the versamagic pads. I do own so many ink pads, so it's nice to have a play and just see what they do on different surfaces

I dabbed the ink on, building up the colours


I blasted it dry, and then made my first boo boo :) This is stupid - don't use a cotton wool ball to remove the ink from the embossed image when you've just used a heat gun. I could have worked out that the heat gun melts the embossing powder again, so therefore it will be tacky. Cotton wool ball = hairy!! It's okay, I picked off the fluff. And then used tissue to wipe away the excess ink
I then decided to have a play with these vibrant Vivid ink pads. I gently applied these, just dabbing a little colour on my tile

Again you can blast the ink dry. I then scratched the surface to create texture

I decided to use the washi tape to add the word "Free". I picked part of the washi tape that wasn't to heavily printed, and stamped on top

I tore the tape at the top and bottom of my stamped word, as I like the frayed effect

I tested it against my tile to see if I would be able to read it, then popped it to one side

Now, lets really play with scratching. I worked in the spaces left by the embossing powder. I love that you don't need to be precise or perfect with this, and it still looks cool.

Myra wanted me to use charms, so I dug out the other earring. I love these little charms!

I did add a little more ink. The edges have been inked with alcohol inks, as it's so quick, and I couldn't resist adding a touch round the edges. I also added washi tape to the side of the top and bottom tile. I popped my Free in place, and did go over it with my drawing pen.

I strung them together using wire, with pretty beads in between each tile. I doubled the wire over to make it stronger
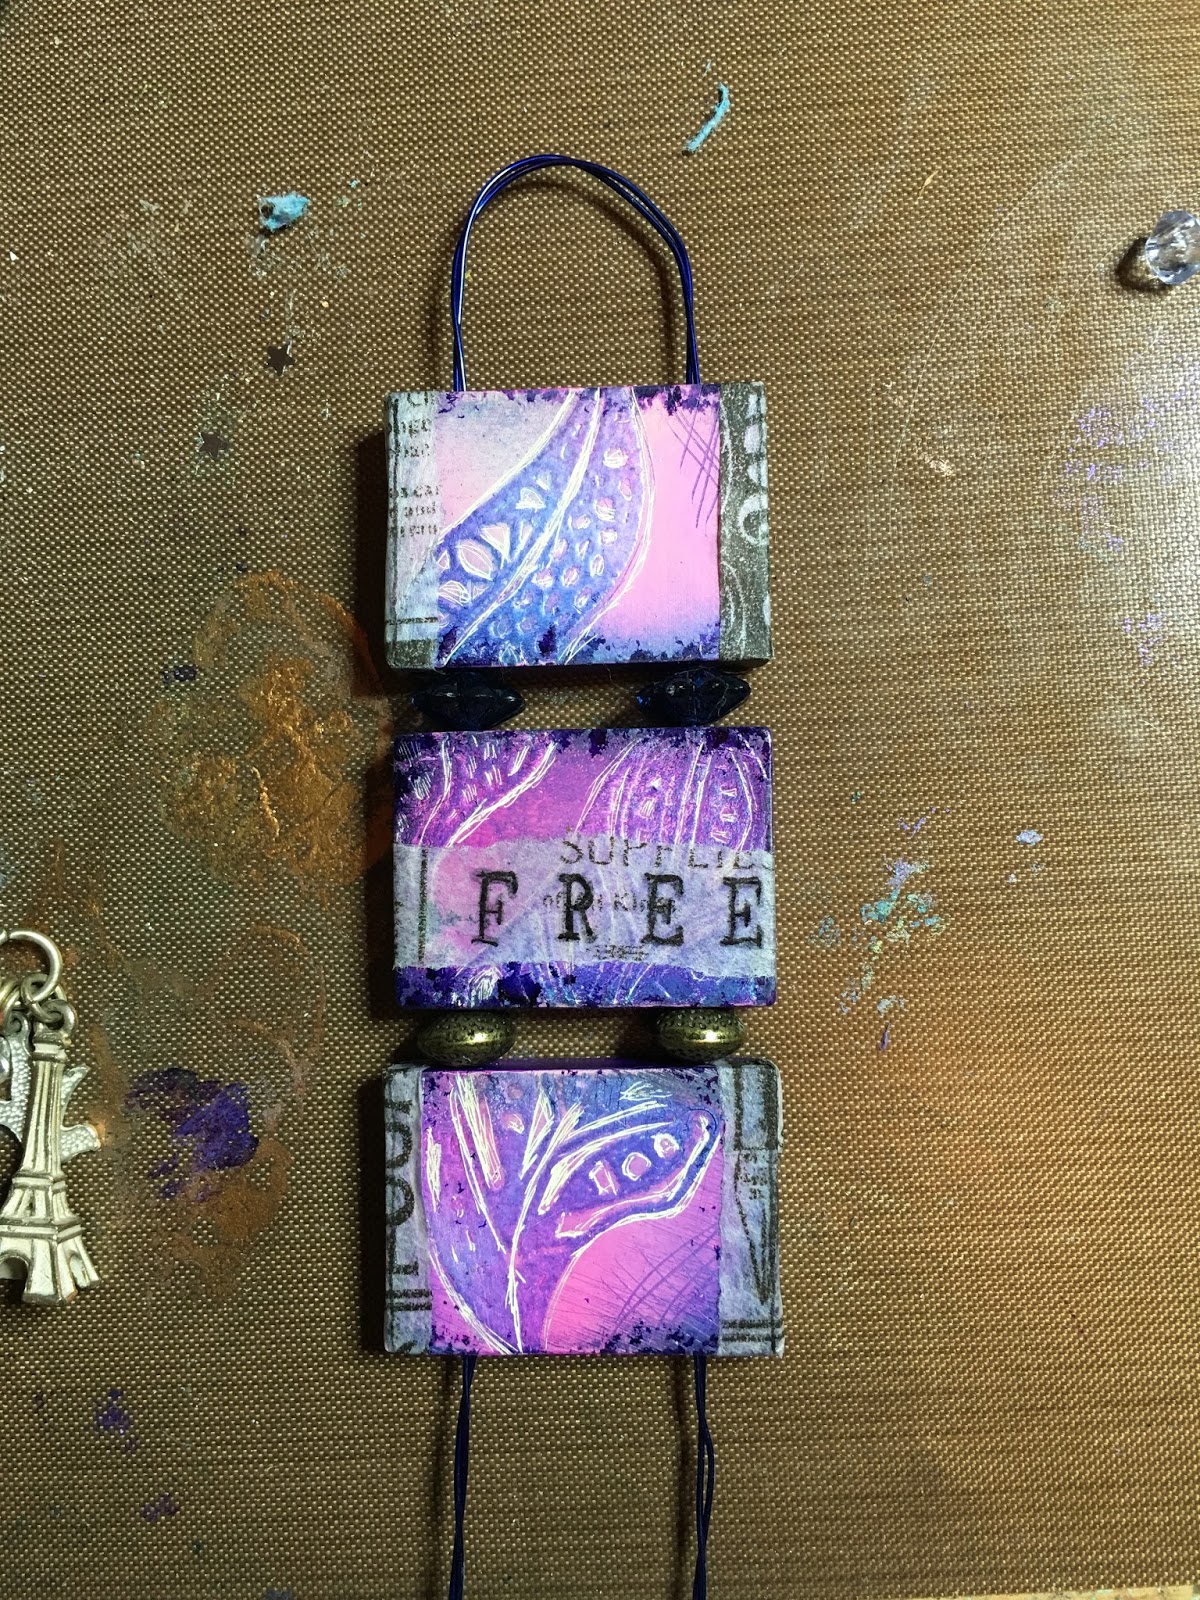
When I reached the end, I created lots of twirls

Finally, I added my charms. Really chuft with this little wall hanging. I will add glossy accents to it - but decided to photograph it before otherwise I would have to wait ages for the GA to dry


I took photo's on the white card as well, as it does look different on there.


