This post has been tricky!! My computer isn't playing up, and the photo's have taken soooo long to load, so I apologise if I don't write as much as normal - but the computer is seriously in jeopardy of flying out the window :)
33 days. Not long now!!!
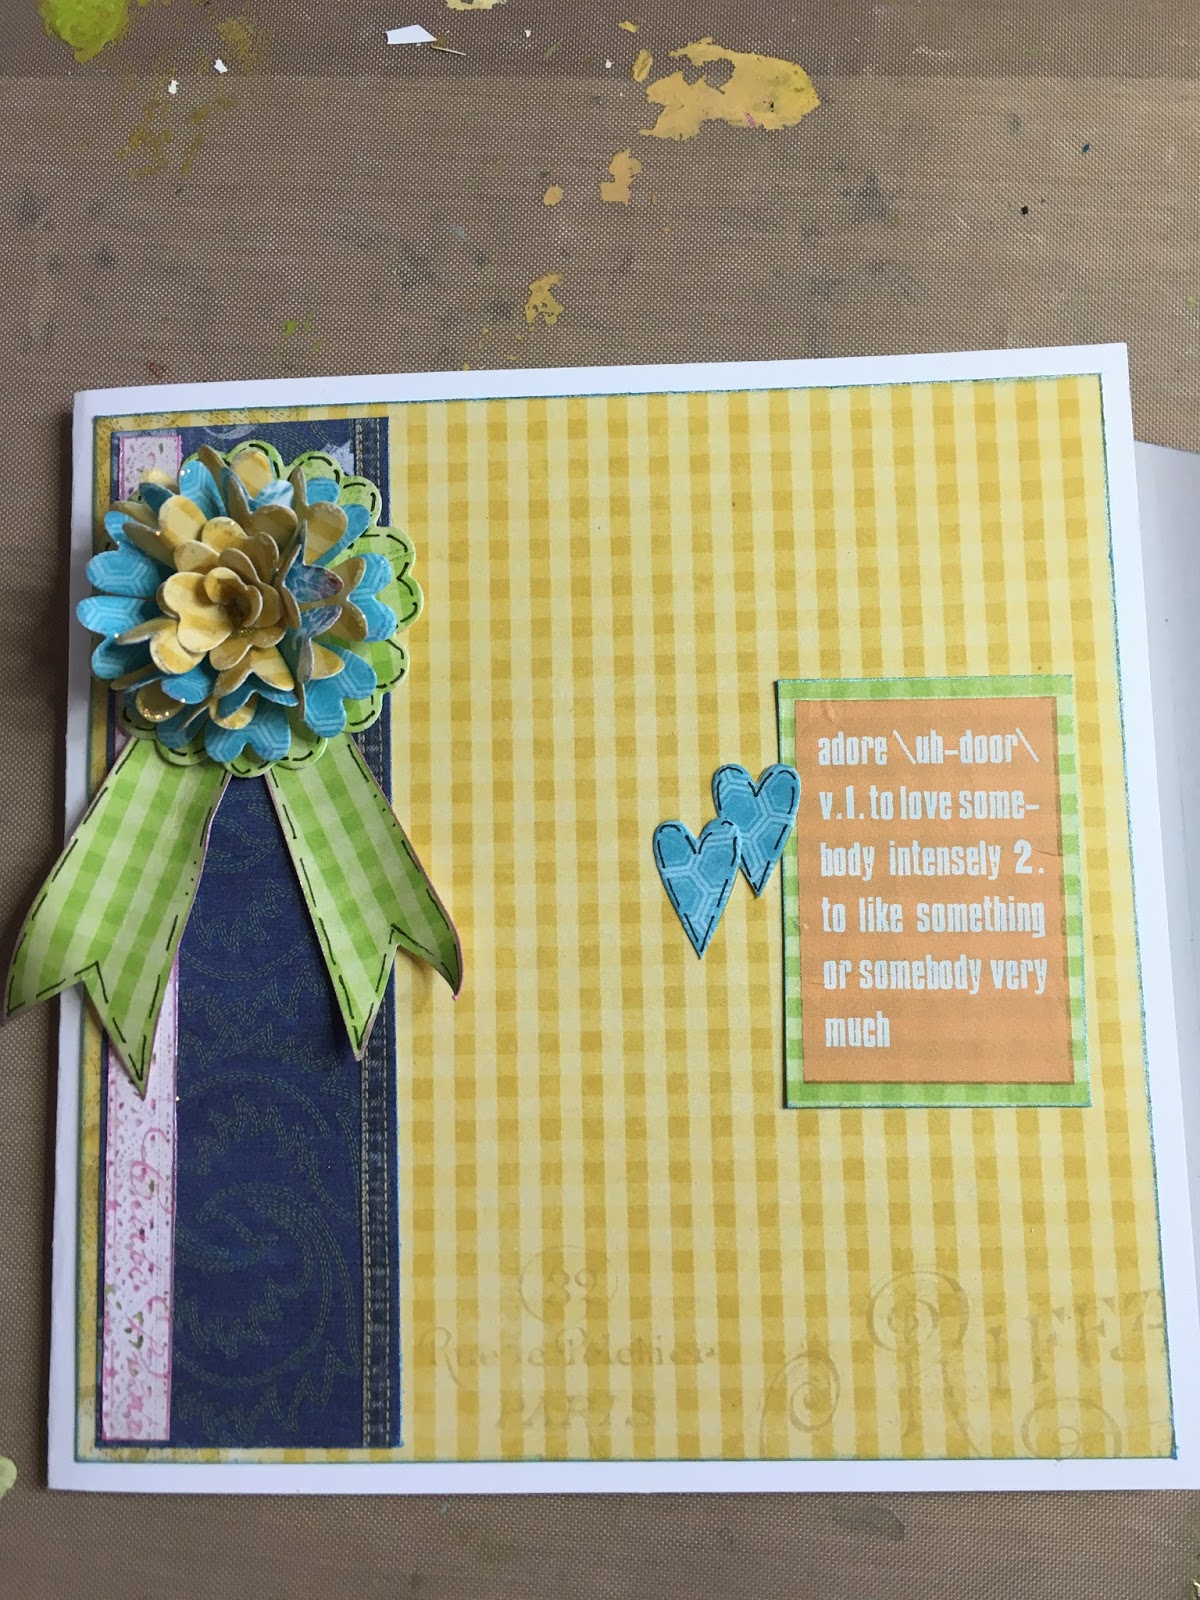
Okay, so today I found a lovely old Bo Bunny pad. The beauty of working with a pad of papers, are the corresponding colours. They work together, which makes life easier to begin with
I cut a mat down to fit my square card, leaving a small white border. I picked my next piece of paper, which I trimmed down so it was the same height of the card
I found the centre point of the paper, by folding it and putting a tiny crease in place. I then cut the paper from the top corner to the centre, and repeated the cut from the other corner
I creased the card to create a fold, and stuck it to the back of the card. This is the side which the card opens on. I remember this design from Hot of the Press, many moons ago - but I really like it, so thought I would have a go
This now folds over to the front of the card. I rounded the point off.
I then added a piece of paper to the left of the card, making sure I didn't add adhesive to the right of this piece of paper, so I could tuck the flap in place
Next I die cut some flowers and began to shape them. I folded the petals in half, and then layered the blue onto the yellow
The bottom layer I rolled the petals back, and glued this on the bottom
I also cut a green layer, and just did a bit of faux stitching around the edge
I then cut one of the flowers down, as the petals are basically little hearts. I did some faux stitching around the edge of the hearts. I did the same with some blue hearts as well
Now, playing with positioning again. I moved things round, brought different papers in - just to see what I liked. You'll realise if you are a regular reader of my blog, that this is something I do a lot. It's the best way of seeing what looks good. And the photo's do help me make up my mind
I then decided to add some sentiments. I found some old rub ons. I love these. I popped them onto the decorative paper, and then cut round them leaving a nice border
I added the Love topper onto the end of the flap. I glued the left side down flat, and the right side, I used 3D foam to lift it a little
The little hearts were placed on the right side of the card, going down the flap
The flower was eventually placed in the top left hand corner. I used the paper to create little bow tails, which I also faux stitched
When you open the flap there's a lovely space to pop a sentiment, so I placed another sentiment here - again using the rub ons, and then two of the little hearts
Finished. A very easy paper and die cut card
For a change I decorated inside the card. Just using a scrap of the paper, a couple of the hearts, and another rub on