Showing posts with label Paper crafting. Show all posts

Wednesday, 20 January 2016

29 days to go - and a completed challenge

Margaret A - thank you, and well done.  My random number selector picked you.  Margaret challenged me to use white on white on white.  I really love this challenge.  I didn't want to use dies, as I know I would end up with a card similar to a Sue Wilson design, as when I think of a card with predominately one colour, I always think of Sue's work.

Instead, I decided to do a little bit of paper cutting.  This will definitely not be as intricate and skilled as Paperpanda, or the like.  I want to get it done this evening, and my craft knife isn't up to much (what kind of crafter am I).

I decided the first white would be the paper.  I went for approx 180gsm.  Not too heavy, but not flimsy either.  I decided, as it will be sent out to Margaret, I wanted to pop it in a frame, so my second white will be the frame.  The last is another piece of card, which this time I embossed.  I did add a little bit of glitter - which should have been white, but actually has a little touch of blue in.  I hope this isn't cheating - but it does look rather nice.

You'll giggle when you see the sketch I did to plan, look at this for detailed:


Yep, that was my incredible plan!  I then drew some sketchy waves, to give me a little guidance as to where I needed to cut


I layered one on top of the other, so each wave was mat and layered


As usual, I like to build up my image in situ, so I can keep an eye on the composition, and tweak where necessary


I cut my little sailing ship, which I was quite happy with actually


I then embossed my background, and started gluing everything in place.  The frame does have an inner frame, which means I would looks about 5mm around the full image.  I did try and trim the cloud so it would fit perfectly within this inner frame, but didn't like the end result.  Instead, I decided to cut the elements to fit the base, and then squashed them in place with the inner frame.  I did use 3D foam to give my waves extra depth


And finanlly, the glitter.  All the glitter.  I feel I may varnish it tomorrow, I'll see what it looks like in the morning.  If you would like to email me your address please Margaret, so I can get your little sailing boat in the post for you.  My email address is: leoniepujol@hotmail.co.uk


Thank you, again, everyone for joining in.  I really love reading your idea's, and even if I don't manage to use them for the challenge, it does give me inspiration for future projects.


Friday, 15 January 2016

33 days left - paper crafting with Bo Bunny

This post has been tricky!!  My computer isn't playing up, and the photo's have taken soooo long to load, so I apologise if I don't write as much as normal - but the computer is seriously in jeopardy of flying out the window :)

33 days.  Not long now!!!

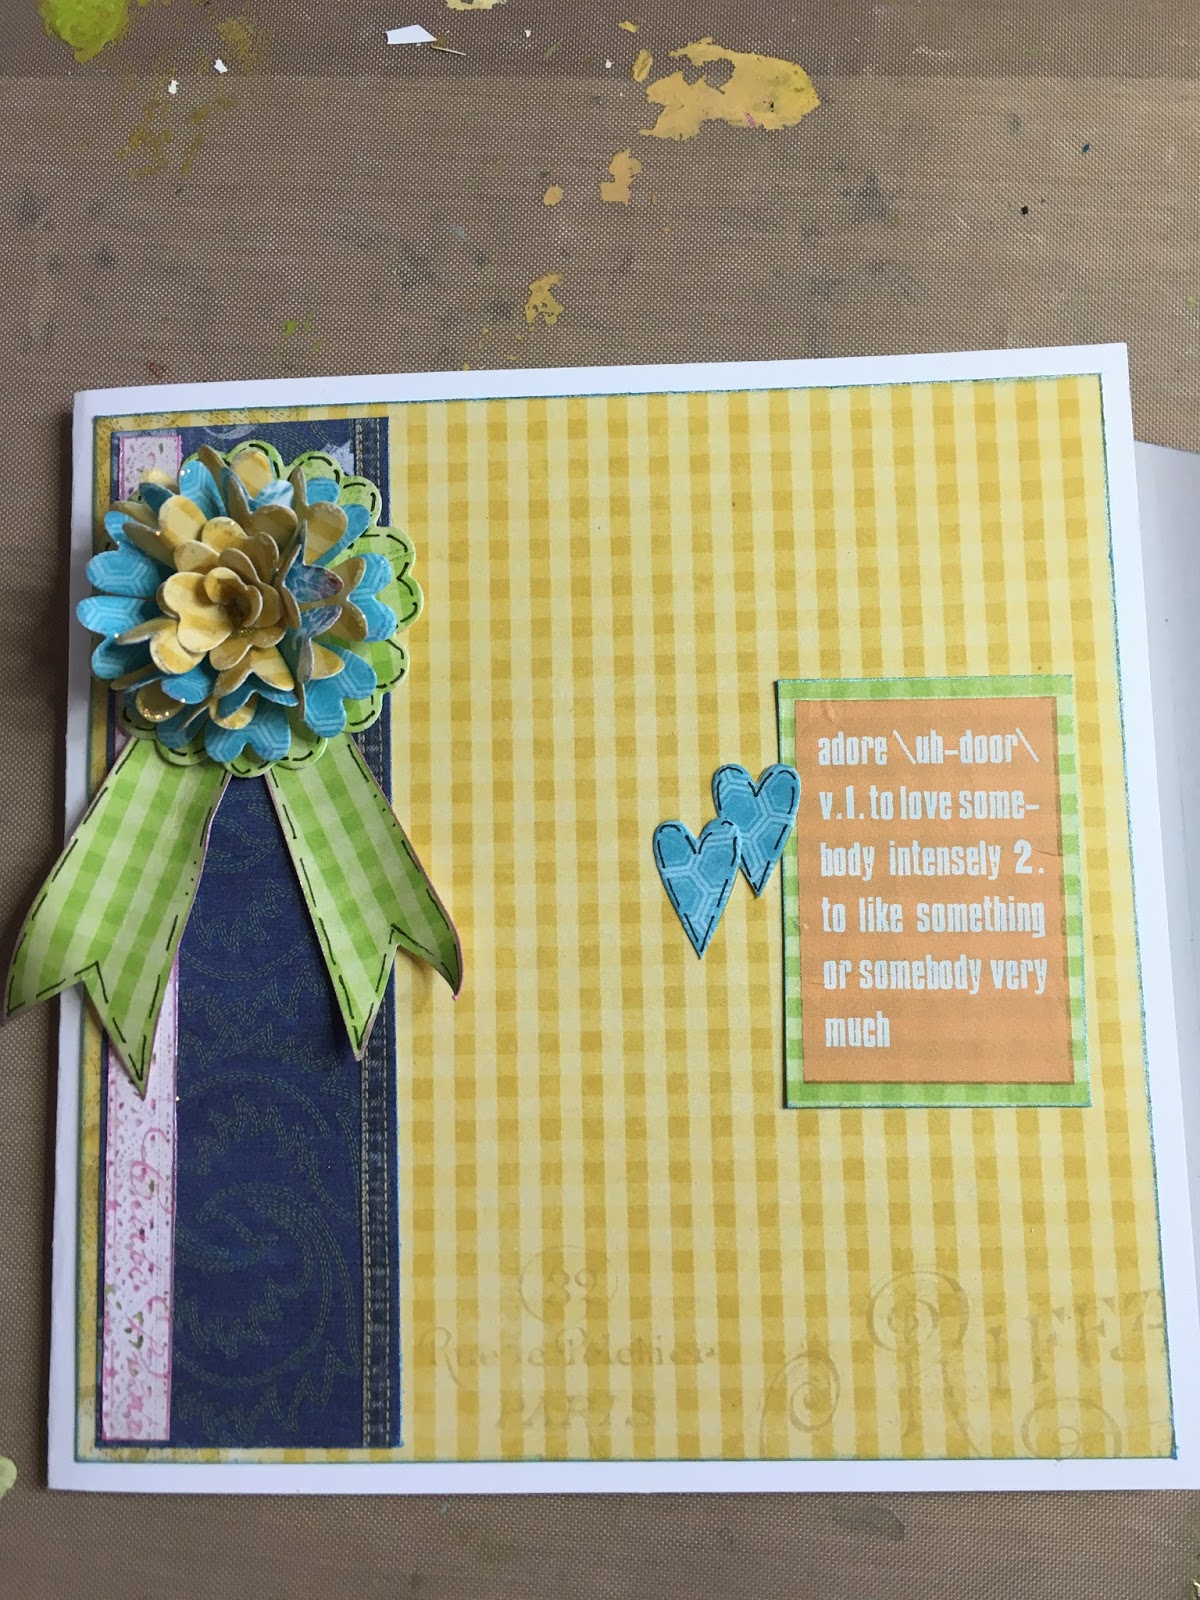
Okay, so today I found a lovely old Bo Bunny pad.  The beauty of working with a pad of papers, are the corresponding colours.  They work together, which makes life easier to begin with


I cut a mat down to fit my square card, leaving a small white border. I picked my next piece of paper, which I trimmed down so it was the same height of the card


I found the centre point of the paper, by folding it and putting a tiny crease in place.  I then cut the paper from the top corner to the centre, and repeated the cut from the other corner


I creased the card to create a fold, and stuck it to the back of the card.  This is the side which the card opens on.  I remember this design from Hot of the Press, many moons ago - but I really like it, so thought I would have a go


This now folds over to the front of the card.  I rounded the point off.


I then added a piece of paper to the left of the card, making sure I didn't add adhesive to the right of this piece of paper, so I could tuck the flap in place


Next I die cut some flowers and began to shape them.  I folded the petals in half, and then layered the blue onto the yellow


The bottom layer I rolled the petals back, and glued this on the bottom 


I also cut a green layer, and just did a bit of faux stitching around the edge


I then cut one of the flowers down, as the petals are basically little hearts.  I did some faux stitching around the edge of the hearts.  I did the same with some blue hearts as well


Now, playing with positioning again.  I moved things round, brought different papers in - just to see what I liked.  You'll realise if you are a regular reader of my blog, that this is something I do a lot.  It's the best way of seeing what looks good.  And the photo's do help me make up my mind


I then decided to add some sentiments.  I found some old rub ons.  I love these.  I popped them onto the decorative paper, and then cut round them leaving a nice border


I added the Love topper onto the end of the flap.  I glued the left side down flat, and the right side, I used 3D foam to lift it a little


The little hearts were placed on the right side of the card, going down the flap


The flower was eventually placed in the top left hand corner.  I used the paper to create little bow tails, which I also faux stitched


When you open the flap there's a lovely space to pop a sentiment, so I placed another sentiment here - again using the rub ons, and then two of the little hearts


Finished.  A very easy paper and die cut card


For a change I decorated inside the card.  Just using a scrap of the paper, a couple of the hearts, and another rub on


Monday, 17 November 2008

Happy Birthday DAD!!!

Okay, he wanted it kept quiet but heyhoo, Happy Birthday Dad. I won't mention the age, not that it matters at all eh!!


We didn't have a big enough cake to support all the candles required though - hahaha.....sorry dad.

We had a surprise meal for him on Thursday night, which was great. Didn't manage to catch up with everyone properly (never do at meals do you), and we had to go home the same evening so I could make Uni in the morning, but it was still great.

Uni has also been great, we have been doing printing - screen printing, mono printing, dry point and something else that you use a smelly spray with! Brilliant fun. Me and Ashley were swots, and went in an extra day (whooo). We had a good giggle, and managed to work! Fab.

Only one whinge, my stupid car's not working properly - again. Grrr. It cuts out every time I slow down, so I'm attempting not to slow down - or jump starting on the move. I look like I'm kangarooing all the way down the road when I'm stuck in traffic. Looks like it's back to the garage, boo hoo, I'm much to skint to be having my car fixed!!

Just a couple of photo's of work I did on a kit that was in the last QVC show, love the papers in this one.

The photo's of me and Carly were taken by Paula, she's as good with the camera as she is with her crafting - brilliant xx


Me and Carly on Dawn's Portugal crafting holiday, having a well earned cheeky beer (mmm in the sun, how lovely).


Monday, 23 June 2008

Papercrafting

Our day out in the sun was marvelous. Carley and Lottie joined us and we had a lovely time. Sipping wine, eating snacks and playing on the swings. Great fun. Today has been abit trickier - we are in the process of moving, so I have spent all day so far on the phone trying to book house viewings, as times running out to find somewhere! Not handy, as I haven't been able to do any work yet, but finding a home is a priority I suppose!

Anyway, I'll catch up with my posts on my blog before I head off to decoupage.

The following few cards were done working with wonderful paper kits from Saturday. I love working with paper, and you will see from the cards (and the ATC challenge this week), I enjoy taking elements out of the paper so it changes to look of the paper and you get more out of it.

This is lovely paper from the Kim Hodges range (586311), for both these cards I have taken a photo of the full sheet of paper so you can see where the images has been lifted from. I enjoyed taking out flower heads and adding them to the card using micro dots and 3D foam which gives added dimension.


For this card I took a swirl out of my paper which I ran up the left side of the card and cut out extra flowers which I added using 3D foam, I used eyelets and ribbons to finish off the card.


This K&Co kit was one of my favourites of the 2 hours, beautiful designs and great quality (586812). As this is a double sided paper I used part of the back of the paper, cut it out following the pattern, and stuck it to the matching paper. Again cut out some extra flowers and added them with 3D foam. Abit of glittler glue adds the finishing touches.

Friday, 4 January 2008

QVC kits


These are just a few images from kits I have been working on recently for QVC (there are a few more on the flickr). I loved the Bo Bunny papers, they are the Tuscany and Paris range and are stunning. I wanted to pop a couple of pieces from the recent Oriental TSV as well, as I was liked the Geisha peel-off, and loved doing the Oriental collage canvas, it really made a change to do something other than cards. I hope you like them.