
Crafting offers us an abundance of possibilities, and I love revisiting old techniques. The shaving foam technique is one of those I tried many moons ago - but we have different inks, paints and powders to experiment with, so there's always the possibility of a new discovery.
Because I'm obviously feeling sorry for myself, the craft comes downstairs. Lethal. Stupid. But I do it anyway - and watched a great program on Madagascar.
Set up a tub to put the shaving foam in, allow enough room to spread the shaving foam and then lay the card in - you don't want to be faffing about in a small container. Cheap shaving foam does the job. I think this was 40p, and it still smells lovely (probably!! Snuffle snuffle :) ). Get lots of card ready, it's a great way of using loads of scraps and making them into something lovely.

Pop your shaving foam into the tray

And spread out a little

The first thing I want to show you are spritzers. There are soooo many available these days. There will be the pure ink spritzers, or those with a mica content. Mix and match them, they all work wonderfully

Spritz

Either take a print straight away, or use a paintbrush to mix the inks

To take a print, pop your card into the shaving foam. Press the card down so the ink will be able to soak into the card
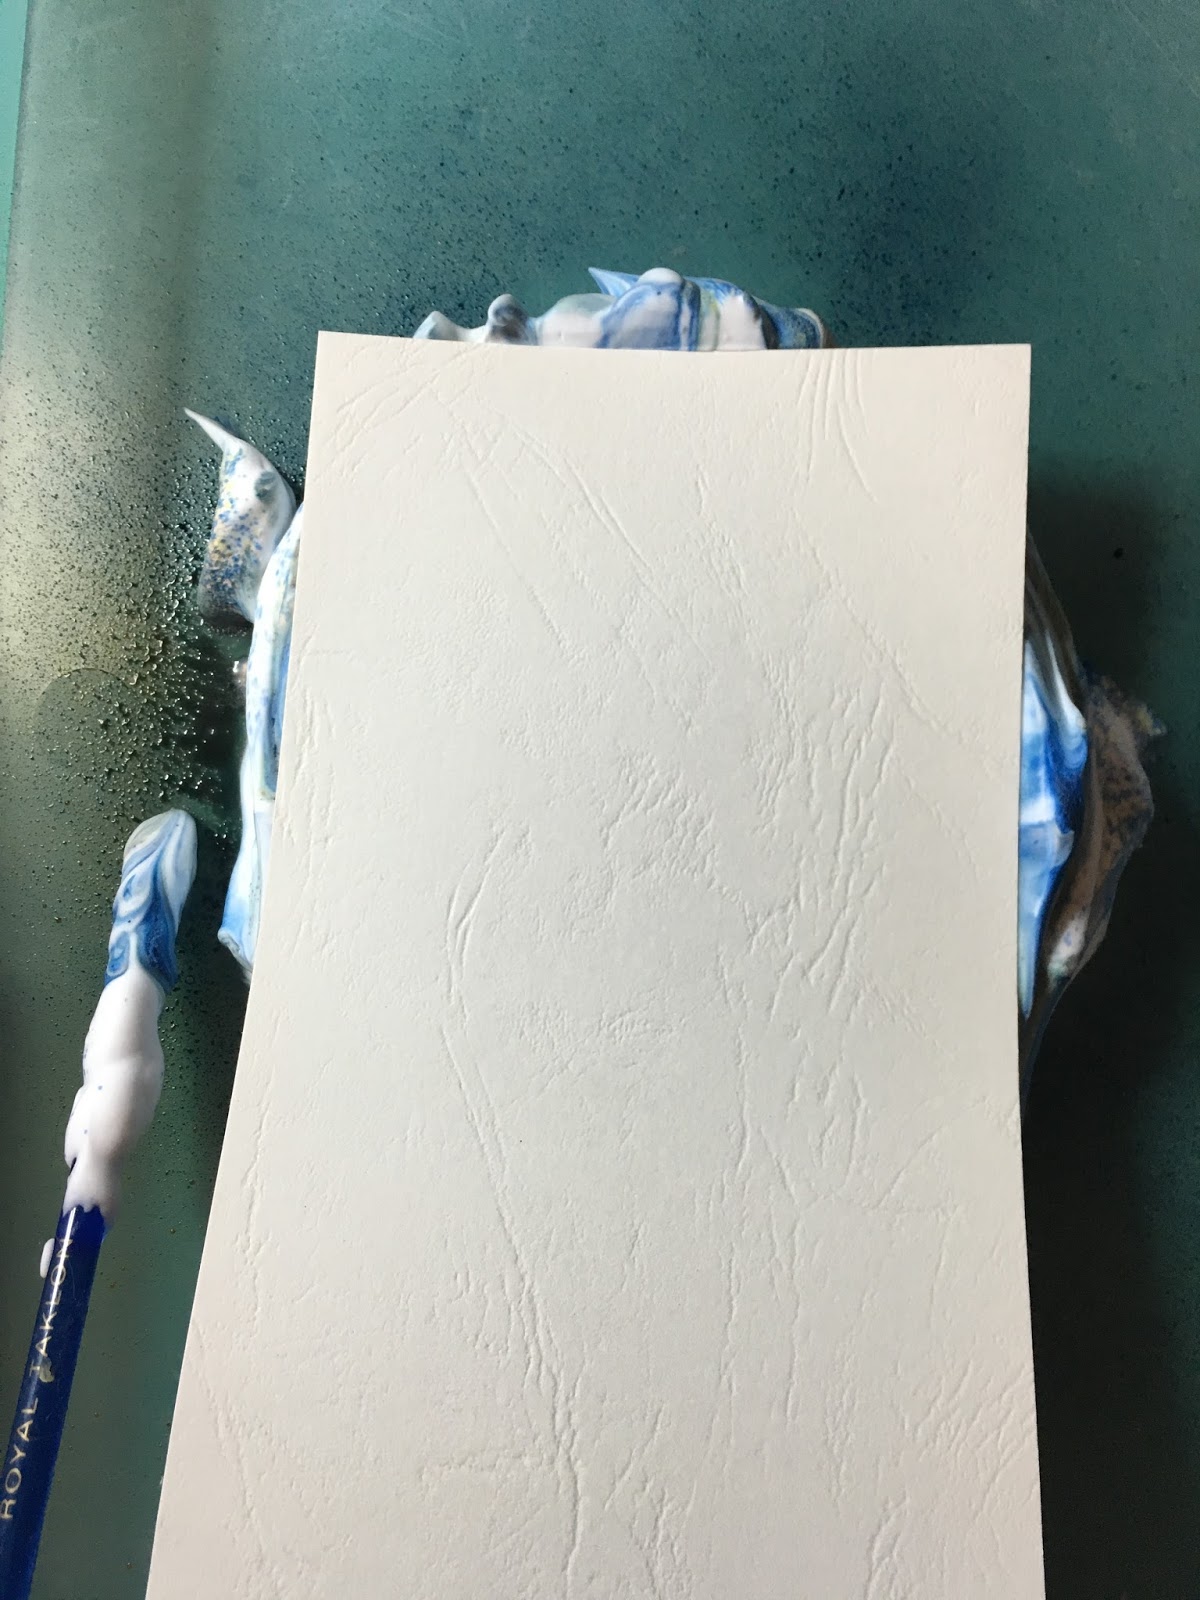
When you lift the card, it will still have loads of shaving foam coating it

Remove the excess foam, I used a spatula knife, and pop the foam back into the container as you will be able to use it again. Look at the amazing print!

Give the foam another swirl, and take another print.


Second print, still very cool indeed. It almost looks like material doesn't it.

Try adding another colour to the mix, and take another print
The way you move the ink and foam will effect the print, so here you can see if swirled it into a circle

Next, paint. Acrylic paint is great for this technique. I used different makes of paint, but they all worked well together

Initially I watered the paints down with water and added them to the foam. Swirl again, as before

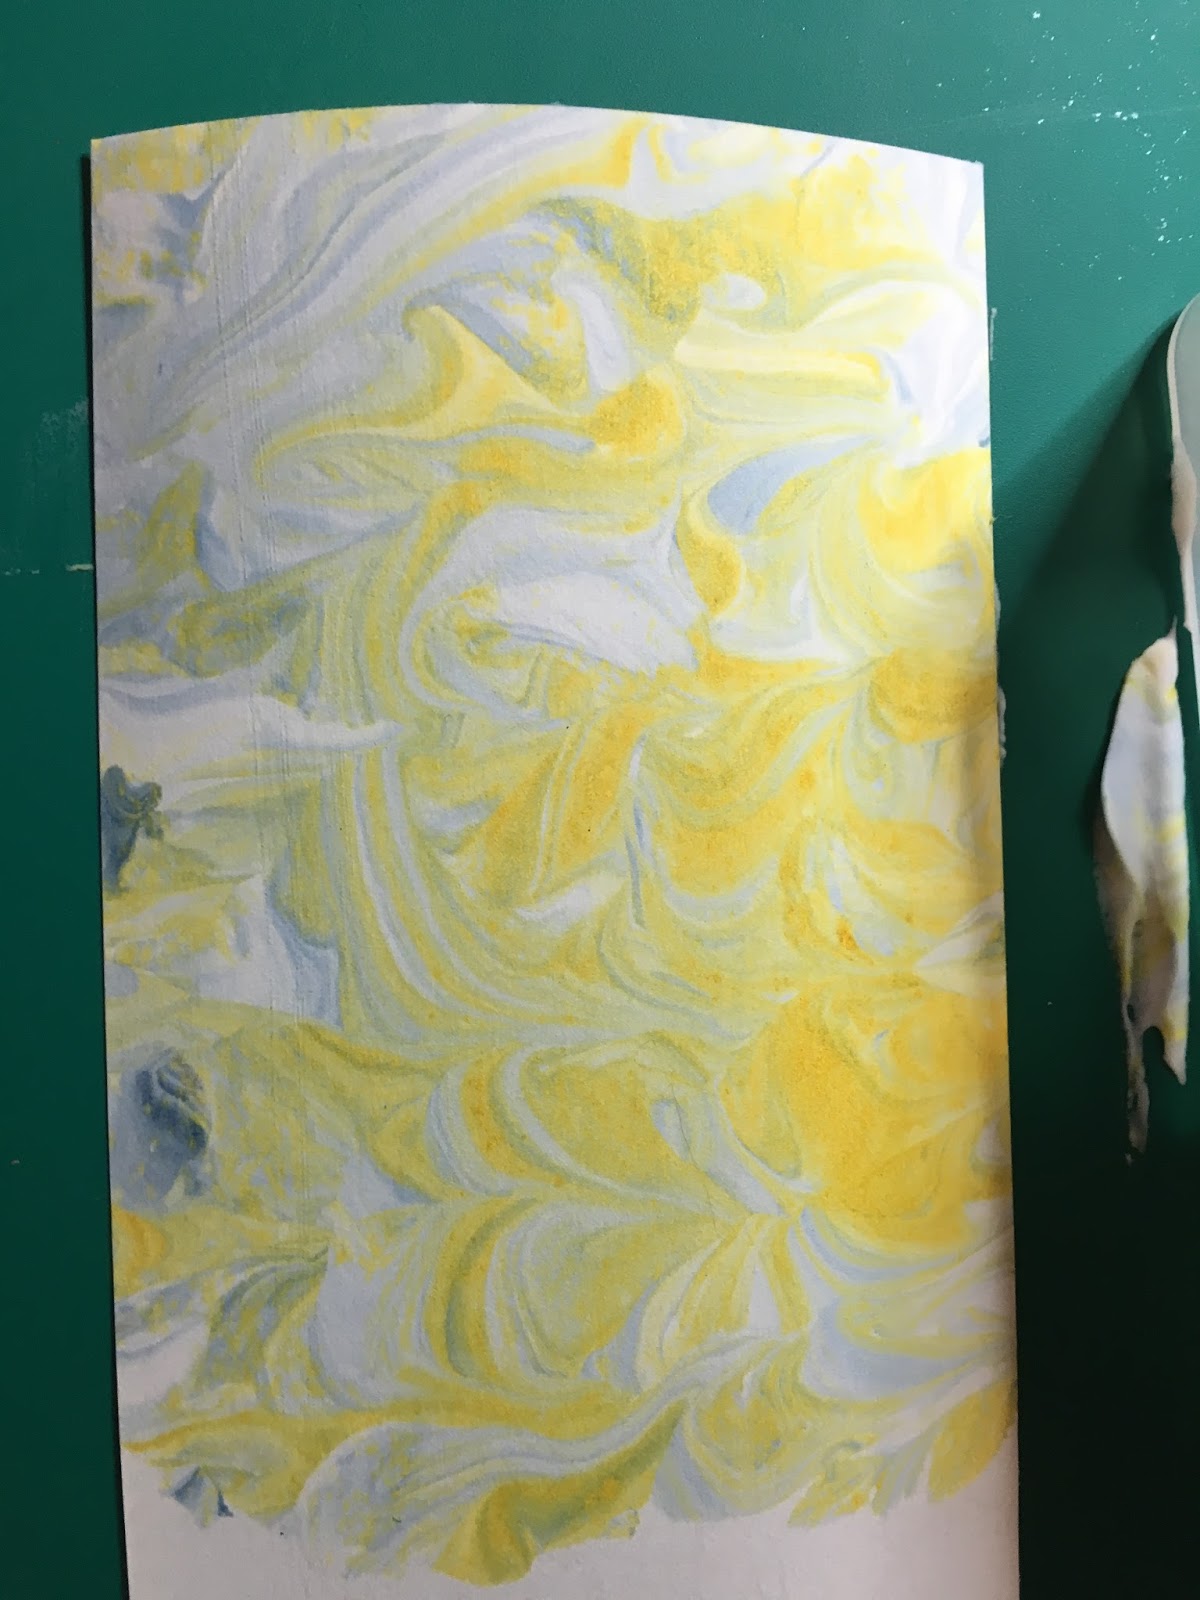
You can see how strong and vibrant the colours come through on the first print

The second print is more subtle, but equally effective

I then added the paint direct to the foam to see what happened

Perfect

Next, mica powders. Once we had to add a bonding agent to our mica powders, but these days all that's required is a liquid, as the bonding agent is already mixed in with the powder

I dusted the mica powders onto the foam. I spritzed it with water, and then took a print without swirling the foam

The print is quite patchy, but I quite like it

Now, if you mix the mica into the foam, it just disappears

Next, alcohol inks. I love the way these start eating into the foam, but the colours stay really vibrant.

Look how bold the print is

I've used the palette knife to smooth the foam this time, to see how this will look

I got a very gentle print from this one. The colours don't stay as vivid as they do when I was using the acrylic and spritzers

Add a couple more drops of colour

And another vivid and beautiful print can be easily created

Okay, try this. I've spread the ink in the foam, and then layed a mask gently on the foam

Lay the card onto the mask, press down gently. Lift the card off as usual, and just allow the ink to sink into the card

When you remove the excess foam, you will have the mask print, with that cool marbled effect

I popped the mask back on, and then spritzed over the top. I actually did two prints, the first one, as above (which I have forgot to photograph!! Sorry)

For the second one, I removed the mask, and then took a print of the remaining ink

Pretty cool!

Okay, that's enough of that. Now the really boring bit of cleaning up. Urgh.
Hopefully tomorrow I'll use one of these in a finished piece - the others will be sent out to the winner of todays work when the Crafty Countdown draws to an end :)