Showing posts with label spritzing. Show all posts

Sunday, 14 February 2016

3 days left for the crafty countdown

Only 3 days to go folks.  Even when I do come out of work hibernation, I will continue with the blog, and keep you updated on what is going on behind the scenes.  It'll be lovely to actually be able to share all my exciting plans as well.  And it'll be good to start sending out all the cards I have made over the course of this countdown - when I decide how I'm going to do it!!

Now, today I decided I needed to start having a play with the lovely goodies I'll be working with on my first workshop in ages!!  This will be with the fantastic Phill Martin (sorry, I do believe it is fully booked, but there will be more).

First I randomly stamped the solid rose stamp using versamark, and dusted over using the pumpkin mica powder


I then spritzed with the matching ink spritzer


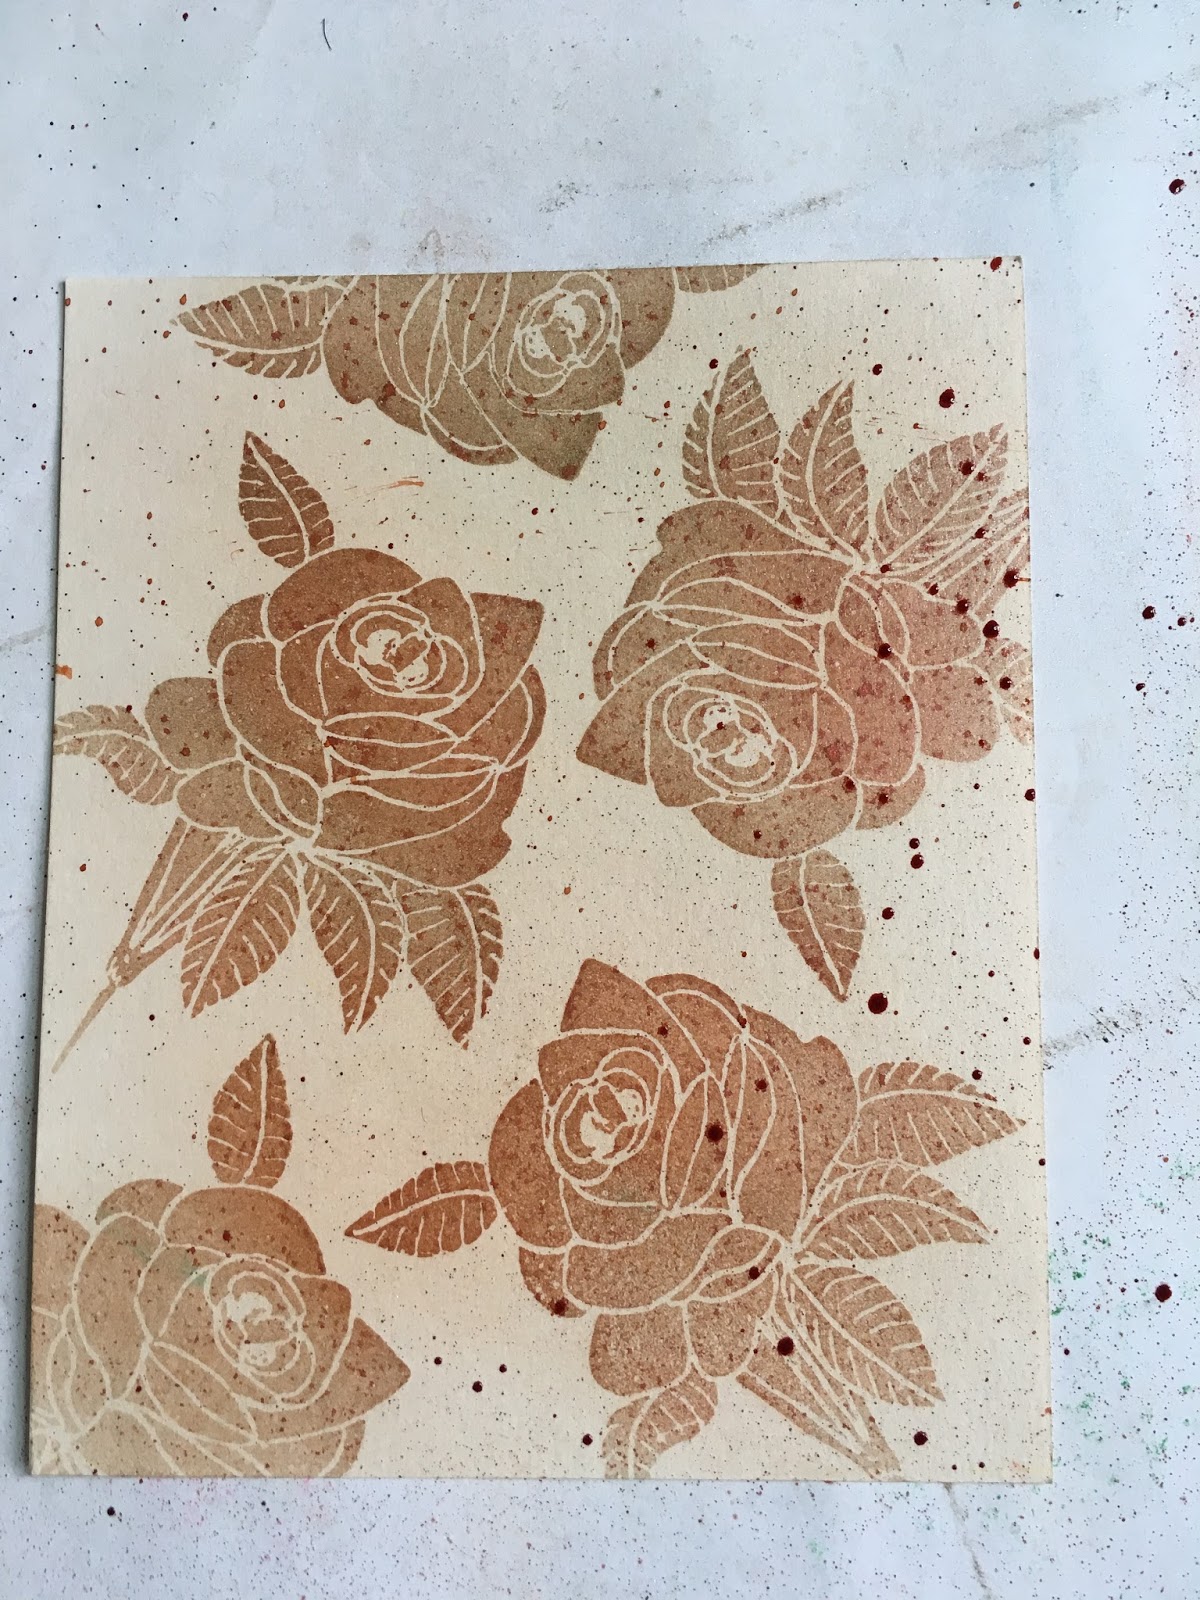
And then spritzed with water to break the ink up and spread it. 


I then stamped the lovely sentiment stamp over the top of the image


I decided to frame the image, using the lovely border stamp.  I placed the layer in situ, but didn't stick it down, this allows me to visualise where the border stamps need to go.  I stamped in versamark, and covered with the mica powder.


I spread the mica over the card, as it emphasises the lovely texture on my card


I then added the second part of my frame


I decided the edge of the card needed inking.  Generally I use an ink pad for this, but I wanted the precise colour tone to match the rest of the card.  So, I spritzed onto my craft mat, and picked up the ink with a dry baby wipe, then carefully edged the card.


To finish my card, I added ribbon, which I also dyed with the spritzer ink.  I popped a dazzler in the centre of the ribbon. I also used the matching glitter glue to add dots onto my stamped images.  I love the fact everything matches, it makes it so easy to make a perfectly toned card.


Thursday, 4 February 2016

13 days to go chums :)

That's it - less than 2 weeks.  There's so much to do as well - I can't wait until I can tell everyone more....what am I saying.  I can wait, in fact now it's going a bit fast. There's just no pleasing some folk is there.

Okay, I've got a new obsession.  Yesterday's little adventure has set off a new passion. I love the altered art look - and it just allows you to use literally anything.  I've also always, ever since being a kid, loved cutting up magazines.  Over the years I've cut out and saved song lyrics, pictures of bands, recipes (never cooked any of them), quite shocking animal rights stuff (it used to scare my little sister a bit - it was rather hard-hitting, and I had it plastered all over my bedroom door); words; and now I'm back cutting up magazines - and loving it!!

Okay, so this is where it started. I started layering paper, embossed card, and a metal frame


I then added embellishments to my frame


I then gave it a few coats of gesso.  This will build up slowly, which is perfect, as you may wish to leave some of the images so you can just see them, like the music paper


I then added glue.  This is really old actually, is Plexi glue from Jones Tones. I remember Dawn doing this technique - or very similar, on QVC years ago.  I also remember her producer being really really rude in Dawn's ear :)
Anyway, slap the glue on.  It can be as thick as you wish, as we are aiming to create texture


I then dried it with the heat gun.  I mainly use the gentle hairdryer style heat gun - I do prefer this one, as it's so gentle


I then cover the plexi glue with the gesso, this brings it all together, and the glue really does give a stunning textural effect.  Love it.


Next, I literally just spritzed - once.  Literally once.  I angled the bottle, so it hit the left side of the image.  I didn't want to add anymore colour, as I was really happy with the minimal look.


I wanted to add just a little more colour to the little bird and the heart, so I used the same spritzer to add extra colour


I then added a bit of colour to the background board, using the same ink.


I mat and layered my "canvas" (I don't know, what do you call it, my art work?...thingy.  The thingy) onto a number of layers of white card, and then onto the big background


You can see here, the bird and heart deepening in colour.  Just add a little ink at a time, and dry.


To finish, I added paper strips to the base card, and then, cut out of my lovely magazine, Sweet Dreams.  I added a bit of ink to these so they didn't look too white against the background


It's actually really tricky to photograph, this doesn't really do it any justice...I'll try again