Showing posts with label flowers. Show all posts

Friday, 22 January 2016

26 days to go...

Well, today has been a busy day.  Full of deadlines and planning.  It's all very exciting - and it's starting to feel very real indeed.  This means, I'm going to have to cheat again on my blog - I do apologise, but it's a little bit late and I'm nodding off!

I will, again, share an old make - and then, ask for your challenge.  If you have played this game before you will know I require you to suggest 3 things that I have to craft with.  Anything!!  If I don't own it, then I will improvise - but I do like a proper challenge, so be as creative/mean as you want.  I do love this game - can you tell!!

Now, the flashback Friday card:


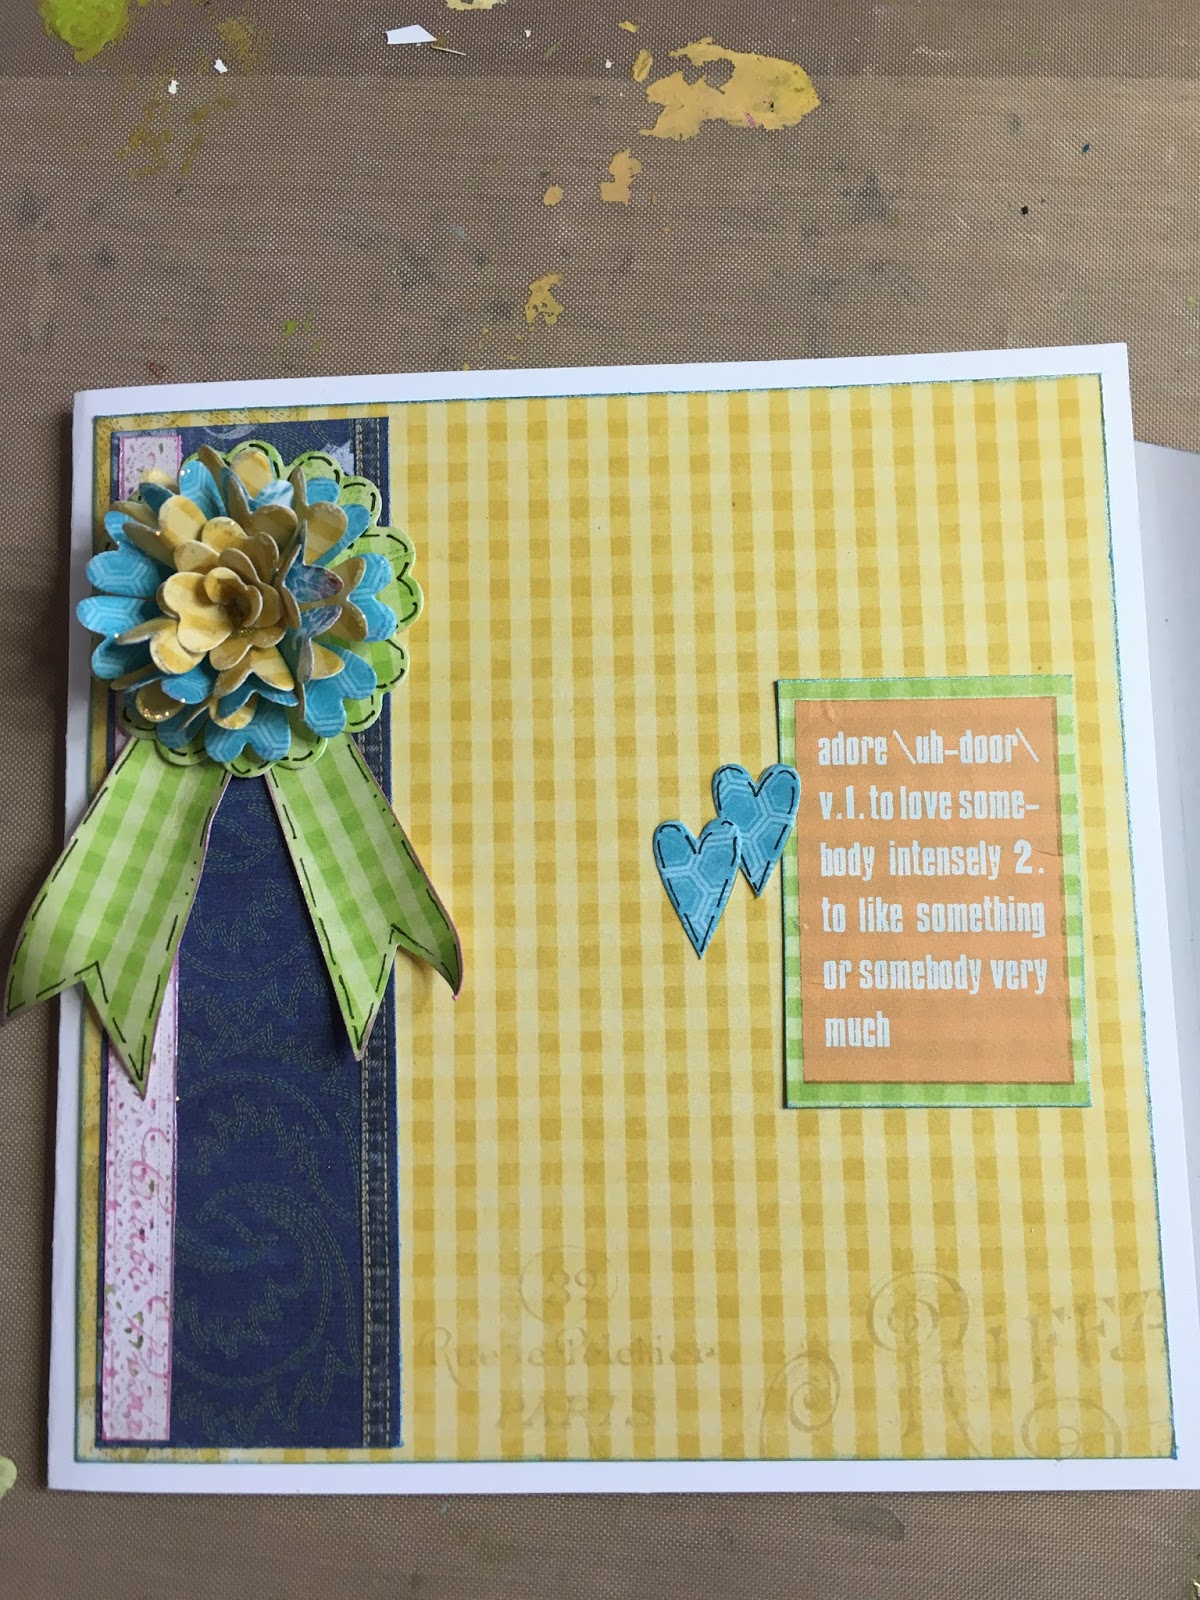
I think I made this card for Cardmaking and Papercrafts Magazine, to show different ways of working with ribbon.  This is beautiful ribbon, known as Silky Crush from May Arts - and another one I will have on my web site when it's up and running again.  I say Sue Wilson do this technique first.  It's so very easy, and effective.


I cut a piece of card in a very dodgy looking circle, and covered it with strong double sided tape.  I then rolled a little of the ribbon in the centre, and began rolling the ribbon around as I worked to the outside of the circle.  I folded the ribbon in half, and scrunched it a little, to give texture.  These are handy to make in bulk so they are ready when you need a pretty embellishment.


That is my card for Friday.  

All the projects, even the flashback ones, will be going up for grabs, when I end the countdown.  Apart from an obvious couple that is.  I have already decided 5 people who have signed up to follow my blog, will be put into the draw.  I think 5 more cards will be given to someone who has done one of the techniques I have shown over the past blog postings.  I will give a call for people to send their photo's in, and I will share them all on Facebook - then 5 people will be selected to win.  Have a nosy at my blog to see which techniques I may be looking out for :)

Right, bedtime I think.  Goodnight ladies and gents, sleep well xxx

Friday, 15 January 2016

33 days left - paper crafting with Bo Bunny

This post has been tricky!!  My computer isn't playing up, and the photo's have taken soooo long to load, so I apologise if I don't write as much as normal - but the computer is seriously in jeopardy of flying out the window :)

33 days.  Not long now!!!

Okay, so today I found a lovely old Bo Bunny pad.  The beauty of working with a pad of papers, are the corresponding colours.  They work together, which makes life easier to begin with


I cut a mat down to fit my square card, leaving a small white border. I picked my next piece of paper, which I trimmed down so it was the same height of the card


I found the centre point of the paper, by folding it and putting a tiny crease in place.  I then cut the paper from the top corner to the centre, and repeated the cut from the other corner


I creased the card to create a fold, and stuck it to the back of the card.  This is the side which the card opens on.  I remember this design from Hot of the Press, many moons ago - but I really like it, so thought I would have a go


This now folds over to the front of the card.  I rounded the point off.


I then added a piece of paper to the left of the card, making sure I didn't add adhesive to the right of this piece of paper, so I could tuck the flap in place


Next I die cut some flowers and began to shape them.  I folded the petals in half, and then layered the blue onto the yellow


The bottom layer I rolled the petals back, and glued this on the bottom 


I also cut a green layer, and just did a bit of faux stitching around the edge


I then cut one of the flowers down, as the petals are basically little hearts.  I did some faux stitching around the edge of the hearts.  I did the same with some blue hearts as well


Now, playing with positioning again.  I moved things round, brought different papers in - just to see what I liked.  You'll realise if you are a regular reader of my blog, that this is something I do a lot.  It's the best way of seeing what looks good.  And the photo's do help me make up my mind


I then decided to add some sentiments.  I found some old rub ons.  I love these.  I popped them onto the decorative paper, and then cut round them leaving a nice border


I added the Love topper onto the end of the flap.  I glued the left side down flat, and the right side, I used 3D foam to lift it a little


The little hearts were placed on the right side of the card, going down the flap


The flower was eventually placed in the top left hand corner.  I used the paper to create little bow tails, which I also faux stitched


When you open the flap there's a lovely space to pop a sentiment, so I placed another sentiment here - again using the rub ons, and then two of the little hearts


Finished.  A very easy paper and die cut card


For a change I decorated inside the card.  Just using a scrap of the paper, a couple of the hearts, and another rub on


Friday, 29 August 2008

Punchin good fun

The cards I've been working on today seemed to take me ages - never presume just because I do this all the time I can produce cards in a flash, sometimes finding the right card, trying the new kit, and then falling out with the card you have just made can be very time consuming. With this kit you have to punch out 6 images, which fold and are attached together to create flowers. Obviously you can have flowers with less petals, which are quicker to make!! They look good on two toned card, or double sided paper. I liked them using bazzil card and sanding the edges.

For this card I used a lolly-pop stick (got quite a stock pile now from all the rub-on kits) which I colour tinted using an ink pad. I attached my flower to the stick, then sliced a hole in the centre of the flower pot shaped card to pop the stick through. I then attached the stick to the from panel of the card, using stong clear drying glue. The card will stand up!!


I loved the colours of this one, so much I used the same card for my fab friday challange


Using a double sided bazzil card gives a lovely when you sand the edges of your petals. Sand them before you put the flower together.