
First, I need to thank everyone for getting involved in the challenge, yet again. I love reading your idea's - there are some absolute crackers. But there can only be one winner, and this week it's Sheila Joss. Well done Sheila. And get this for a strange challenge:
Egg Shell
Rub ons
Tissue Paper
haha. Love it. The cool thing about this challenge, it makes me do a little research and try something different. So, I googled crafting with eggs. Many moons ago I had a go at blowing the eggs and decorating them. Quite liked it actually, but crafting has taken a different turn. Mosaic using egg shell. And the results look cool. I'm going to have a go, but I need to soak the shells over night - I've had scrambled egg for dinner (thank you Sheila), and the shells are soaking, as I need to remove the membrane otherwise the adhesive doesn't take as well.
I'm really looking forward to having a go with that tomorrow - fingers crossed they don't disintegrate over night.
Whilst my eggs are soaking, I decided to have a play with the Gelli plate. As this is still relatively new to me, I thought I would share my journey with you - and show you the rubbish efforts, as well as the okay ones.
This was the first one I remembered to photo. I applied the paint to the GP, and then used a leaf, which I brayered on, to leave the print.

I enjoy the experimenting process, and find I was getting rubbish prints initially, until I got the hang of it. And I still kept quite conservative. Here I've applied orange


Then green. The green paint has gone a little strange, and watery, but I thought I'd see what it did. I applied the leaf again, a few times on the GP


The definition is distorted - but I do put this down to the watery consistency of the paint


Next I applied the orange and green, and popped my stencil into the paint, to lift off the paint

I like this one

I then brayered paint onto a stamp, which I stamped onto the GP

It's quite subtle. I think a stronger colour would have looked good

Next I brayered over the top of a stencil, then removed the stencil. It leaves a great print, so I popped the card back on the GP, and you can see the double circle from the stencil


I applied paint to the stencil, and then transfered this to the GP. I popped my printed card on top. Like this one


For this one, I lifted the paint off with the stencil again, and got quite a nice print,

I then added a block of colour with my brayer, and colour which I picked up with another stencil


I printed this over my original image.

Okay, I decided to change colour, and applied these directly to the GP

I popped my Clarity mask over the top

Resulting in a very dramatic print

I like the paint left on the GP, so I decided to take a print of that as well


There was still paint on the mask, so I popped it back onto the GP and brayered it to transfer the paint


I put my original print back on the plate, and picked up the excess paint. I was really pleased that I had managed to line it up almost perfectly!

And then I went and ruined it!! I added a very strong blue

Urgh

I had taken a second print, so I decided to ruin that one as well! I added more of the strong blue, but this time with the cirle print


And transferred this to my lovely original - and then popped it in the bin :)

Oh no, wait, not before I added even more of the horrendous blue!!

Yep - this is the point it got binned. If you're going to ruin something, you may as well do it properly

I didn't learn. Here's the blue again!

Owww

I still tried. I popped the stencil on the GP

And brayered a lighter blue over the top

I removed the mask
And then attempted to rescue the horrid print. mmmm

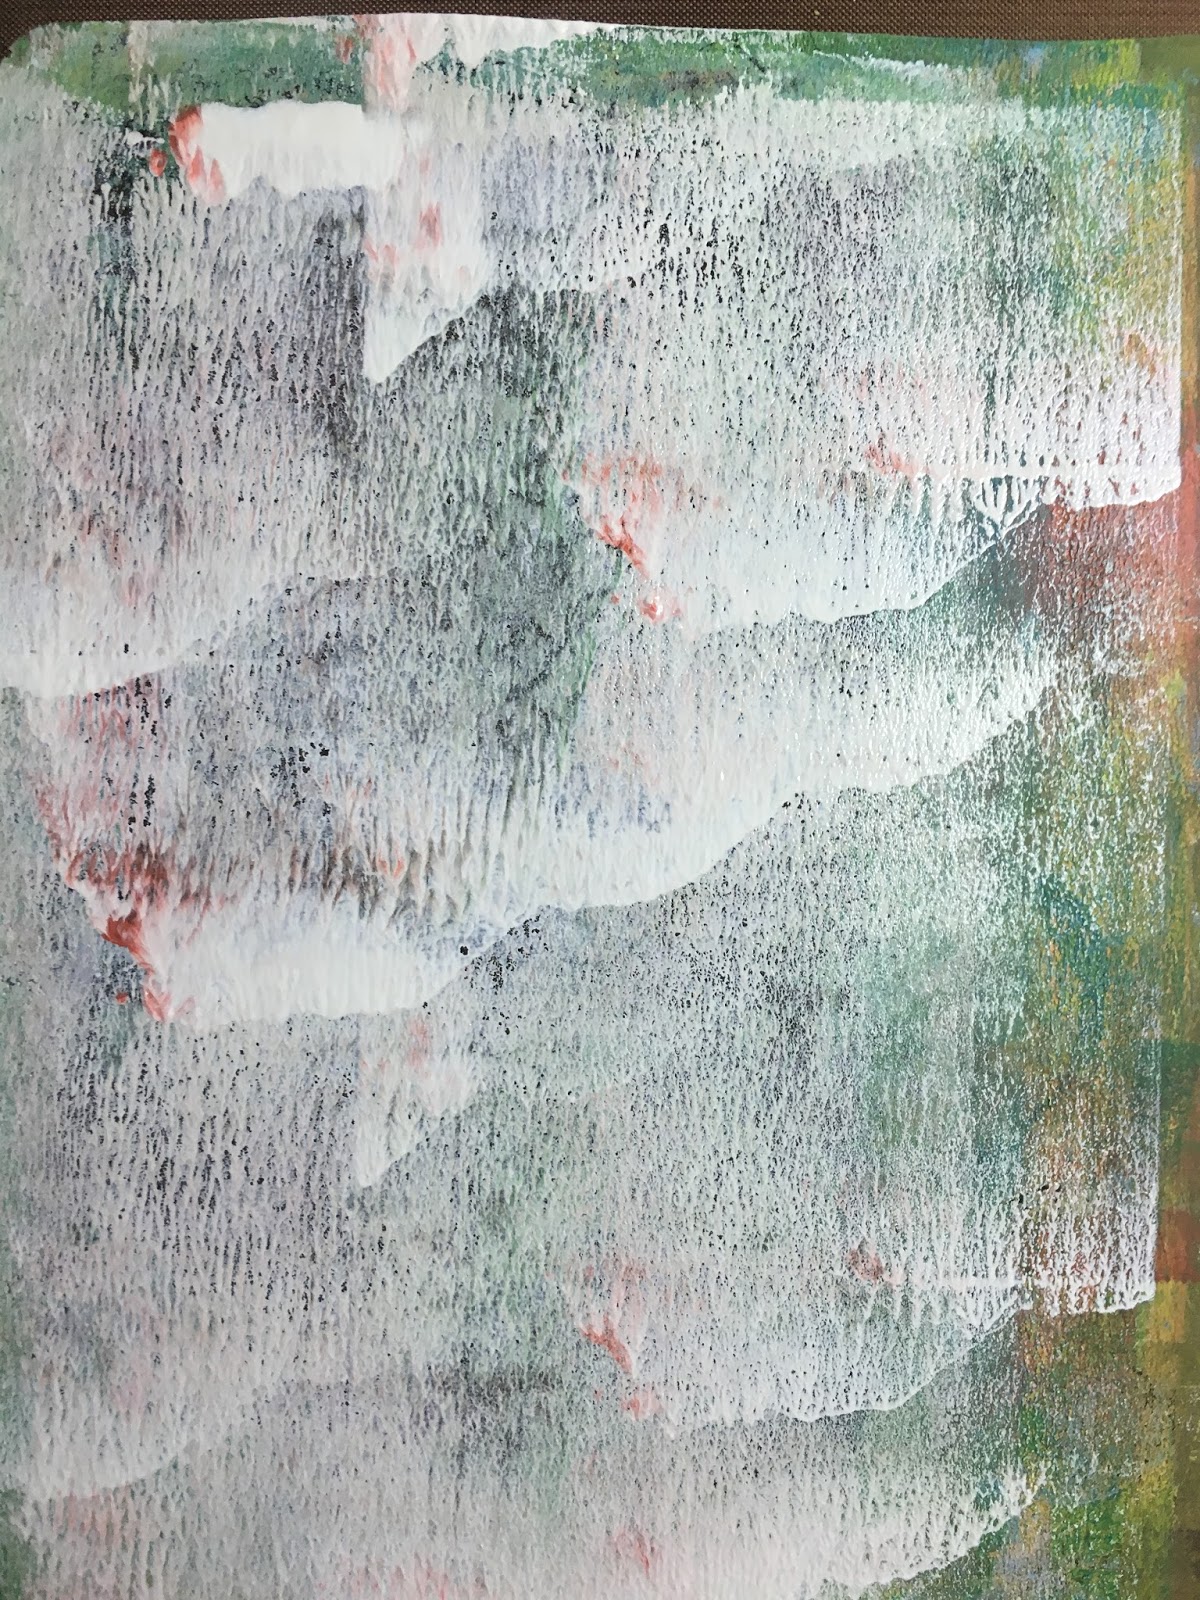
However, the blue on it's own looks lovely (phew). This is the first print

And this is the print using the residue left on the GP

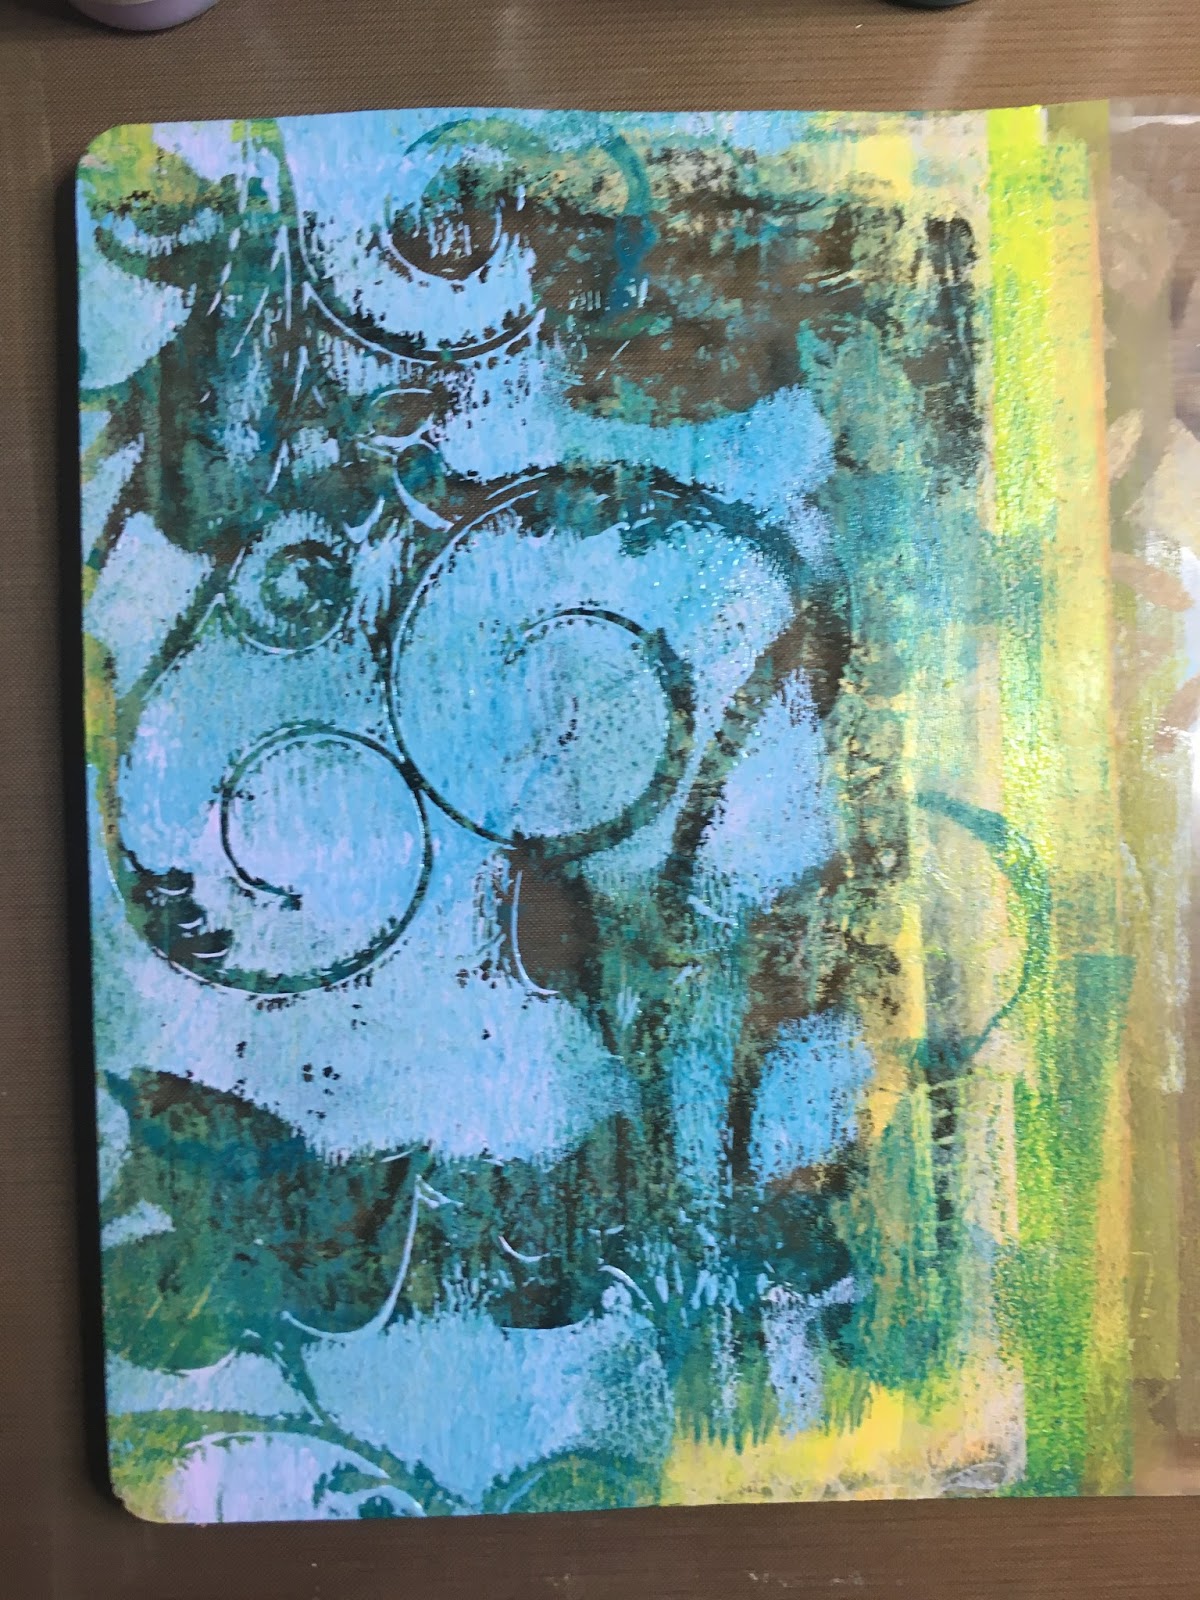
I brayered colour through the circle mask

And printed again. Like this one.

I applied more colour, and brayered through the circle mask again


And did a print on the second piece.

There was loads of paint, and the print left on the brayer, can't waste this

So I brayered onto the GP

And took a print

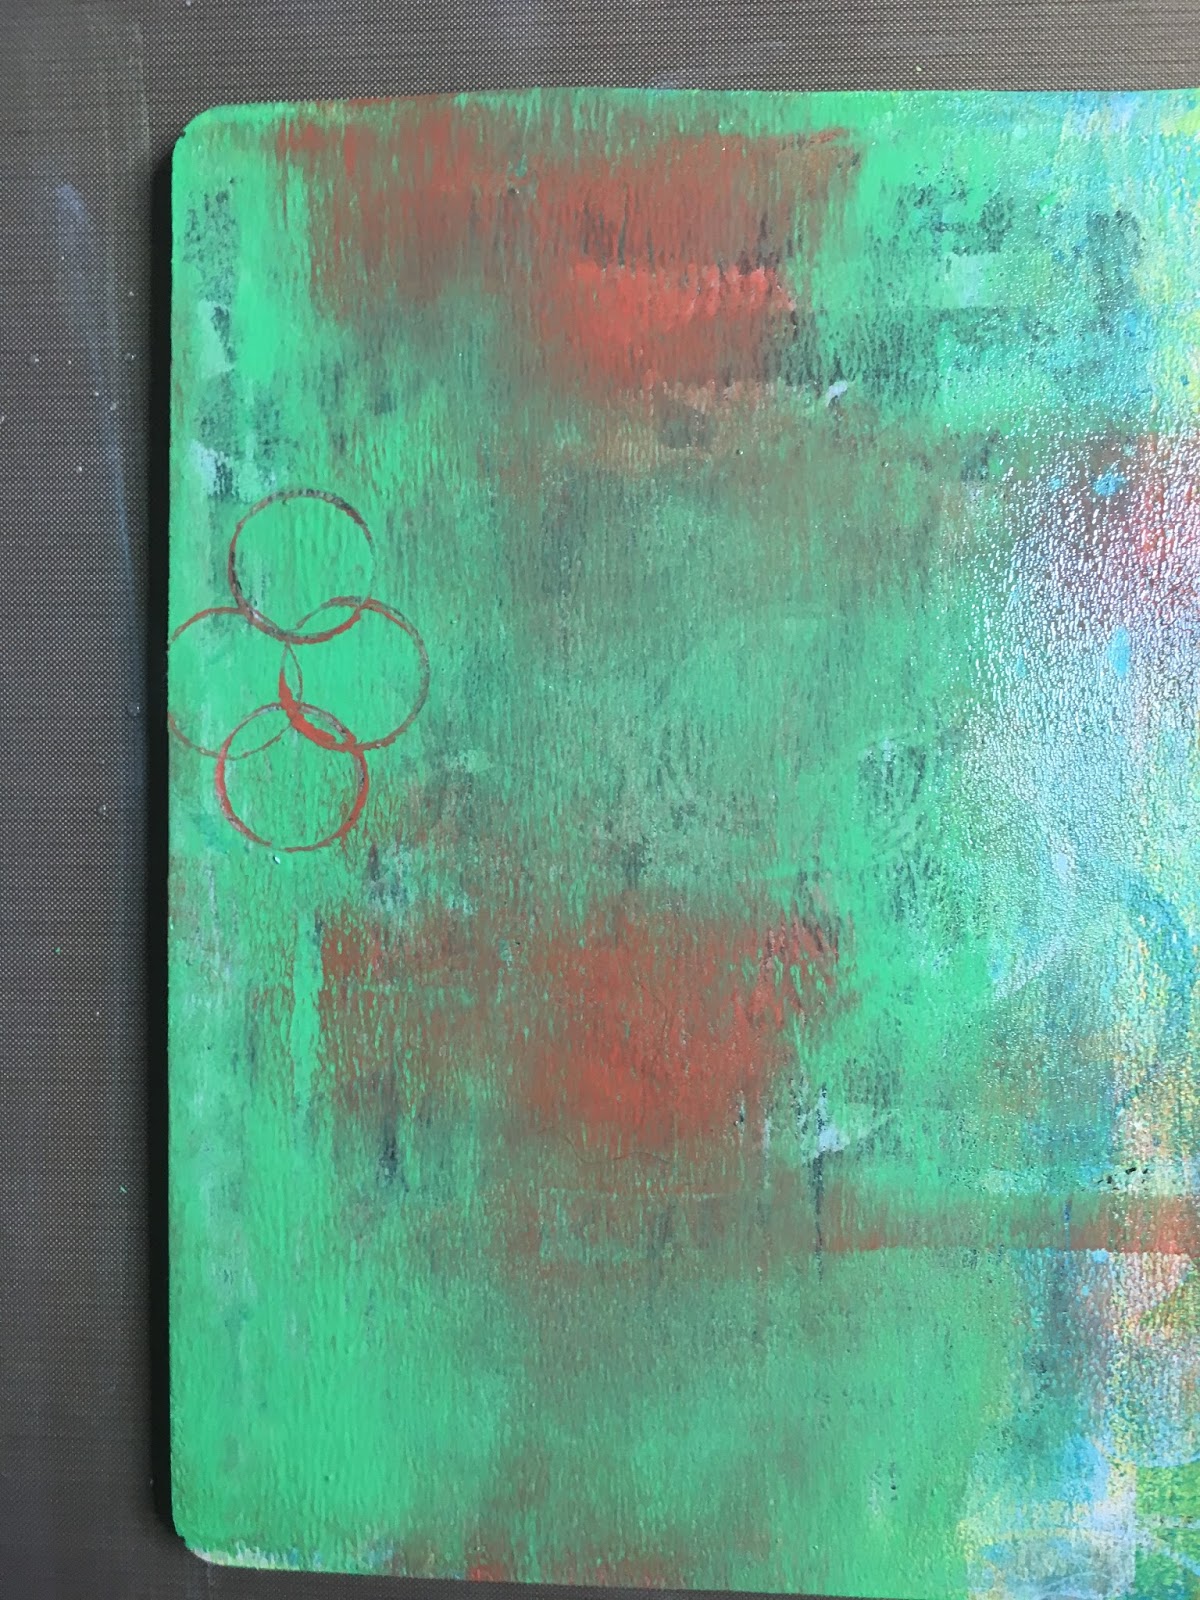
I added more paint, and made some circles


Which I over printed.

Change colour again. I like this vibrant mix. I used the lid off some bottle to add circles this time

And then brayered through a mask

This is quite a strong print.

Again I had the paint and print on my brayer which can be transferred again

I decided to knock the colour back a little, so applied a lighter shade, which I covered with the mask. This time I left the mask in place and printed


This is the paint left on the GP, which of course needs printing

It has gone a little muddy - but I do like the print

I added more paint. I didn't try to get a smooth surface, as this in itself will create visual interest
I brayered paint onto my stamp, and stamped onto the GP

When I printed the trees look really subtle. I like this one a lot

Next, I applied paint onto the GP, and then popped my acrylic block onto the GP, to pick some of the paint up


Quite like this. Not sure about the colours though

I brayered paint onto the acrylic block, and transferred this onto the GP


I then over printed onto one of the earlier pieces. Like it!

And then...I ran out of time and realised I was really late!!
I hope you join me tomorrow to see what becomes of the poor little egg.
16 comments:
Didn't you have some fun today with the gelli plate.
Good to see the good,the bad and the in betweens. I'm going to have a try with the gelli plate and leaves tomorrow and see how many of mine go in the bin.looking forward to the eggs. M F M xx
Hi Leonie,
Glad I!m not the only one with a gelli plate lurking in the back of a cupboard. I did try it when I first bought the thing, but got into such a mess and the results weren't wonderful so I gave up. You have encouraged me to try again, I have spent the day die cutting shapes out of fun foam to make stamps, in the hope that I will find using stamps to remove paint easier (and not quite as messy) than using stencils, - I'll find out tomorrow
Regards
Dorianne
Hi Leoni and haven't you been a busy bee. Lots of tries and playing with your geli plate as well as loads of photos. Look forward to seeing how the egg challenge works out x
Great post All those photos! Love it I liked some of the prints you didn't like lol! Screen on my iPod (yes iPod) isn't very big though!
Hiya..bet you loved getting messy. I enjoyed learning without having to clean up.
Hiya..bet you loved getting messy. I enjoyed learning without having to clean up.
Wow Leonie, you have had lots of messy play time.
Thank you for showing us, I quite liked them .
Take care Kitty.
Wow did you have a messy playtime! Some of the prints were lovely and some not so nice. It was good to see the different ones you had done,even those that you put in the bin. Thank you for taking all those photos,it must have taken a long time,but we all get to learn lots along with you which is great. Thank you.
Looking forward to the egg shells. We have our own chickens and bantams,so plenty of egg shells,not to mention gorgeous eggs!
Wow Leonie it must have taken ages to photograph each stage of printing...one of your last ones with the trees looked like a lovely Snowy forest! As to the print in the bin...seem to recall Barbara Gray brayers a lighter paint on Gelli and leaves it to dry I think and then takes a print...might that rescue your reject? Seems a shame to waste all your hard work..anyway..looking forward to seeing what you come up with for the eggshells...brilliant suggestion from Sheila! xx
How long did it take you clean up after that session! I bet you had paint everywhere!
My goodness what a marathon Leonie but some spectacular results. Best wishes Jackie x
Hi Leonie, Wow, you have had a 'bumper' gelli printing session, loving your results, I would have loved watching you if you had 'video'd' this session.
I look forward to the 'egg shell' project.
Lots of love from Patricia xx
Some fabulous prints you managed to create with the Gelli plate. Looking forward to seeing your post tomorrow with the egg shells.
Hugs
Linda xxx
The only way to learn how to use all that stuff in the back of the cupboard is to play. Only problem with that is finding the time! Bet you're quite chuffed with today's efforts - looking forward to the eggshell project.
Wow you did go mad!! Some interesting stages there and I love that tree stamp
I am yet to get myself a Gelli plate but it definitely looks like I need one now. Loving the prints you did. Creative Blessings, Tracy x
Post a Comment