
So, the challenge was you had to select 3 products for me to use - and the winner was "C". If you are reading this please email me your address as you are the winner of the finished piece, I hope you like it.
C choose embossing paste, stamp and natural twine. Funnily enough, I have all these things in my stash. So, these are the goodies I choose to work with:
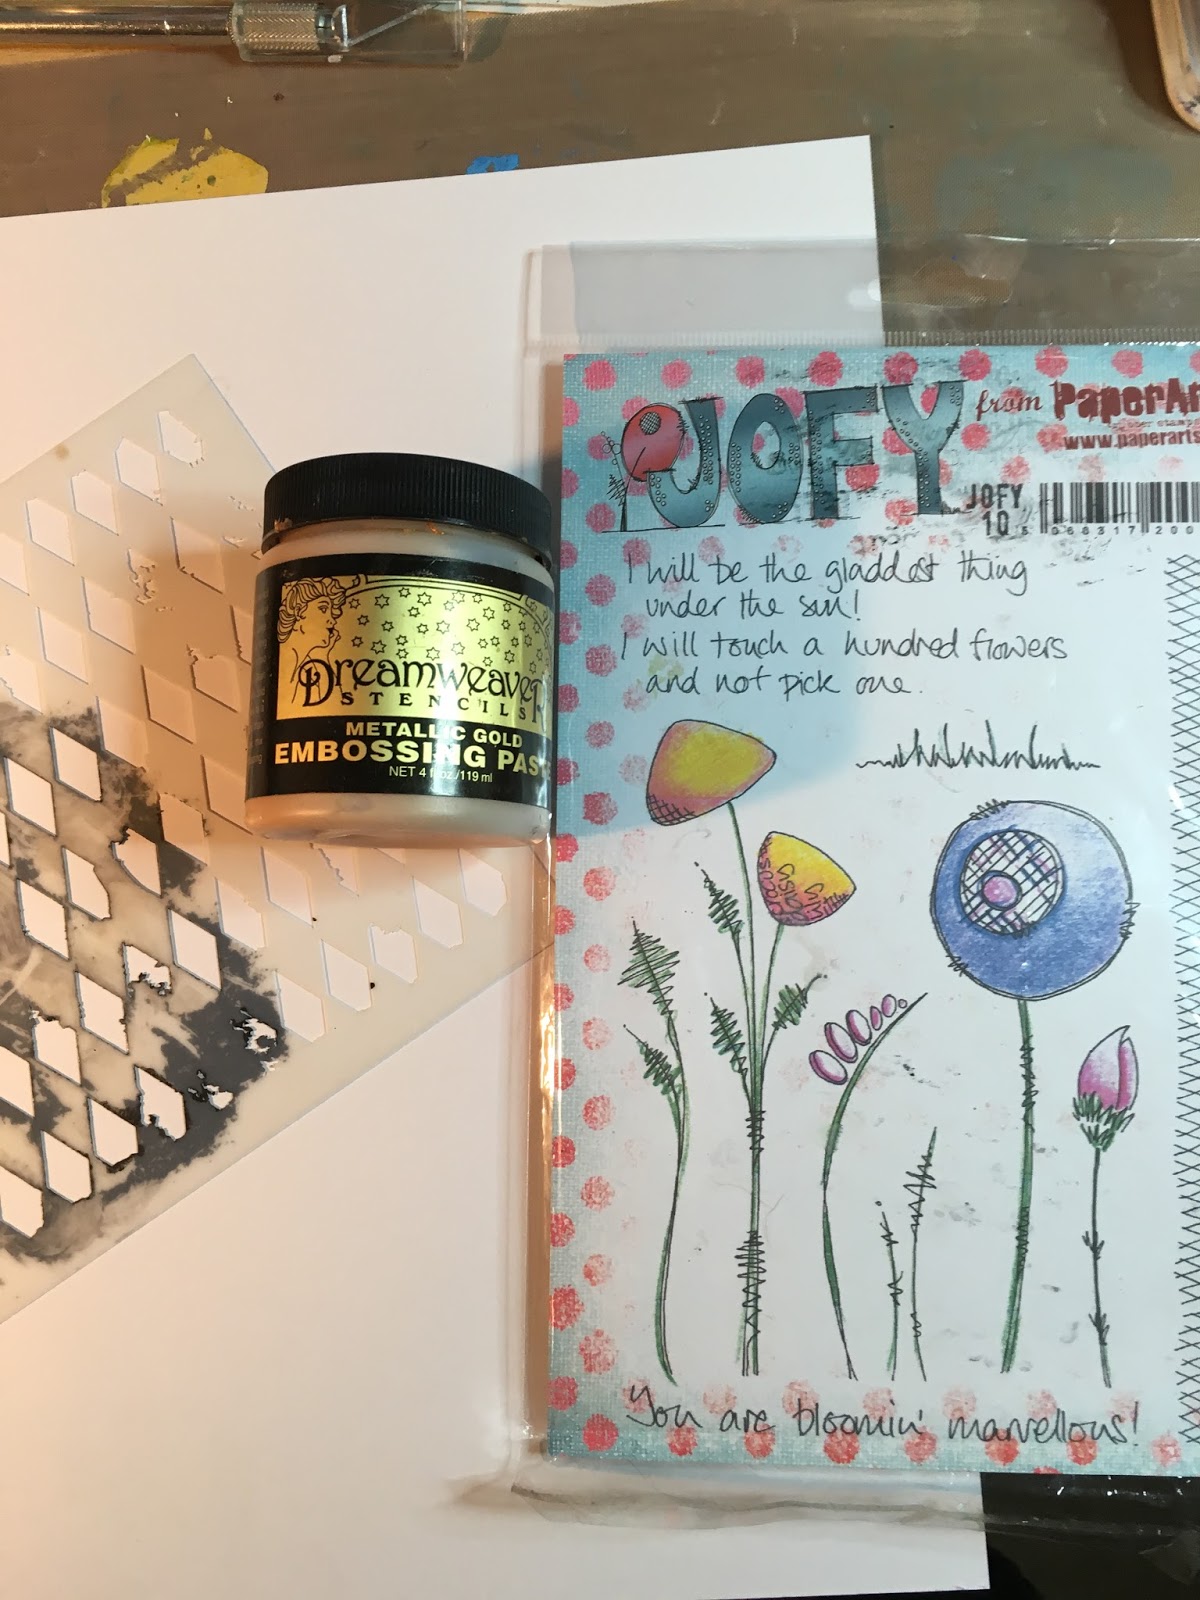
The stamps are from Paperartsy, and really cool designs. I've used a Crafters Workshop stencil (one of my favourite companies), and then embossing paste from Dreamweaver.

I also choose to use paints to create my background. I'm using Paperartsy chalk paints. I like their consistency, and also the ability to layer with them.

I created a really loose background. I popped a block of each colour to form a square, and then layered a little of each colour over the top. I used a sponge, and didn't worry about attempting to be neat and tidy. I like doing backgrounds like this, as you always get an interesting finish when you over stamp.

I used the background stamp first, twice, to great a base

I then stamped my first flower. I made a mask out of scrap paper, and added glue to the back. I used a quickie glue pen, as when the glue goes clear it remains tacky, but is repositionable. The mask will allow you to over stamp - which looks like this

You can see I've stamped the next flowers on the white paper, and then when I remove the paper:

You see the flowers just sitting behind the first flower

I added some grasses, all using black momento ink

Then to use the texture paste. I used my mask, which I stuck down with masking tape. I didn't have proper low tack tape, so only applied a little dodgy masking tape. And then I didn't have a spatula - obviously I do have one somewhere - it'll t! However, I just used a lolly pop stick, which was fine. I wasn't attempting to get a smooth perfect finish anyway, so it did the job perfectly.

I blasted the embossing paste dry with my heat gun, you can see the shine from this photo. It looks lovely.

I cut my card base down. I haven't mentioned, but I am using mount board, as I wanted a heavy card to withstand the paint and paste - and just in case I changed my mind and started adding lots more paint! I then wrapped my string around the edge.

I found some burlap, and frayed the edges, to give it more texture. I added a little paint onto the edges, and then glued it down under the string.

Next, I used a scrap of the mount board which I painted a background using the same paints. I dried it with a blast from the heat gun, and then stamped my sentiment onto the card. I cut it down and matted it onto a piece of black card

Finished. I added glossy accents to some of the words on the sentiment. I went over my stamp designs with my drawing pen, to emphasis the images. I'm really happy with it


14 comments:
Lovely...great idea..just like ready steady cook 😊
Glad you enjoyed yourself..photos are great thanksfor sharing. X
Lovely...great idea..just like ready steady cook 😊
Glad you enjoyed yourself..photos are great thanksfor sharing. X
Absolutely lovely Not seen the embossing paste before I like it very much! I've used shimmer paint in the past but this looks much more shiny I've not tried chalk paints - something else to try And I must try Quickie glue pen to create a mask for stamping
"C" will love it Sounds like it was a great party too
Thanks for sharing. Love the paint layer background. My kind of messy crafting!
Hi Leonie.
Wow a great creation Thank you.
Take care Kitty.
Great Leoni thanks for sharing. Sounds like you had a wonderful night out x
Fab creation Leonie I'm so glad you're back creating & sharing again!
Absolutely beautiful Leonie love the effect, hope you feel more yourself soon.
Hugs Julie xxx
Fabulous and congratulations to C who I am sure will love this piece of art!
Hugs
Linda xxx
I absolutely love this Leonie! Fab-u-lous Darling! xx
beautiful piece of art x
Hi Leonie
I've just found your blog. So pleased to hear you will be on our screens soon.
I have email c&c numerous times over the last 2 years. Saying you and Dawn should have your own show as you are both crafters first and presenters second.
I don't like how they've gone it seem to be all big companies they've forgotten about the independent small firm.
Happy Christmas and a prosperous New Year. It will soon be here.
Jacky
Leonie Thank you so very much. The postie delivered this gorgeous piece of artwork today and it is even more beautiful than the photo. I am thrilled... Thanks again.xx
Post a Comment