Sunday 19 April 2015

CHA Creative exchanges - part 2

I survived my first ever "keynote speaker" gig!! Whoop whoop. I was so nervous I thought I was going to cry. But I didn't. I think my lucky mascot helped me through, here's a pic:


Thank goodness for poldark!! 

I had a really really good day. I learnt new hints and tips from the seminars, saw lots of crafty friends, and made new ones. And was reminded, yet again, why I love this industry. I love the diversity, passion and energy. I'm so glad i eventually joined the CHA, and hope to be much more involved in future.

I based my talk on how I believe craft gives us freedom and escape, and how lucky we are as teachers and demonstrators to have that skill that we can pass on. I also babbled about how I came to find myself chatting away on tv.
I hope it went well. I didn't faint/cry/run or even have a made flush - so that's a winner.

I'll share a few photos of some of the lovely people I bumped into:

The lovely, and very talented Sara Naumann


Jenniffer Taylor - THE dress. Jenniffers first sewing project - her own wedding dress!! With hand made lace. Amazing.


Jenniffer Taylor her very self :)


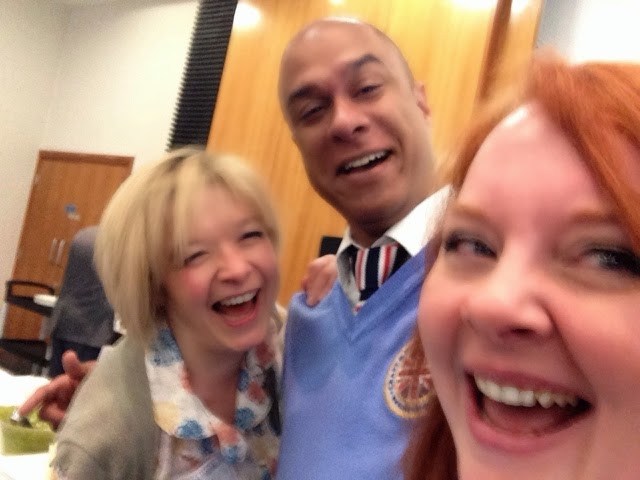
Okay, I'm going to keep saying talented!! Of course everyone is - it was a CHA meet up :) Sarah Hurley is talented and funny. Great seminar. Craig de Souza was brilliant as ever. 


Hehe, Suzie Candlin - making sure she kept hold of her fabulous coat when I was around!! Caught busy ironing the onesies 


#sewingrevolution Jenniffer Taylor spreading the word


The lovely Linda (congratulations again Linda) 


And last, but absolutely no means least, the wonderful Fiona :)


CHA Creative exchanges

I'm up bright (???) and early as today is the CHA UK creative exchanges day. I'm really looking forward to it. There are seminars from various bods in the industry, and it'll be a fantastic opportunity to meet up with old crafty friends, and no doubt meet new ones.

We're going networking, don't cha know :)

Scarily, I'm the keynote speaker! By Jove, how am I going to talk for 40 minutes!!

Where's the club VT....magic hands, where's magic hands.

I'll try and get some snaps from the day to share.

Friday 17 April 2015

Staz on stamping

Good evening folks. I'm blogging when I should be sleeping! It's early, but I'm whacked this evening. I've had a smashing couple of days at work. We had our 12th birthday at c&c - which lead to lots of cake eating. Had some smashing shows though, and it has been a great excuse to dress up.

I got home to be greeted by quiet dogs. This isn't a good sign. They normally bark as soon as they hear the gravel on the drive. Quiet dogs mean a surpise awaiting. Funnily enough, they arnt great at leaving good surprises.

Dylan hasn't been very well, he has a dodgy belly - which meant lots of cleaning. It took hours!! Poor little dog , I hope it's something of nothing - he's curled up by my feet now - smelling much better (oh yes, the cleaning included washing the dog!!). Poor love.

Anyway, after all that, ive decided to do a quick post this evening. I'm sharing another project (or part of one), that I did for Cardmaking and papercrafts.

I used white staz-on, stamped on acetate. I coloured the reverse of the image with cosmic shimmer pva.
I love this technique, as you don't need to worry about staying in the line, as when flipped over, the image looks perfect. I also adore the look of the pva on acetate. Mix your colours on the acetate, when they dry they give a fantastic marbling effect.


I have attached one image on a white background, and the same again but this time on black:


The other fabulous point about this technique, is the ease at sticking the acetate to the card. The pva is not only colourful - but remains a pva, so allows you to stick your image down , without a problem.

Okay folks, that's me done and off to bed.

Goodnight :)

Tuesday 14 April 2015

MDF Tag

Almost on a roll, two postings in a week!!  Lets see how long this lasts.

Well, had a lovely day today, the sun has been shining and we went for a lovely walk with the dogs.  They're now stretched out sleeping - and smelling to be honest. I'm now catching up on Poldark - smashing chap wouldn't you say. Smashing.

Now then, be still my beating heart and get back to the crafting...

Tags, that was it.  Tags.  So, this is a piece I did for Crafts Beautiful a little while ago, but I thought I would take photos so you could see it in greater detail.


I used a MDF tag from The Dreamees, fantastic value for money, and really easy to decorate.  I also used one of the Dreamees CDs for the papers.  I printed a couple of sheets off and glued one to the bottom, the other to the top.  I applied paint to the edges and the sides of the MDF.

I then stamped, using a Dreamees stamp, once on the MDF piece, again on white card, and then onto a scrap of the pink poldark....sorry, POLKA DOT paper :) I cut out the bottles and glued them over the top of my image.  I cut out the rose and leaf, and popped them aside for a moment, and then I cut out just the labels from the polka dot paper.

The bottles and rose were coloured in using Spectrum Aqua pens,

Next I tied some of the Dreamees lace around the tag, and added some jute cord for that natural finish.  I stamped a butterfly which I cut out and glued to the boy, together with the With Love banner, which I stamped onto plain card and inked the edges.


I decoupaged the rose onto my tag, overlapping the lace.  I used Pinflair glue to attach the rose.  I then added my finishing touches.  I used glaze on the bottles, and added a little sprinkle of mica flakes to add a subtle sheen.

I love making things like this, they are easy, and make a brilliant gift idea.

Okay, back to Poldark - maybe I should just watch it again in case I missed anything.


Sunday 12 April 2015

Interactive cards

Well, where have I been!! I've deserted my blog for such a long time. It's not that I haven't thought about it - this happens a lot in life though doesn't it. We think about doing, saying, being - but putting that into practice can be tricky. I have a tendency to completely forget. If something doesn't get done when it fleets through my mind...then the chances are it may not get done. I write lists, and then fail to remember I have a list to check.  Oh hum. I remember the important stuff, brush teeth, feed the dogs, so it's all good.

I wanted to share a card I made with you. We recently did a "book club" show here at c&c, and I was very lucky to be able to take the books home and peruse at my leisure. I adore books, and have a particular soft spot for all craft books. I own many, and find they help feed the imagination. I decided to attempt a couple of demos for the show, one I managed to do, the other I had to leave - until now :)

The book is:
Really nice book, very highly recommended.

I haven't given you measurements (I don't do measurements, and the book will give you those), but I have taken photos of the process.


Start by picking your card, I have used some lovely hunkydoray card. Choose the part that will be the "moveable" element and cut 3 sides leaving an equal border on each side:


The next piece of card will be the "slider" element, and you need this the width of the aperture you have created above:


Create a topper for your moving element, and glue it to one side of the score line only - otherwise it will not move. You then attach the slider to the far side of the moving element, as you can see here:


The moving element is stuck to a mat and layer using strong adhesive, and then this can be attached to your base card, leaving enough room for the sliding element.  

Decorate, and viola:
 If you want it "proper posh", then include and insert which I have added extra butterflies and cosmic shimmer pva for a finishing touch.

And then, playtime with the dogs :)