
Yesterday a lady, Aine, commented that it was good seeing a card that was just made using paper - as it does cost a lot to build up a stash of dies and punches, and the like. Obviously over the years, we do accumulate a lots of craft stuff, but when we're starting out, there's only a limited amount of things we can purchase. With this in mind, I thought I would do another paper card. This time, I've drifted back to being a bit more "arty" and altered.
First, I started with ordinary brown paper:

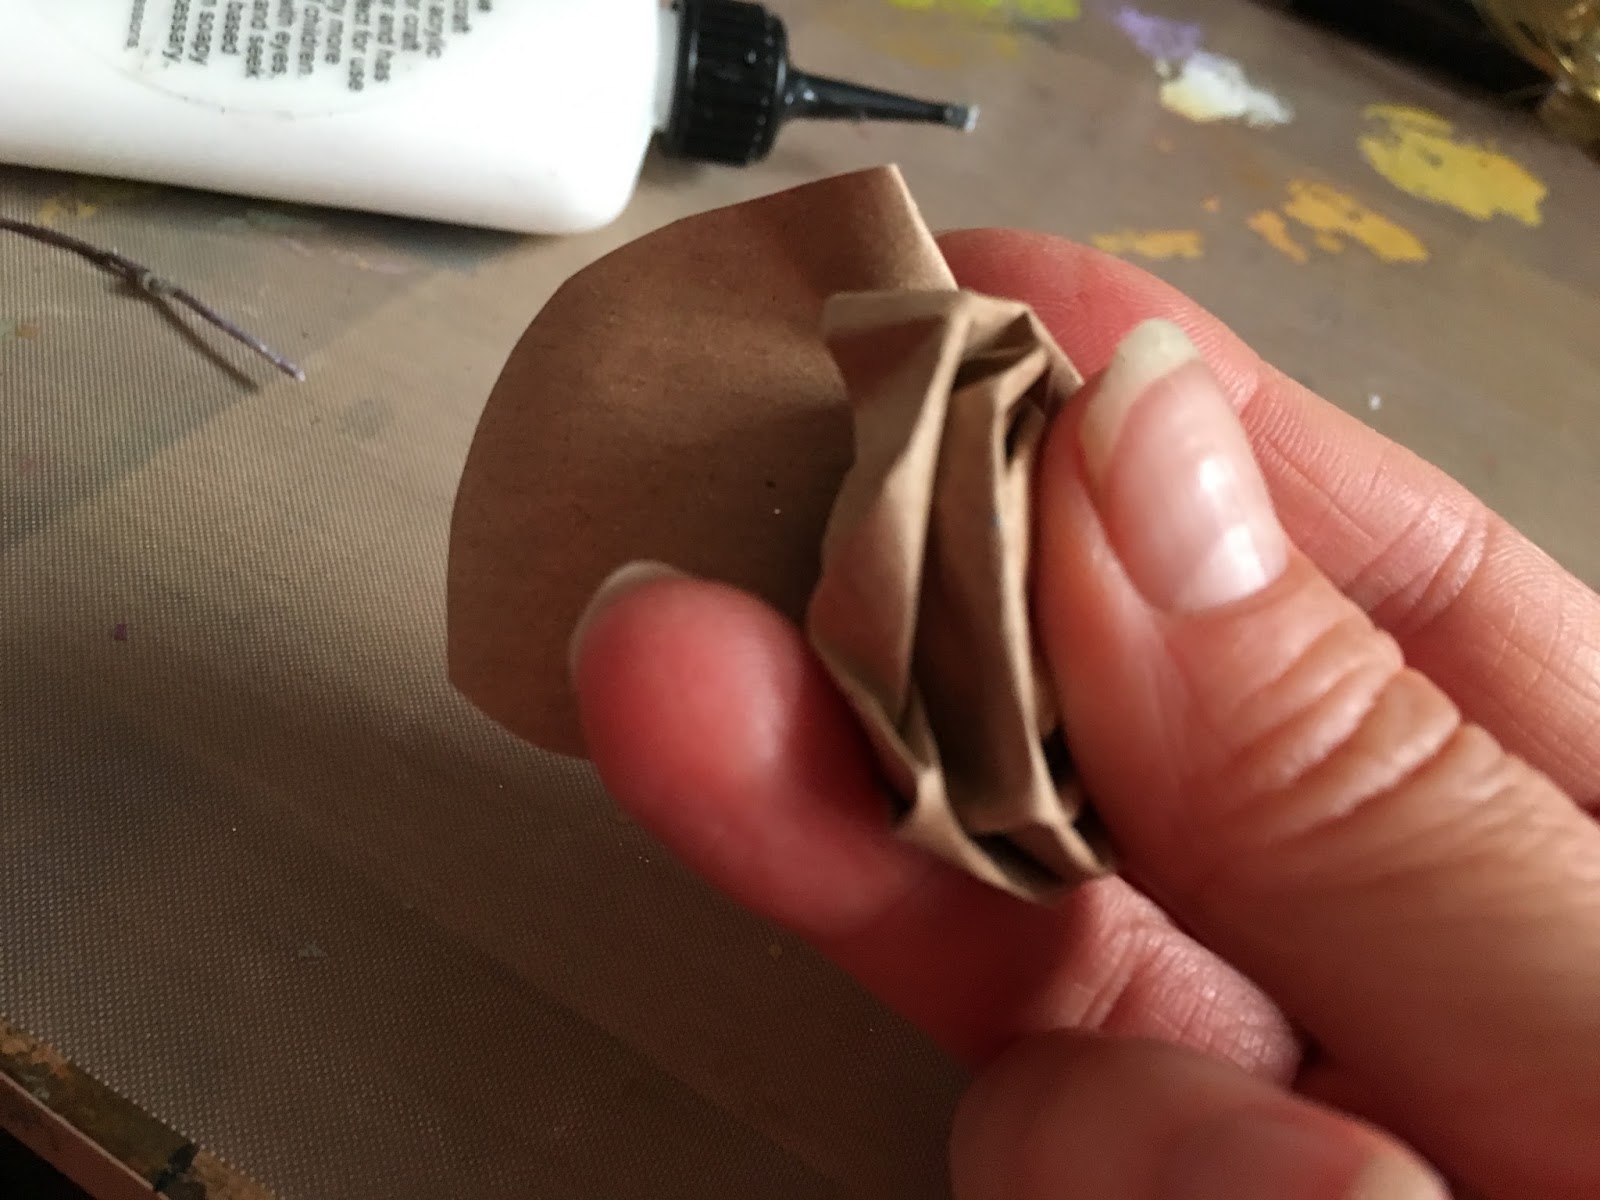
I decided first to make some paper roses. If you haven't done them before, they're really easy. Just cut out circles (sort of circles). I cut two at a time

Cut a swirl into the circles. Again, it doesn't have to be perfect. I avoid making it to thin, as I find it easier to work with. Leave a circle at the end, which will be in the centre.

I folded over the coil - again, not perfect

starting from the outside, start to wrap the coil round. As I was working, I kept the fold in the paper, and added creases and scrunches to the paper

when you are happy with the flower (don't be afraid to let it go and tease it into shape. You may find you have spiraled it to tightly, so need to let it spread out a little). Leave the circle of paper you have left at the end of the coil, and cover it with glue. You will then be able to stick the rolled flower onto this circle. That's your little rose done....which oddly I haven't taken a photograph of! Sorry. I've not even used them...so that was a random section of this blog post wasn't it. Welcome to my brain.
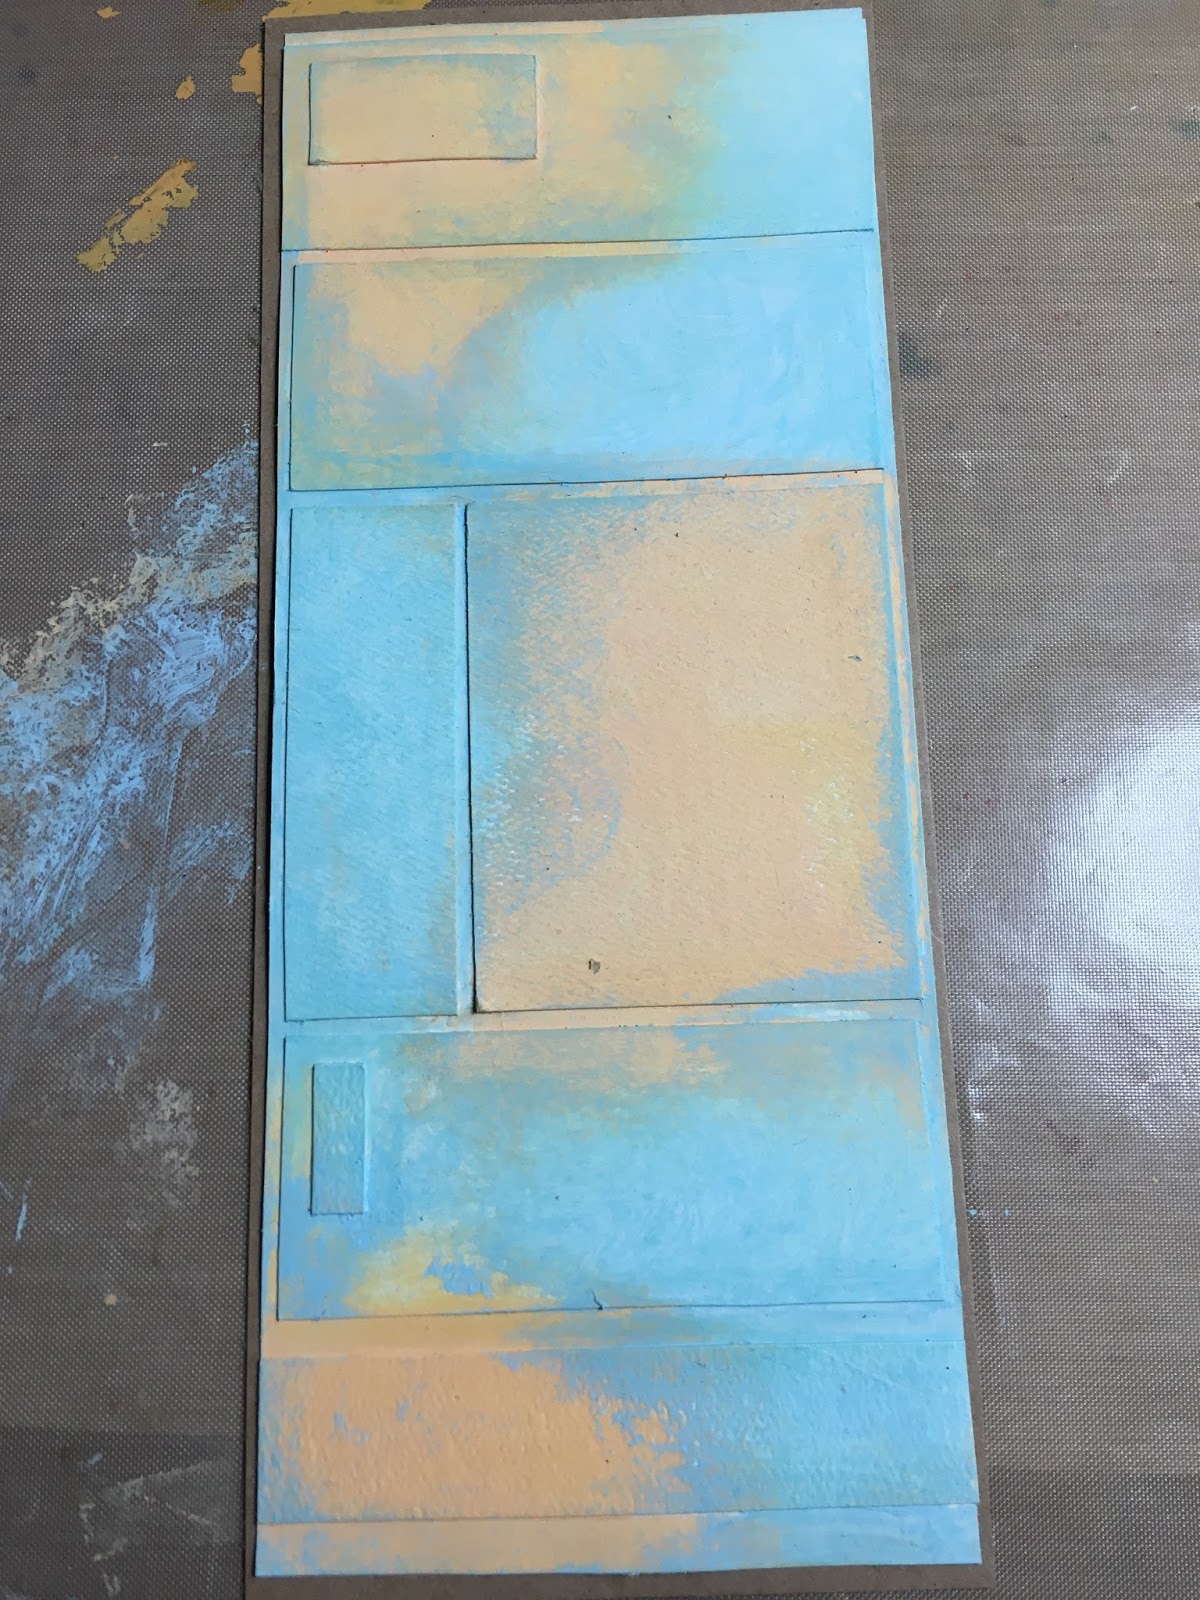
So, completely moving on...I took my base card which I've decided I'm going to use, and then fished out loads of scraps. I've seen a technique where people use tape on their card, and then paint over. This gives a great textured finish. I thought I'd try it, but using strips of card, as I always have so many bits left over

I worked out where I wanted them to sit, and then glued them in place. I picked different textured card as well

I then used a little bit of paint. This is just acrylic paint, so try any. Experiment with ink pads, watercolour paint. It doesn't even have to be craft paint. I splodged it on with an old towel
Next I added string to my card. This will be the stem for my flower. I used Cosmic Shimmer PVA

Next, using the brown paper, I cut out little petals. I folded the paper over and then cut it out so two petals are still joined. I did trim the slightly larger one down so they are all similar.

Next, I folded the petals over, but allowed them to be off set slightly

I then layed one on top of the other, to form my flower

I cut a little base for them (there's a technical flower name for this :) ), and glued the petals inside


I then made sure they looked okay on my card


Sorry, this picture is rubbish!! I then painted them with the same paint I used for the base. I used the lighter peach colour first, and tipped the petals with the blue

I glued the flowers in place when dry. I did shape them, and used Pinflair so they stand off the card. I then used the end of a paint brush, and white paint, to add little dots onto the piece. haha, this picture is the paint brush

And here are the dots. I decided they were a bit much, so, using a cocktail stick, I scratched the paint to create smears. Make sure you do this when the paint is still wet

I quite like this effect. Scratching with the cocktail stick gives a nice texture

I then cut out little leaves, and stuck them to the stem. And then a little piece of brown paper cut into a scallop which sits at the base of the flower head

Grrr.....this drives me mad. When I'm working with paint I ALWAYS put something in it. Everytime.

I then, relaxed, and added some glitter glue to the ends of the petals

I used a lovely stamp, which I trimmed after the comma

And attached to my card. I used my drawing pen to add some scribbles to some of the raised portions.


Viola. Such a cheap make. This is just brown paper, paint, scrap card, one stamp, ink pad, glue, and paint. Oh, and a paint brush. I think that's it. Oops, glitter glue. But a little different and definitely fun to do :)


