Showing posts with label Stampendous. Show all posts

Tuesday, 16 February 2016

The Last Day - The final countdown........

Well, this is it gang, just a few hours to go.  I'm a tad nervous - silly isn't it.  It feels much a long time since I've been on the TV, it's almost like starting back at the beg inning.  Gulp.  Needless to say, I've glue and ink all over my fingers, I still need to do my ironing, and I'm not sure where my nail file is....so business as usual then :)   I would hate you to think I'd changed and got myself all organised in the last 6 months.

The last challenge (for now, but I have enjoyed them, so I'm sure I'll chuck a few in here and there).  The winner this week was Patricia Howarth. Congratulations Patricia, if you email me with your address I will get your card sent out for you (eventually, I'm a little behind with my posting).  My email address is: leoniepujol@hotmail.co.uk.

Patricia challenged me to use:
vellum or parchment
Gilding Flakes
Distress Pens.

After a little while, I'm afraid I had to give up the search for my distress pens - so I replaced them with distress inks.  To be honest, I probably would have used the pens in the same way, as some ink can be too wet on vellum causing it to stretch and bubble.

Okay, here's what I did:

I found some nice old vellum which I've had for ages, and love!!


I used a script stamp, and my Glitter and Glue adhesive from Cosmic Shimmer, which I added to the stamp.  I stamped onto the vellum you may just be able to see faint writing on the vellum left by the glue


I then applied my gilding flakes


Remove the excess flakes with a brush, and look how stunning they shine


I ripped the vellum at an angle


I then used a lovely stampendous stamp, and embossed it with gold embossing powder, onto another piece of decorative vellum


I used my distress ink directly onto my craft sheet


Using an old, dry babywipe wrapped round a paper stump, I worked the ink into the stamped image.  Do this at the back of the stamped image for a subtle coloured finish


When you turn it over, the colour will be nice and soft, and you will get the shine from the embossing


I placed it onto my gilded vellum, and love the way the gilding can be seen through the stamped image, however, I feel the flowers need to stand out a little


In order to do this, I stamped the image again, but this time onto a piece of cream card, and cut out the main little flowers


When you place the image behind the vellum, it does accentuate the flowers - I like this technique as it's just pinpointing a specific image


I worked out where my flowers where going to be in order to then stamp onto the card, and cover with the gilding flakes


Sticking the vellum down is always tricky, so I put the glue directly onto the card


and then rubbed it into the card


This is a perfect way to stick the vellum down without seeing loads of glue.  I positioned the flowers precisely where I needed them


I then added my flowers on top.  Again, the glue can be tricky, but I added it just around the edge under the embossing.  I mat and layered everything....


And as usual, fell out with it!  So, I trimmed everything down, and popped it on some black card, which I think makes it stand out much better


The final piece, you can see how the gold shows beautifully through the vellum


Nice isn't it.


That's it!  The final blog post.  The next one will be finally letting you know where I'm going to turn up!!  

I hope you will join me tomorrow :)  

Friday, 12 February 2016

Just 5 days left

I've had a lovely day today, ticking boxes and crossing stuff off the "to do" list.....oh, actually, that's not true.  I added 20 things to the "to do" list!!  haha, still had a good day though.

And managed to get my blog post done.  Yesterday I had a play with the scraper foil card, but had ideas which I wanted to test out, like stamping on the scraper foil.....

First I stamped and embossed in white using a cool stamps from Stampendous, onto the scraper foil:

I then scraped away some of the black coating, on the flower head, leaves and stalk


The card had some scratches on it, so to hide them, I decided to draw on a dotty pattern.


I wanted to add a little more colour, so I used the adirondack pens to colour in the foil uncovered when scraped


I added a little blue onto the petals


And green onto the leaves and stalk


That's it, I then decided to mat and layer this onto a card


Such a simple process, but I really like the effect


Saturday, 30 January 2016

Crafty countdown is down to 18 days!!

18 days.  For goodness sake!!

Okay, I fancied a bit of stamping today.  So, I found a scrap of watercolour card stock, this is the base


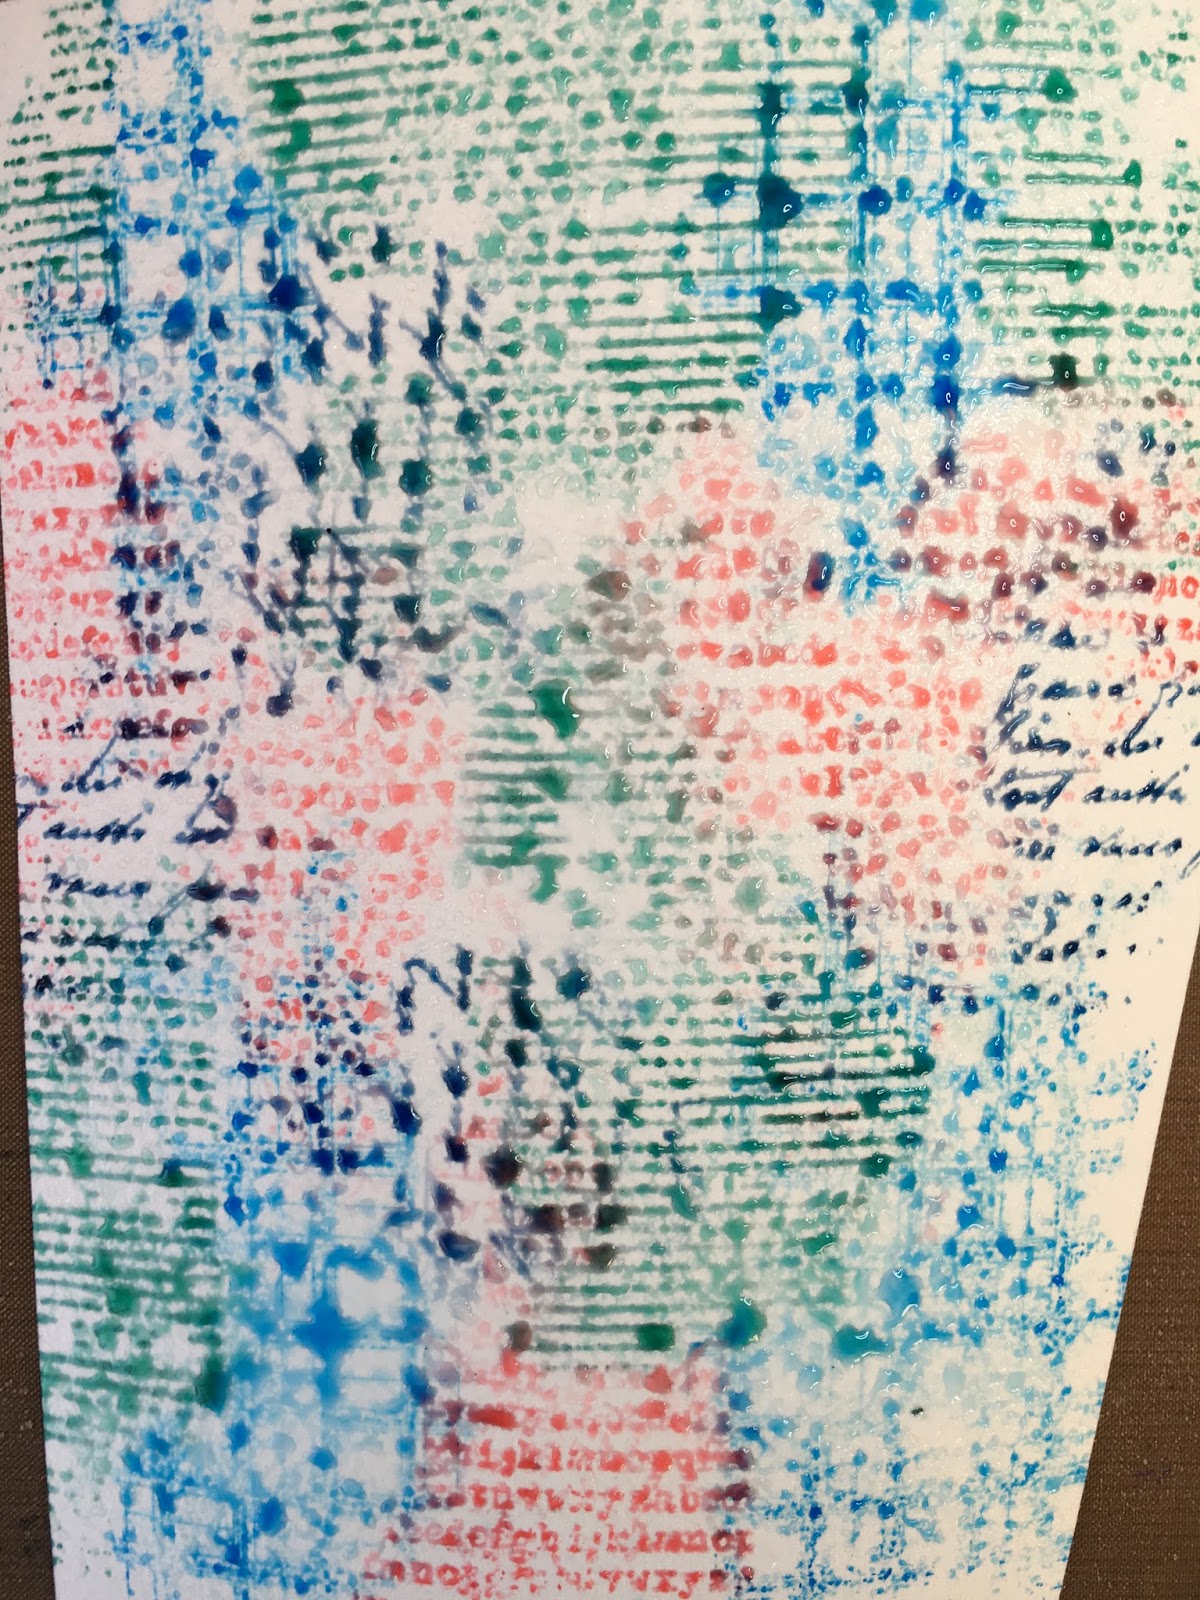
I wanted to create my own background, so decided to use some nice big stamps


Ink the stamp, but you are only touching part of the stamp to the card.  You will have seen the lovely Julia Watts do this technique on TV I'm sure (check out her blog if you haven't already: 
 http://inkyfingerzone.blogspot.co.uk)


Build up the background with different stamps, filling in the gaps.  I used distress inks.


Now, it looks quite intense doesn't it.


So, spritz it with water.  Now it just looks scary.  Don't panic.  It's a piece of card, there's always more card!  


Cover the whole piece with a piece of kitchen paper to soak up the water and excess ink


This will result in a really pretty subtle background.  See how the images now seem to blend together?


Next I stamped and embossed a stunning Stampendous flower.  This is a massive stamp, so really makes a fantastic focal point.


I coloured the flower with the same distress inks used for the background. This will ensure your colour palette matches perfectly.  I layered the colours, using 2 blue tones, and a red/pink


To create shadow, I worked round the flower image with a pencil.  Choose a nice soft pencil which you will be able to blend.  This really does give your image additional definition.


To create a few highlights, I added just a little white paint.  The paint does soak up some of the ink, but it still looks good


Although there is a shine with the distress ink, I wanted to add another sheen.  I took a little Pebeo gilding wax and literally swept it across my card.  I didn't put pressure on, as I only wanted it to touch the top fibres of the card.  You can just see the shine of gold in the light.  Very subtle


As you can see, I stamped my sentiment under the flower


I matted the piece onto black and white card. Complete.