Showing posts with label Gilding Wax. Show all posts

Saturday, 30 January 2016

Crafty countdown is down to 18 days!!

18 days.  For goodness sake!!

Okay, I fancied a bit of stamping today.  So, I found a scrap of watercolour card stock, this is the base


I wanted to create my own background, so decided to use some nice big stamps


Ink the stamp, but you are only touching part of the stamp to the card.  You will have seen the lovely Julia Watts do this technique on TV I'm sure (check out her blog if you haven't already: 
 http://inkyfingerzone.blogspot.co.uk)


Build up the background with different stamps, filling in the gaps.  I used distress inks.


Now, it looks quite intense doesn't it.


So, spritz it with water.  Now it just looks scary.  Don't panic.  It's a piece of card, there's always more card!  
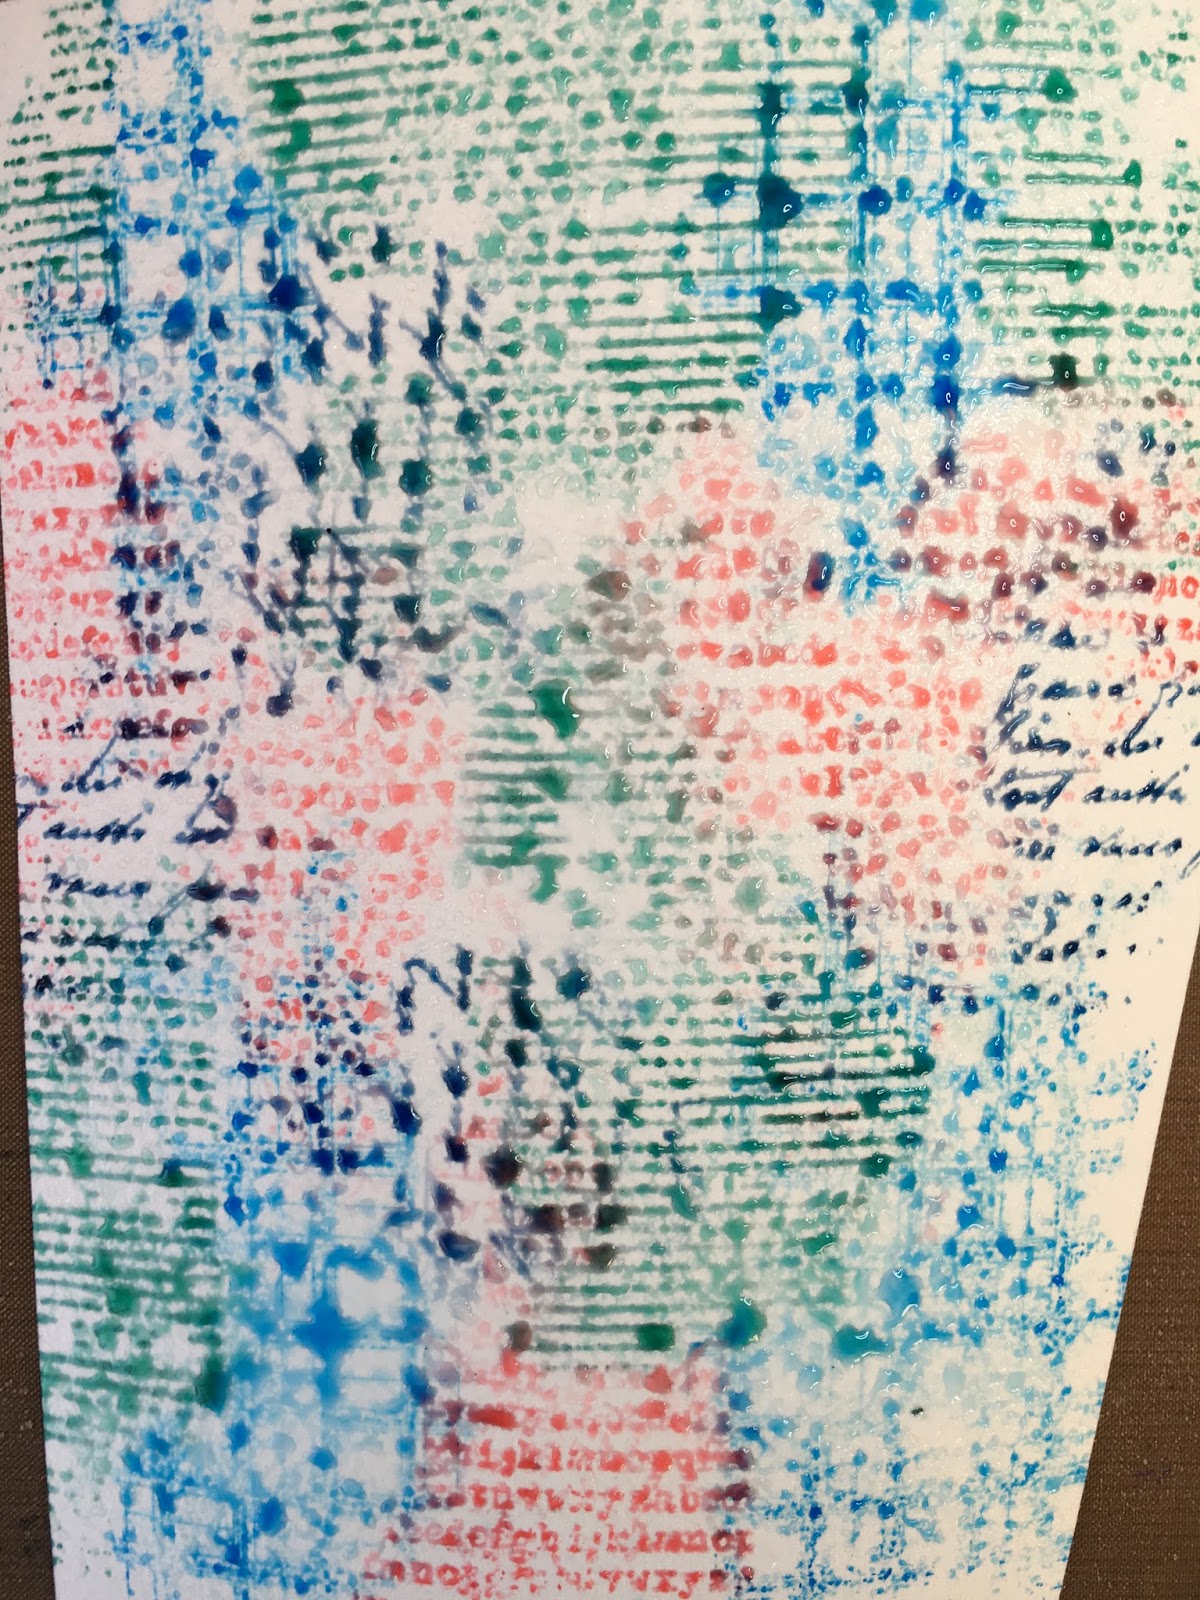

Cover the whole piece with a piece of kitchen paper to soak up the water and excess ink


This will result in a really pretty subtle background.  See how the images now seem to blend together?


Next I stamped and embossed a stunning Stampendous flower.  This is a massive stamp, so really makes a fantastic focal point.


I coloured the flower with the same distress inks used for the background. This will ensure your colour palette matches perfectly.  I layered the colours, using 2 blue tones, and a red/pink


To create shadow, I worked round the flower image with a pencil.  Choose a nice soft pencil which you will be able to blend.  This really does give your image additional definition.


To create a few highlights, I added just a little white paint.  The paint does soak up some of the ink, but it still looks good


Although there is a shine with the distress ink, I wanted to add another sheen.  I took a little Pebeo gilding wax and literally swept it across my card.  I didn't put pressure on, as I only wanted it to touch the top fibres of the card.  You can just see the shine of gold in the light.  Very subtle


As you can see, I stamped my sentiment under the flower


I matted the piece onto black and white card. Complete.


Tuesday, 5 January 2016

43 days now!!

Howdy crafters, and thank you for popping onto the blog.  Before I start with the craft, look at the state of Teela:


She realised Caz was home, and just scrambled onto the settee, on all over her!!  This photo is mid yawn, but she looks like she's singing.

Anyway, craft.  Today, I just noticed a couple of papers and some die cut flowers from an old Craftwork Cards kit


You see the mask printed on the paper.  I decided to fussy cut this out, and then took a quickie glue pen and followed the line of the mask, which I then covered in fine cut glitter


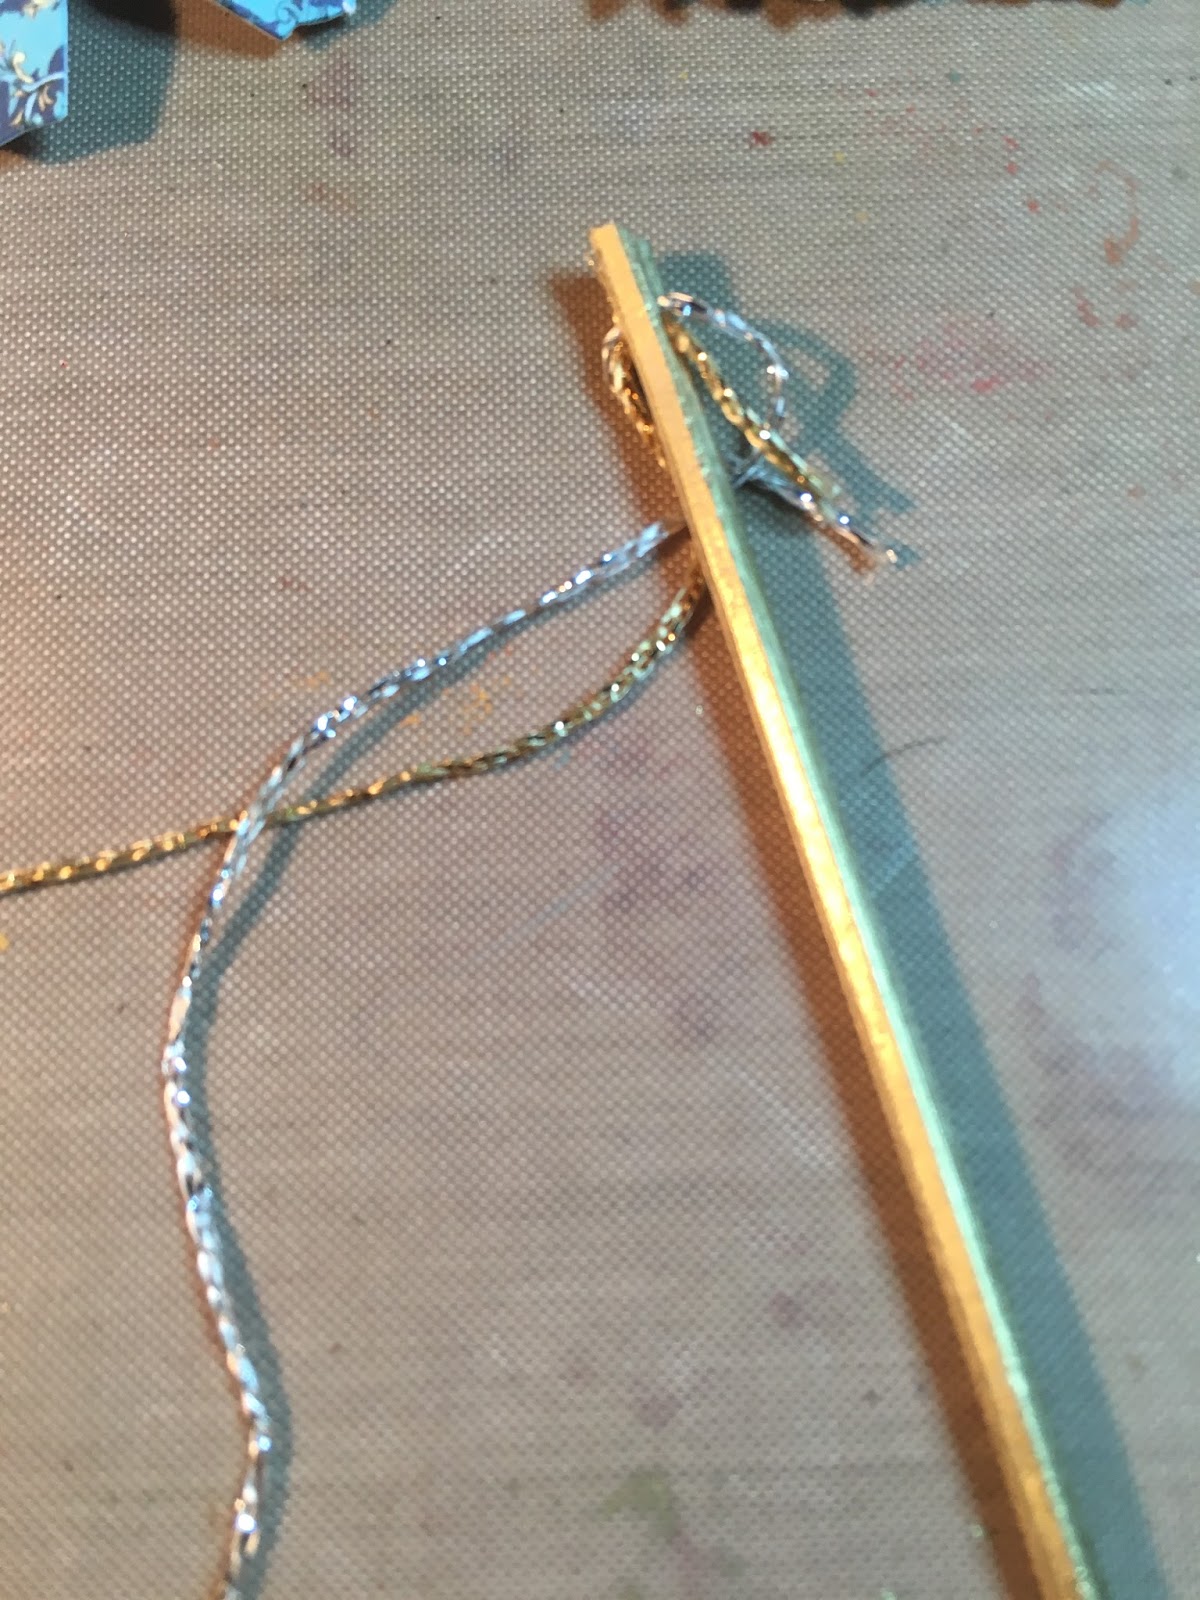
I then took a skewer and trimmed the top off, and made a slit in the wood with a craft knife.  I coated the stick with gold gilding wax


I then threaded two pieces of metallic cord and twisted them round the stick.  I did add a bit of glue to make sure they didn't slip


Now I had a play with the layout.  I decided to use this paper with the feather on, but when I looked at the feather and decided to fussy cut that as well (glutton for punishment)


I glued this onto my card.  And then reaslied I didn't want to do that at all!  I wanted to put a piece of paper under the feather, so I eased it up gently and added my paper underneath


You will see the paper I picked has a lovely border around the top and side, but I had to chop off the bottom so it would fit on the card


Thought I would, at this point, show you the ridiculous space I am working in!!  Ridiculous


I then took the piece of paper which I had trimmed off, and fussy cut the edge from it


I glued this to the base of the paper - oww I did actually edge all the pieces of paper before I glued them down, with a blue ink pad.  I also used this ink pad to add a little colour to the end of each flower petal.  I didn't glue down all the feather down, so you can see the fussy cutting (which you will be able to see in the shadow).


I popped the pieces on to see how it all looked


And then begun to glue everything in place.  I added some really pretty acrylic flowers from - I'm having a name blank as I write.  I'll try and come back to that one!!  Got it!! Anyway, I glued the flowers so the top one just sits slightly under some of the parts of the feather


I curved the mask and then glued it in place, together with the decorated stick.  The sentiment was a stamp from The Dreamees, which I stamped using the same ink used around the edge of the papers.  I'm really happy with this, I think the mask looks beautiful. I added a little more of the metallic cord, which I glued just under the edge of the mask, and allowed to fall onto the card.


Saturday, 19 December 2015

59 days to go did you say!! Craft Countdown....

Into the 50's we launch.  I must admit, I'm dreading having to do my posts over Christmas!  That will definitely be interesting - lets see what I come up with (how many crafty cheats do you think I'll be able to get in).  Haha, decorating Charlie with tinsel.....that's crafting right?

Anyway, this evening I'm back to the inky fingers.  I started with a really old embellishment from the QVC days.  I have so many kits from the QVC days.  We did have some good stuff.  And they had the BEST staff shop.  It was seriously amazing.  I used to get some fantastic craft bargains.  C&C didn't do that I'm afraid.  Ahhh, QVC.  Their restaurant was amazing as well..... anyway, craft.

The beginning...metal embellishments that were adhesive (they're old, and the stick has gone).  And also a beautiful Graphic 45 pad.  I treasure these pads, this one is called Kraft Reflections.  When I had my web site it was the perfect excuse to buy the pads, one for me, one for the web site!!


I also brought some flowers into the mix, and a MDF tag and hearts


First of all, I started playing with layout idea's, to see if I needed anything else:


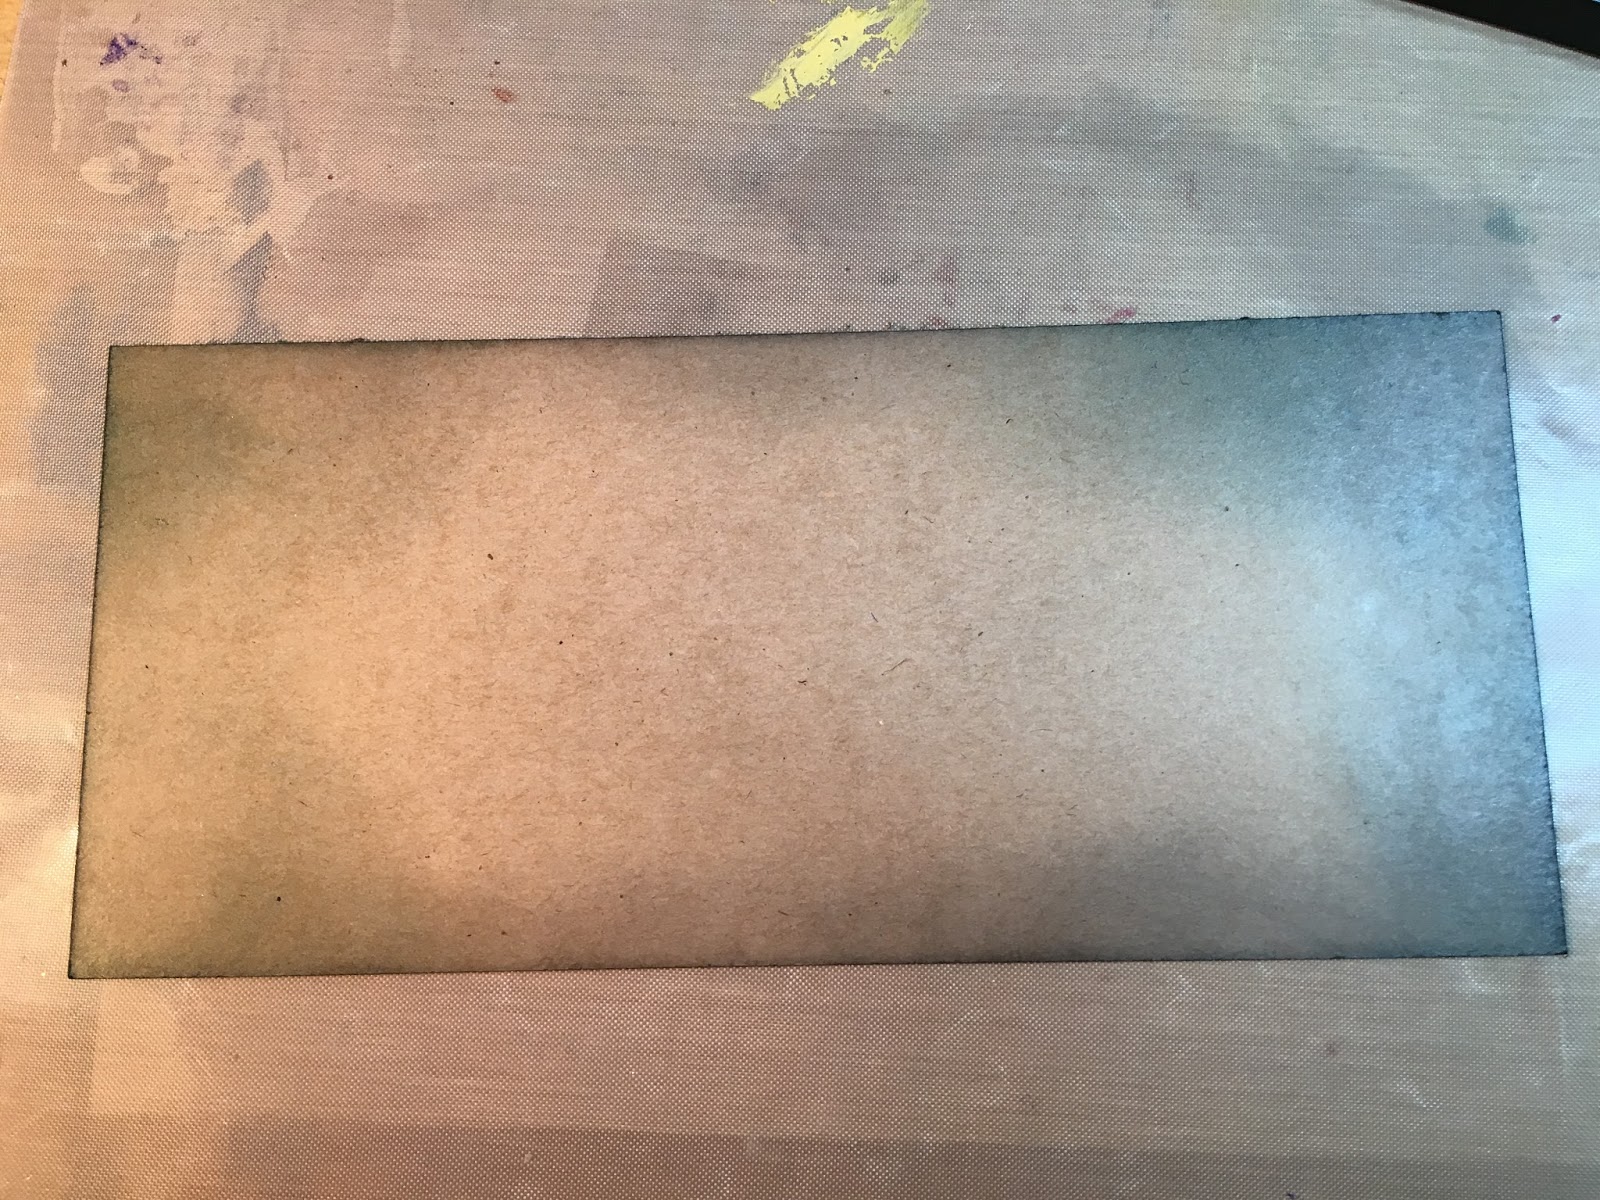
I find taking photo's of the layouts helps me to decide what to finally go for.  If I don't photograph them, but the time I'm on the third, there's no way I can remember what the first looked like.  This way I can see all the idea's.  The beauty of technology :)  I inked the craft card with black distress ink, this doesn't have to be neat as I am covering it up:


I then added gesso to the MDF tag.  I sponged it on, and left it uneven and textured - as this will show through when I apply the ink:


Something I am addicted to is Pebeo gilding wax.  It's so creamy, and gives a fantastic finish.  You need a tiny amount - as it's easy to get carried away and ruin your piece.  I brushed it lightly over the top of my tag with my finger.  I didn't apply any pressure, just literally skimmed over the gesso.  


Look at the sheen.  Lush.  I then got carried away.  The piece of paper I had cut down and inked with broken china distress ink, I scrunched up, ran the ink pad over the top, and then HAD to add gilding wax.  I attempted to keep it subtle!


Next, play with the arrangement again - and I added a tiny bit of gesso to the edge of my sentiment card, so it would stand out from the background paper


I painted the heart with gesso, and repeated the ink technique, with the blue covering the heart, and black just around the edges.  I managed to stay away from the gilding wax with the hearts.  The flowers weren't as lucky.  They got gilded.

I'm happy, so I threaded ribbon through my tag, and glued everything down:


Phew, another one done.  Owww, tomorrow could be tricky...I'll tell you why - tomorrow :)