Showing posts with label Mdf. Show all posts

Friday, 11 May 2018

(Backup) Next workshops

Where are we off next then. I look at my calendar and have a little rush of panic as I realise what we have got planned, and the time to prep these things. 

Workshop wise, the next one of the 16th june. This is going to be a joint workshop with a lovely lady called Angela....in fact, let me introduce Angela.....

“Hi I’m Angela and I’ve been crafting since I was knee high to a grasshopper. I started with sewing and knitting, moving to cross stitch and almost 15 years ago I started scrapbooking and papercraft. More recently I started working with mixed media and this year acrylic paint pouring. I love crafting and am lucky to be able to share this passion with others teaching monthly and quarterly workshops. These started at home over five years ago and are now run in village halls in Dorset, Somerset and Berkshire. What I love about the workshops is that the groups are so open to sharing and we all learn something new each month. I particularly like how everyone interprets the projects in their own way.


I’ve attached a photo of what I’m going to do. It uses pre-cut shapes, paints, ink, and stamps. I will ask for those joining us to bring some things with them, though I do plan on including some stamps.”


Tuesday, 3 January 2017

Let Leonie Loose - Carabelle stamps and Deco Art

Hi folks, I have managed to do a post for the lovely stamps I've got coming up on Wednesday.  I thought I'd share this now, as a sneaky peak!

First, I used DecoArt black gesso on a piece of round MDF


And then gave it a wash with the lovely gold interference paint


I then used an Andy Skinner mask and blue interference paint

I then used some of the magenta interference paint, and dabbed it onto my craft sheet


Then used my dotty stamp to pick up the paint, and stamped onto the MDF


I love these cool funky flowers, which I used to emboss onto the base using black embossing powder. 


Using the gold interference paint again, I coloured in my flowers, wiping the excess paint off the embossed images


I decided I needed a frame around my MDF, so glued wool around it, initially...and then added a little of the stickles glitter


I fell out with the wool - so ripped it off!  I quite liked the fluff left over actually.  I then decided to wrap wire round it instead.  I applied cosmic shimmer and then wrapped the wire around once which I left to dry properly before then wrapping it round again, entwining it around the front and back of the MDF piece. I stamped the smaller flower a couple of times, and embossed them again.  I cut them out and glued them onto my MDF piece.  I only glued the centre so the petals stands proud


I then stamped the word Happiness, which I cut out and glued onto my MDF piece with glue gel


Thursday, 3 March 2016

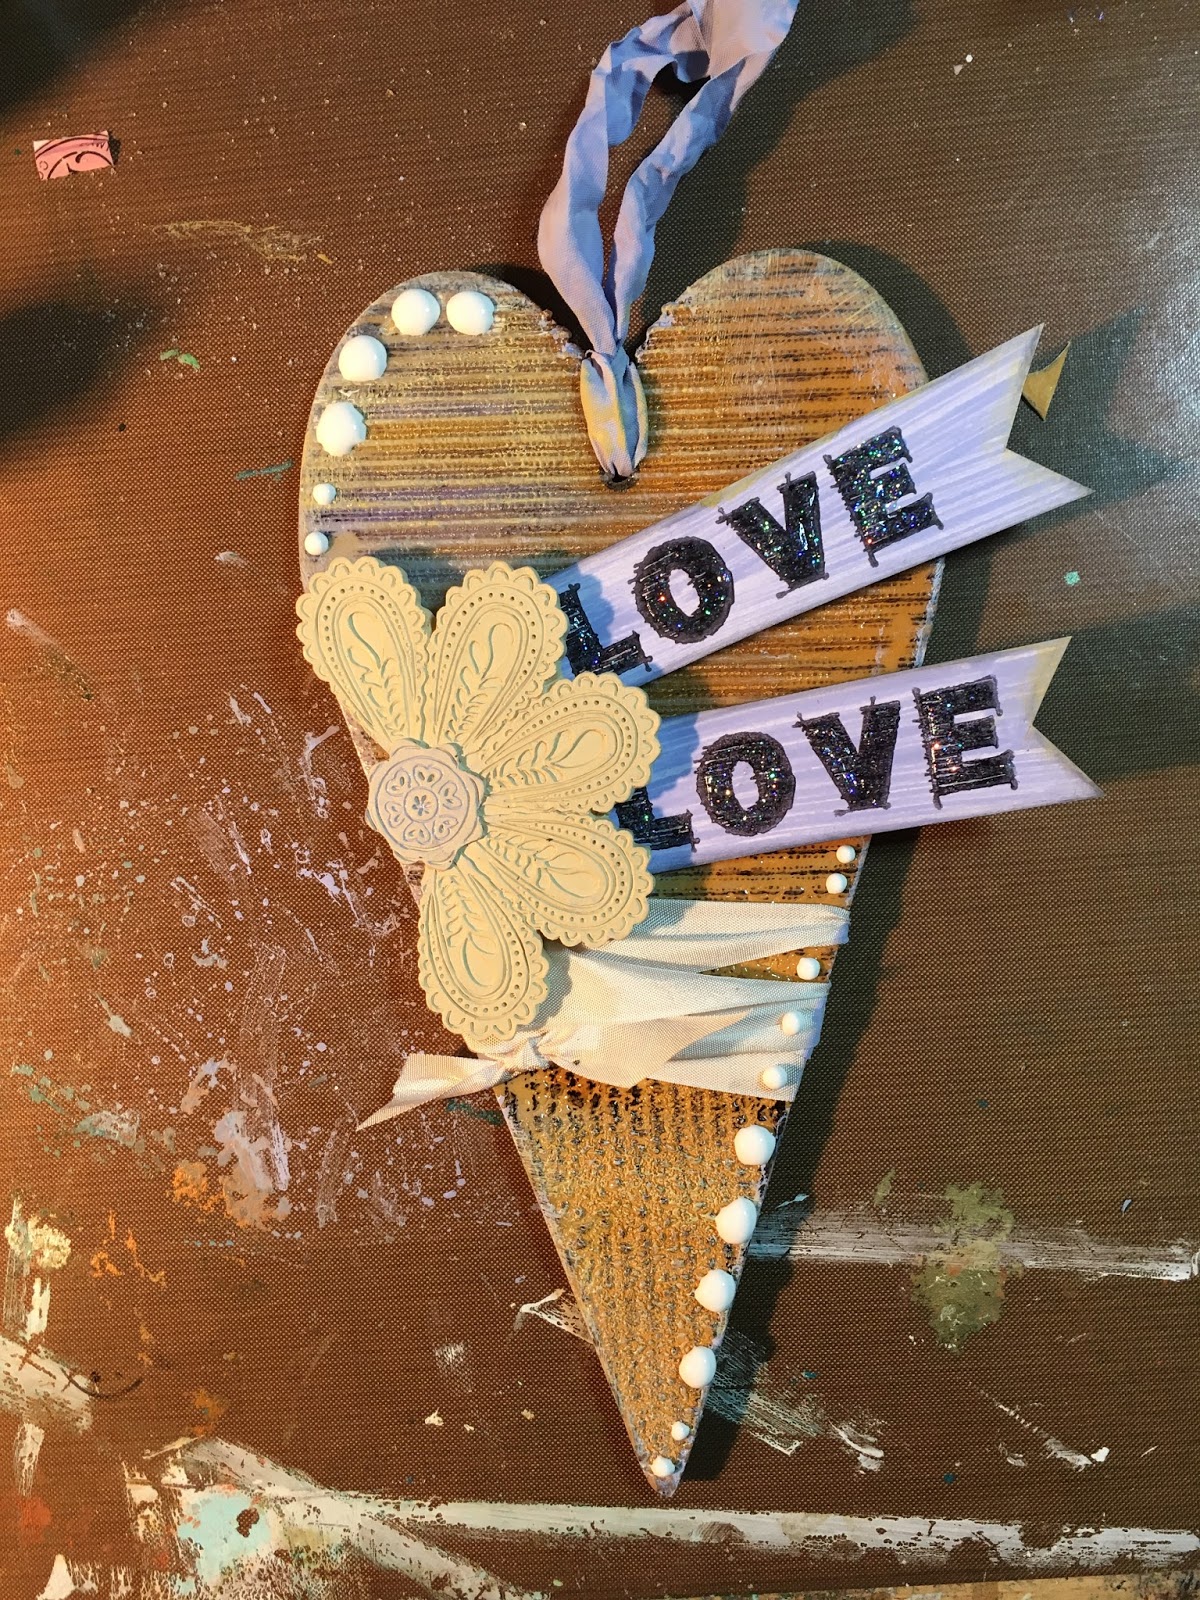
MDF Heart Project

I took my MDF heart, and painted it in two colours


I then covered it with ultra thick embossing powder, and melted it with my heat gun


I repeated this process twice more, to obtain a thick layer, which I can them emboss into.  I've left the bottom of the heart, with just one layer, so it gives an uneven, speckled texture,


Ink up the stamp, and then stamp into the embossing powder.  Once with the lines running horizontally


And then once with the lines running vertically


Wrap a piece of ribbon around the heart


Now paint a piece of scrap card with the Distress Paints, and stamp the word Love twice


Cut the Love's out, into a flag.  I had a little play with the composition


I then added paint to my ribbon so it matches the colour tone perfectly.


Heat set the paint, which adds texture to the ribbon


I glued one of the stunning Wendi Vecchi embellishments to the heart, and then the Love Flags, sitting them under the embellishment


Edge the heart with the paint, and add dots of cosmic shimmer pva to the edges of the heart


I used stickles glitter glue to the letters, and went around the rest of the flag with glossy accents


Wednesday, 2 March 2016

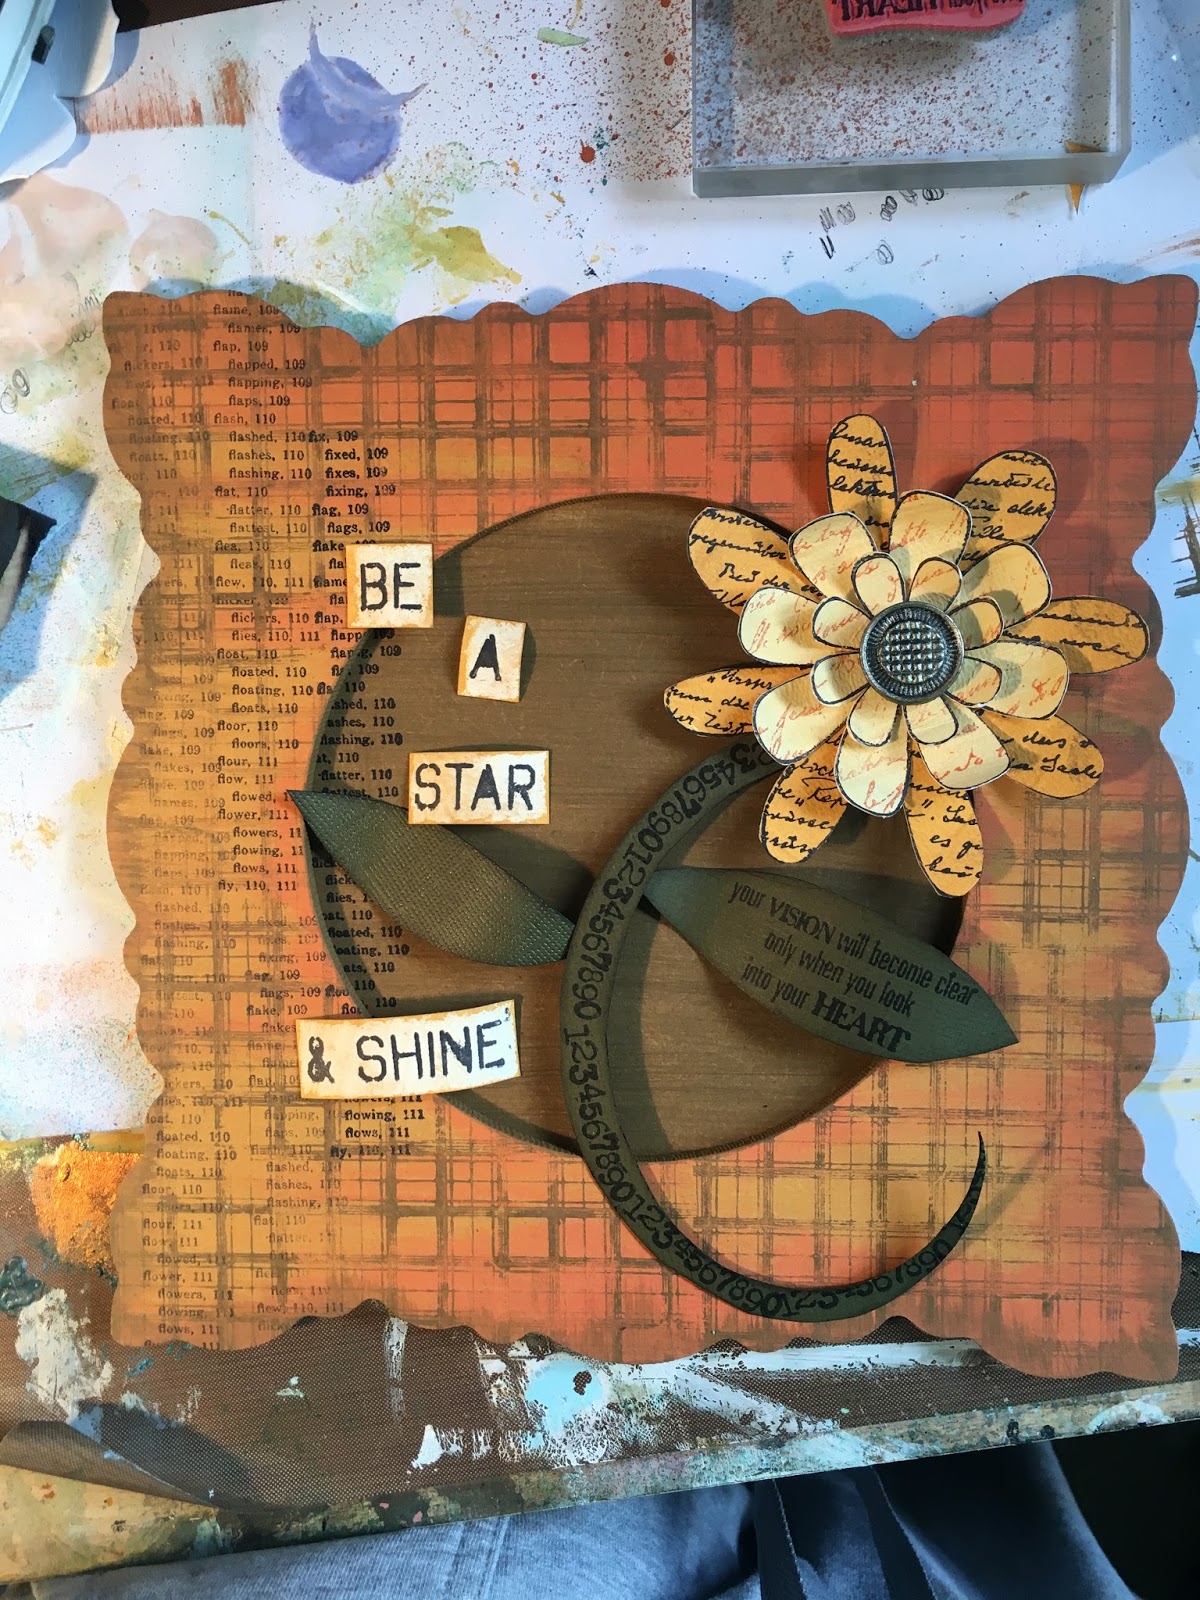
Let Leonie Loose - MDF Frame

I thought I would share one of the projects I did for my LLL show - which will be aired today at 2-4pm.

I started with a plain MDF frame.  I coated the back piece with brown paint.  It certainly doesn't have to be perfect


I then painted the frame, using two different colours


I then edged the frame with dark brown


I then stamped the frame using one of the brilliant background stamps from Wendi Vecchi - using the brown Distress Paint


Stamp the frame 4 times to get complete coverage.


Next take the definition stamp, and stamp on the top of the frame


Line the stamp up, and then stamp on the base, so the frame can be mat and layered.  Stamp again without re-inking the stamp, so you get a faded image


Cover a scrap piece of card with paint


And then over stamp with the flower


Use another colour to cover a second piece of card


And now stamp the script stamp, using the orange Distress Paint


Over stamp with the open flower, and blast with your heat gun to dry the ink


Cut out the flowers, and gently shape.  Now layer them up and glue together


Stamp the sentiment onto a piece of scrap card


Cut the words out, and edge with Distress Paint


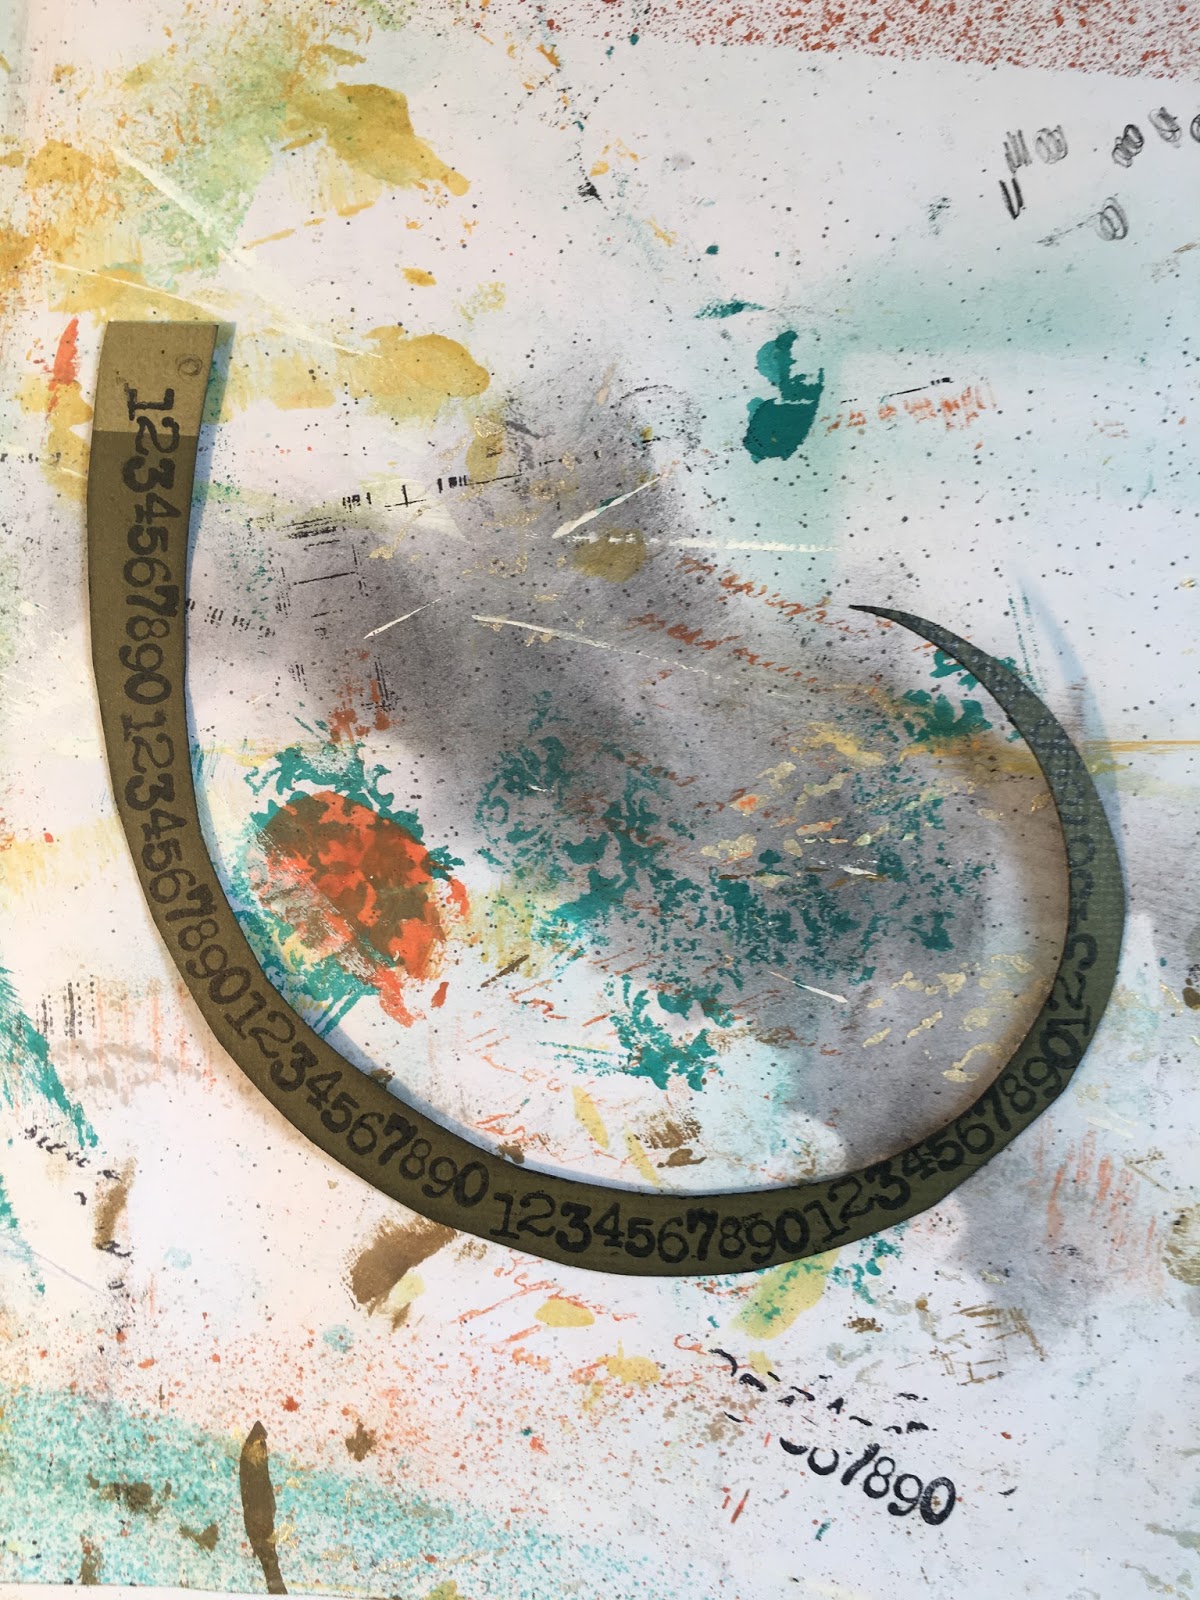
Cut a piece of green card, to form a swirl.  This will be the stem of your flower.  Now use the number stamp to cover the stem


Stamp one of the sentiment stamps onto scrap green card, and cut out to form the shape of a leaf.  Cut a second leaf from the same card


Pop your elements on the card to check on your composition


Now add texture by sprinkling clear embossing powder onto the frame 


I use the very gentle heat gun, which allows me to melt some of the powder, without the need to use any ink pad of adhesive


Now use a small amount of gilding wax over the edges of the frame, and very gently over the embossing powder. I then used the Cosmic Shimmer PVA, which I trailed across my frame.  This gives uneven but effective sheen


I added more dots with the cosmic shimmer, and then the gilding wax to the leaves


To finish I used glossy accents on the sentiment, and one of the fantastic Wendi Vecchi embellishments