Showing posts with label Tim Holtz Distress Paints. Show all posts

Thursday, 26 January 2017

Little fish, Big fish, Swimming in the water......

Anyone who knows PJ Harvey will recognizs that.....any takers?

In other news....Carabelle stamps again!!  Hooray, I hear you say.  And so you should - these are lovely as well.

I made the background using my Distress spritzers onto watercolour card.  I then stamped the circles over the top using distress ink pad.  The mermaid and fish I stamped using staz-on.  The detail of this image is stunning.  The distress crayons are fab for colouring the image, and great to add tone and texture.


This was a strange choice for me - not usually a stamp I'd go for...but I really really like it.  It's really cool.  I made my background using the distress crayons in my art journal.  I wanted the mermaid to sit in the background and be really subtle, so I stamped using my distress ink.  I also wanted her to be on both sides, so I stamped her onto tissue paper, which I then glued onto my page using decoupage glue. 


The fish was a cool background, made from all the inks, and then dried.  I stamped and embossed my fishy, and cut it out.  I did add some extra elements in - to break up the colours


Finally, a sentiment.  Finishes it off.


Oh...I forgot to share this one.  I created the background with the distress crayons, and just overstamped using the paint daubers.  It's ready to become something!


Tuesday, 24 January 2017

Carabelle Studio - more stunning stamp designs

I'm a little late doing these few posts, so this weeks LLL show will creep into the later part of the week....but I'll make sure I get a few posts done for you.

I did really want to share some of the makes from last week, as I adored the stamps I was working with.  The A4 stamps are fantastic, I definitely need more of these in my life.

Firstly I used a wonderful mandala stamp which I actually "inked" up using Tim Holtz Distress daubers. I then used my Distress Stains over the top.  Make sure the paint is dry, and it will give a lovely resist type effect.


I removed the centre of the mandala, which I put aside for another card (this was the theory....obviously I put it in a safe place, never to be seen again).  I then used one of the Distress Crayons to colour in the centre of the image, this covers up any white bits


It also adds depth to the image


I created my background with the Daubers, dragging the two colours along to give a lovely wood like effect.  I then stamped and embossed the large mandala image.  The sentiment was stamped onto a piece of kraft card, and then I glued the smaller mandala image onto the larger.  The sentiment was bowed and glued in the centre of the mandala.  I love the white on that background, it looks yummy.


oops, forgot this bit!  I mat and layered the card up, and used a nice piece of hessian which I frayed, I liked the texture, it really goes with the image.


There, sentiment in place, job done.


I used the stamps again for the show, I stamped and embossed the two stamps then used the Distress Stains over the top.  I then used the Tim Holtz Spritzer which breaks the stains up, and adds a different colour to the mix


I added some colour to the mandala with the distress crayons, blending them in slightly.  


This was the one I actually did on the show, which needs making up into a card, but I figured I'm share it with you as the colour combo is completely different.


Thank you for nipping on by.  I hope you love the stamps as much as I do, and managed to get hold of them!!  More Carabelle!!!


Thursday, 3 March 2016

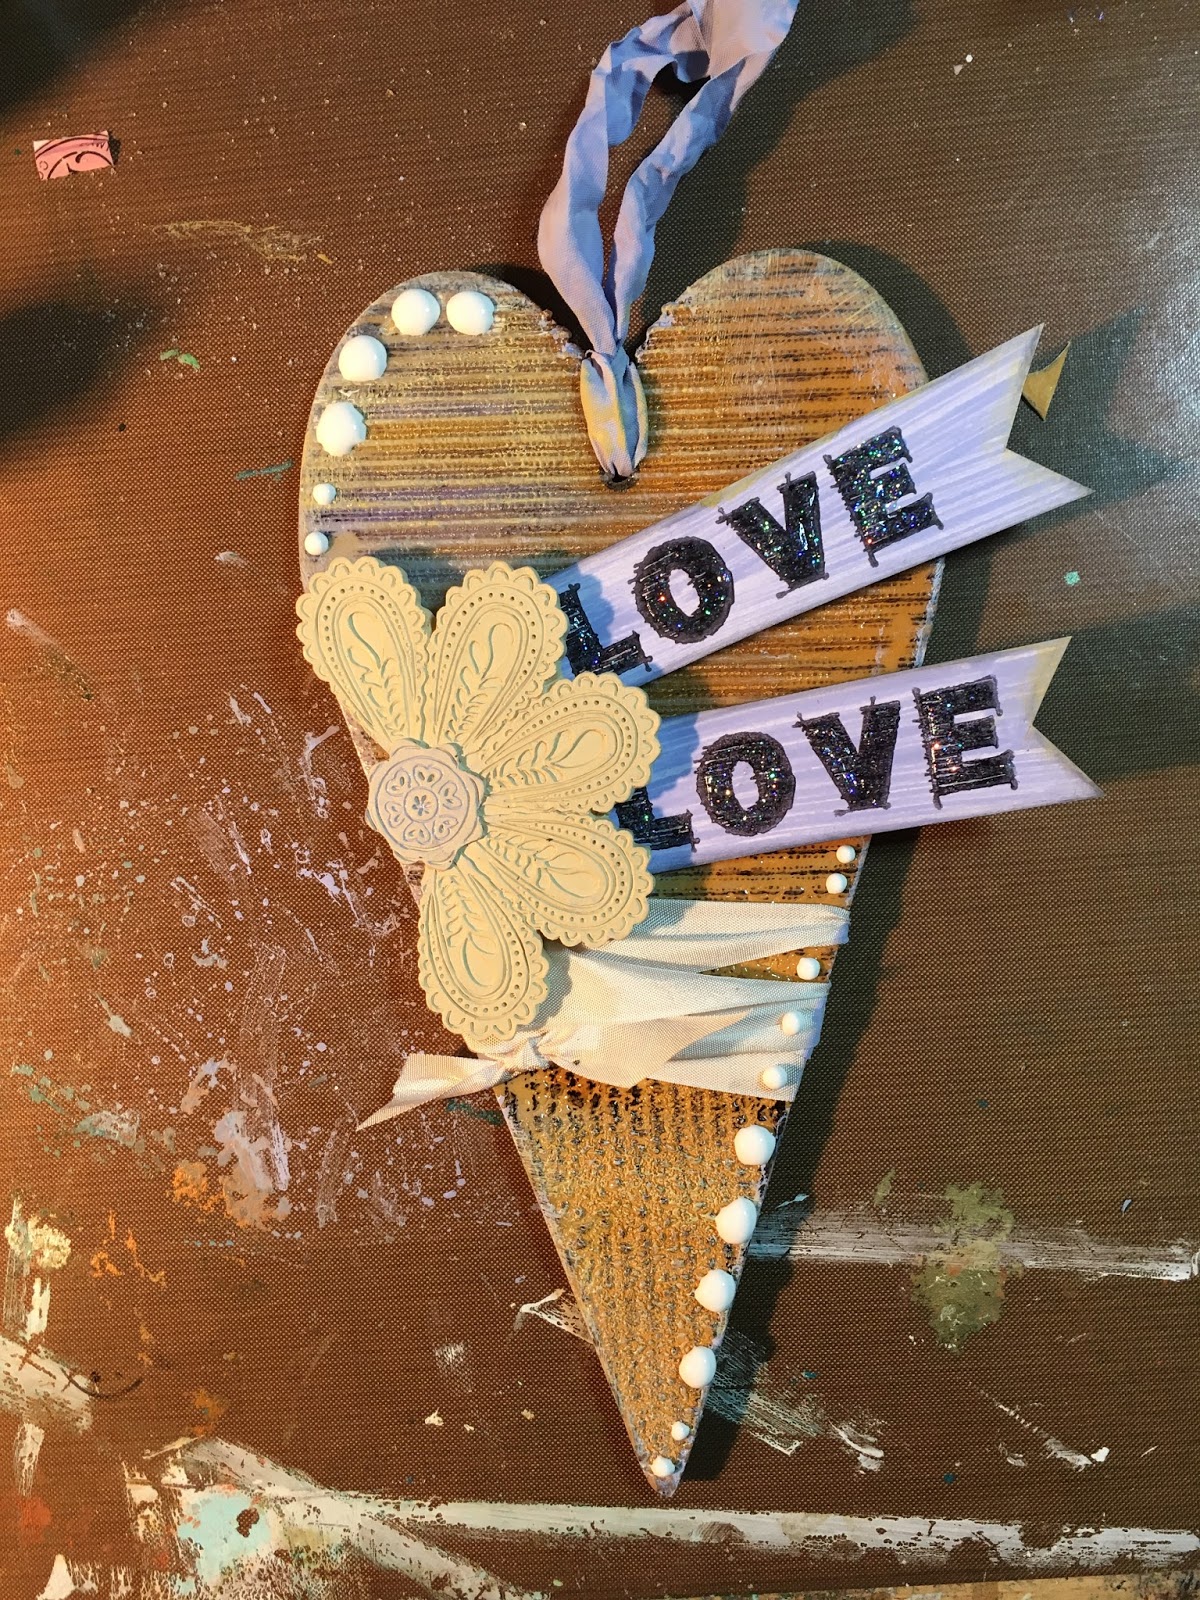
MDF Heart Project

I took my MDF heart, and painted it in two colours


I then covered it with ultra thick embossing powder, and melted it with my heat gun


I repeated this process twice more, to obtain a thick layer, which I can them emboss into.  I've left the bottom of the heart, with just one layer, so it gives an uneven, speckled texture,


Ink up the stamp, and then stamp into the embossing powder.  Once with the lines running horizontally


And then once with the lines running vertically


Wrap a piece of ribbon around the heart


Now paint a piece of scrap card with the Distress Paints, and stamp the word Love twice


Cut the Love's out, into a flag.  I had a little play with the composition


I then added paint to my ribbon so it matches the colour tone perfectly.


Heat set the paint, which adds texture to the ribbon


I glued one of the stunning Wendi Vecchi embellishments to the heart, and then the Love Flags, sitting them under the embellishment


Edge the heart with the paint, and add dots of cosmic shimmer pva to the edges of the heart


I used stickles glitter glue to the letters, and went around the rest of the flag with glossy accents


Wednesday, 2 March 2016

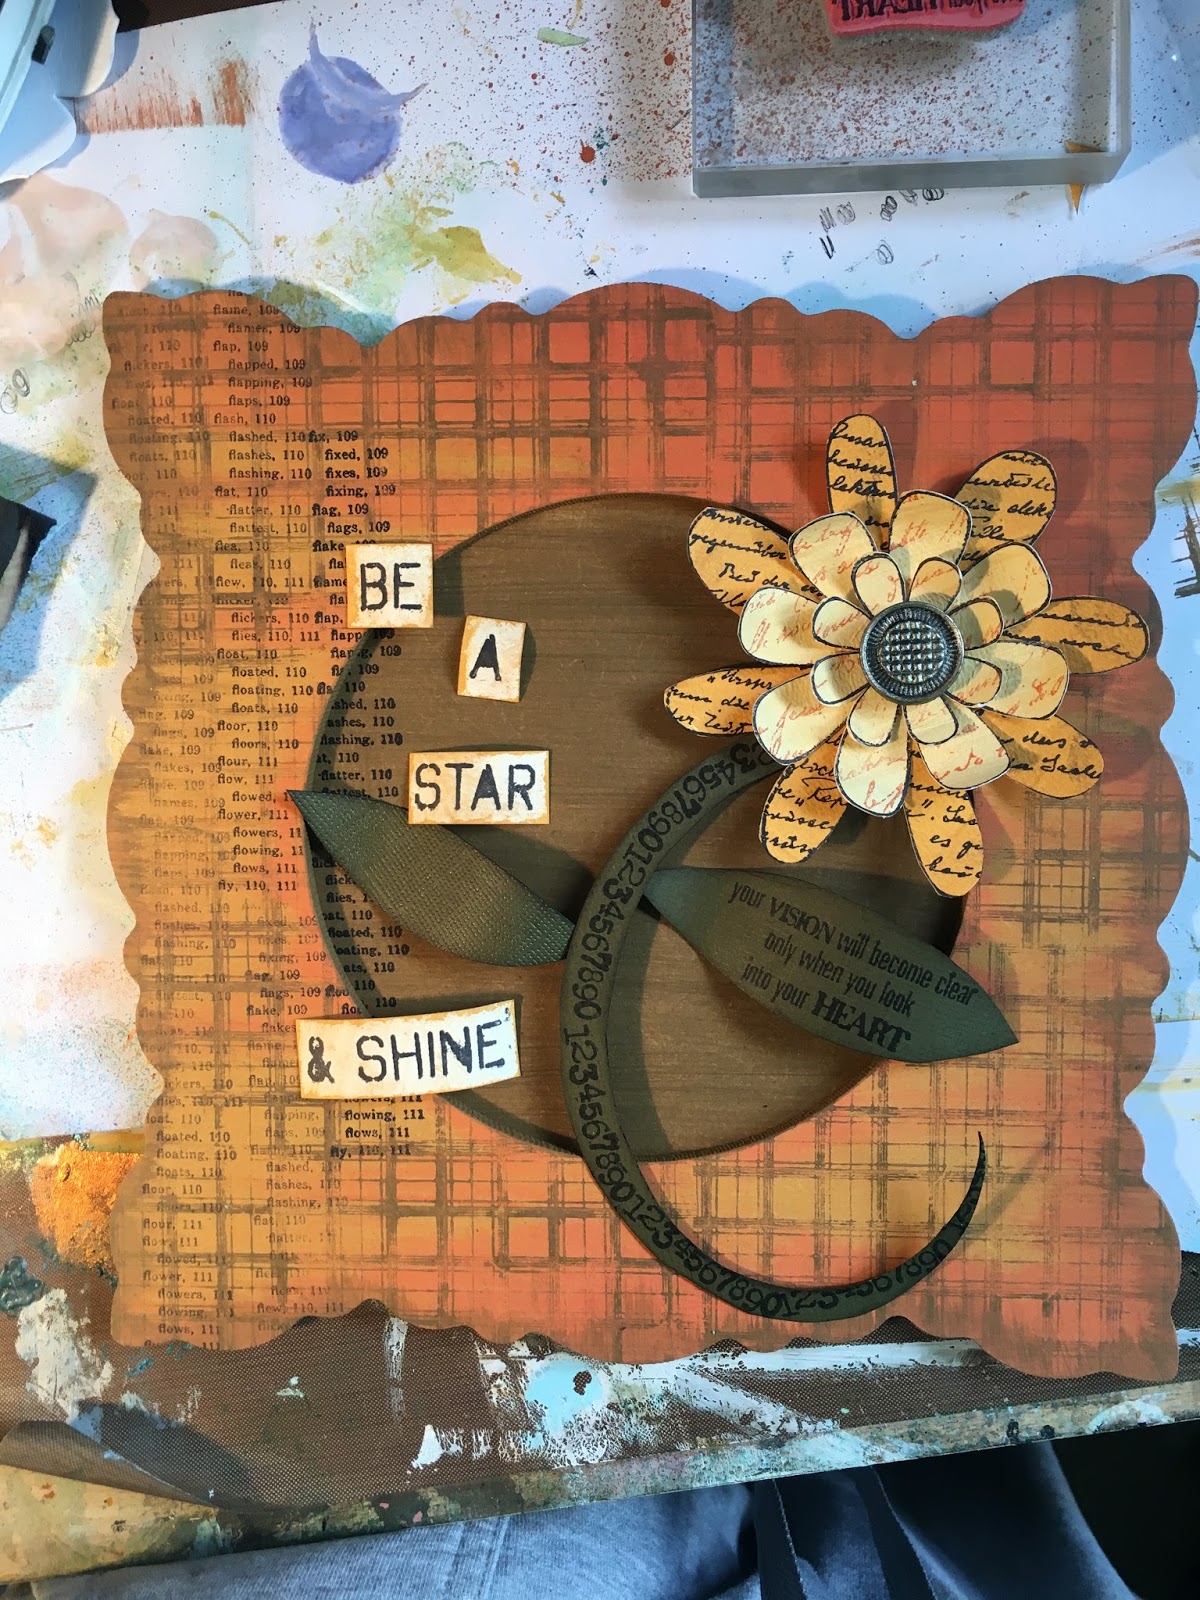
Let Leonie Loose - MDF Frame

I thought I would share one of the projects I did for my LLL show - which will be aired today at 2-4pm.

I started with a plain MDF frame.  I coated the back piece with brown paint.  It certainly doesn't have to be perfect


I then painted the frame, using two different colours


I then edged the frame with dark brown


I then stamped the frame using one of the brilliant background stamps from Wendi Vecchi - using the brown Distress Paint


Stamp the frame 4 times to get complete coverage.


Next take the definition stamp, and stamp on the top of the frame


Line the stamp up, and then stamp on the base, so the frame can be mat and layered.  Stamp again without re-inking the stamp, so you get a faded image


Cover a scrap piece of card with paint


And then over stamp with the flower


Use another colour to cover a second piece of card


And now stamp the script stamp, using the orange Distress Paint


Over stamp with the open flower, and blast with your heat gun to dry the ink


Cut out the flowers, and gently shape.  Now layer them up and glue together


Stamp the sentiment onto a piece of scrap card


Cut the words out, and edge with Distress Paint


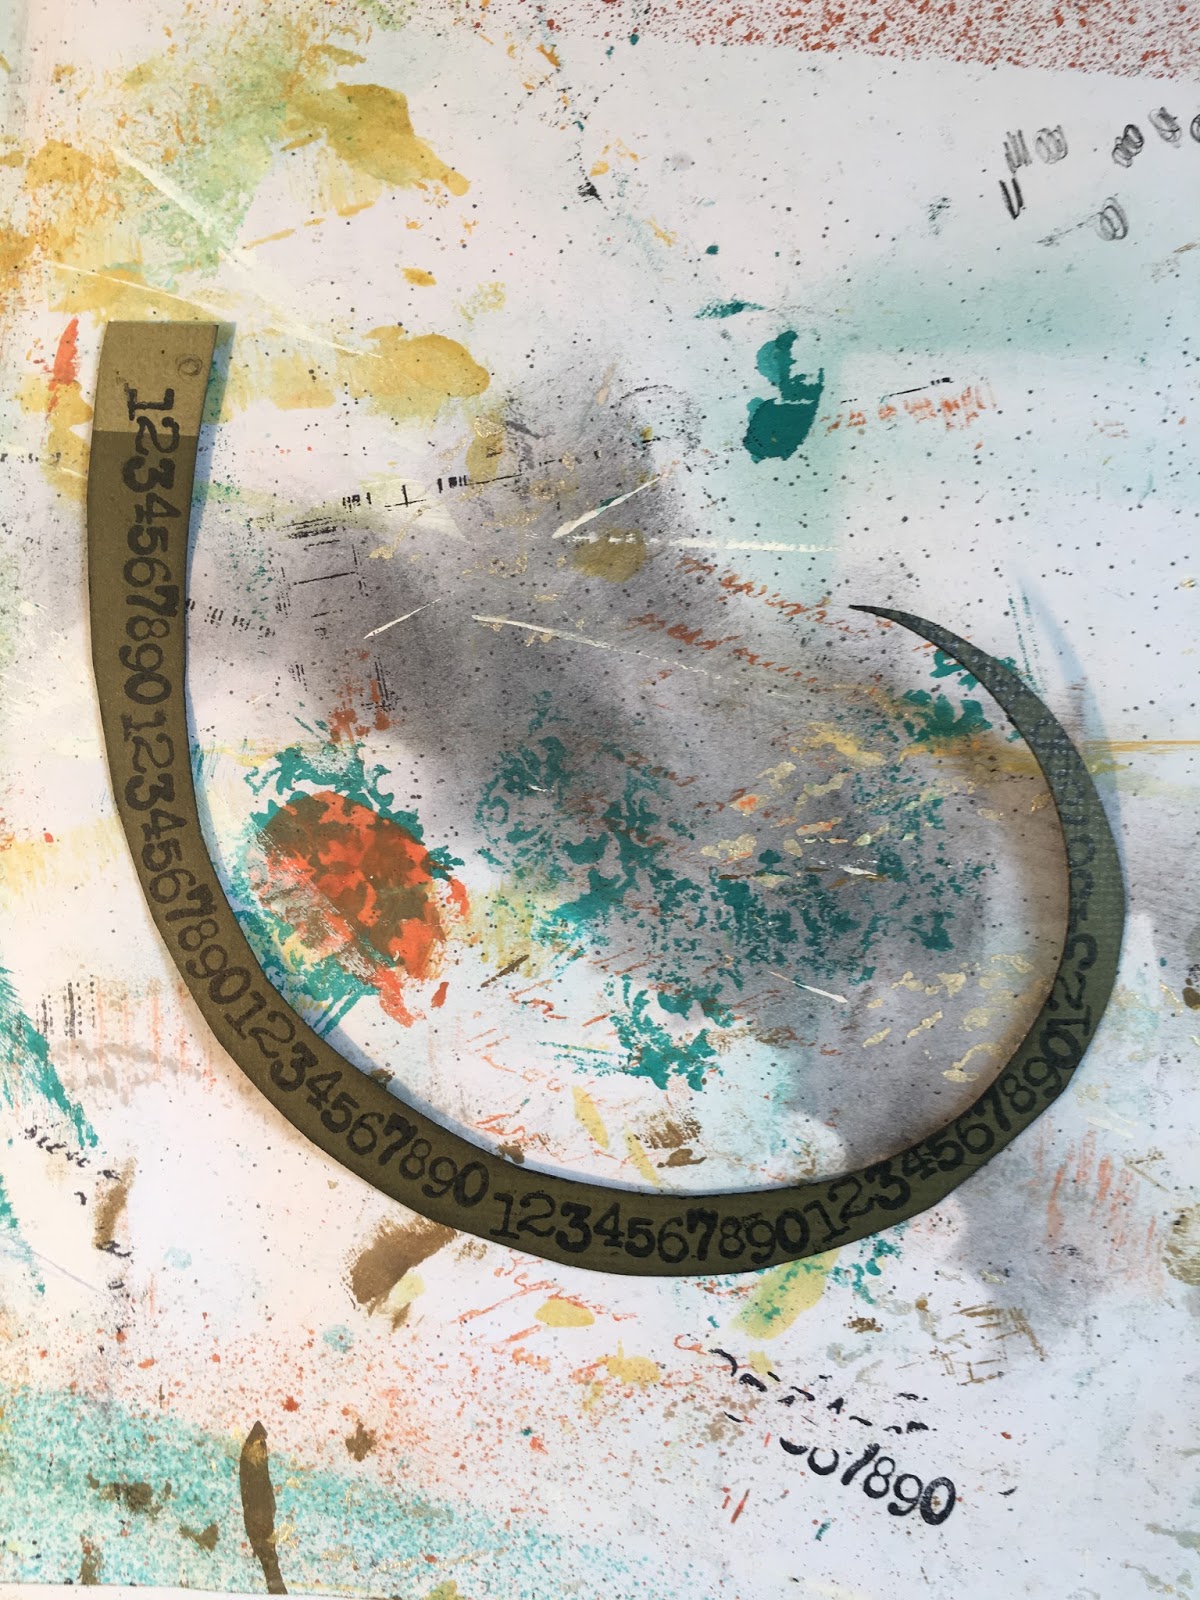
Cut a piece of green card, to form a swirl.  This will be the stem of your flower.  Now use the number stamp to cover the stem


Stamp one of the sentiment stamps onto scrap green card, and cut out to form the shape of a leaf.  Cut a second leaf from the same card


Pop your elements on the card to check on your composition


Now add texture by sprinkling clear embossing powder onto the frame 


I use the very gentle heat gun, which allows me to melt some of the powder, without the need to use any ink pad of adhesive


Now use a small amount of gilding wax over the edges of the frame, and very gently over the embossing powder. I then used the Cosmic Shimmer PVA, which I trailed across my frame.  This gives uneven but effective sheen


I added more dots with the cosmic shimmer, and then the gilding wax to the leaves


To finish I used glossy accents on the sentiment, and one of the fantastic Wendi Vecchi embellishments