Showing posts with label Glitter. Show all posts

Monday, 2 July 2018

Let me loose with some new stuff....

Wow, the suns proper out out isn’t it! Blinking boiling. And here I am, tucked away making Christmas cards! Don’t get me wrong, I’m definitely not complaining. I’ve had a lovely weekend with my other half and my little nephew, Charlie. It’s a mixture of happiness and deep sadness, seeing my beautiful sister in his little eyes. Knowing what we have lost, but also acknowledging the joy he brings us all. 

So, I’ve had my time in the sun, and now it’s cracking on with work. I don’t often make a big deal of the amazing stuff I’m lucky enough to work with on my shows....but you know, I could!! From tv firsts with the incredible carabelle. Launching brand new ranges from amazing people like our very own Mama Makes. Bringing the brand new collections from the mighty Graphic 45....it’s not bad is it. And this week we have a brand new company to Hochanda. On my show. The first time we have brought a collection, well, two collections, from My Minds Eye. And they are stunning. Really exceptional quality. Great designs. So easy to work with. It’s a privilege to share these goodies with you.

So, the sun maybe shining, but I’m working with My Mind’s Eye, so crack those flags Mr Sunshine, I’m happy enough indoors 😊


Tuesday, 5 January 2016

43 days now!!

Howdy crafters, and thank you for popping onto the blog.  Before I start with the craft, look at the state of Teela:


She realised Caz was home, and just scrambled onto the settee, on all over her!!  This photo is mid yawn, but she looks like she's singing.

Anyway, craft.  Today, I just noticed a couple of papers and some die cut flowers from an old Craftwork Cards kit


You see the mask printed on the paper.  I decided to fussy cut this out, and then took a quickie glue pen and followed the line of the mask, which I then covered in fine cut glitter


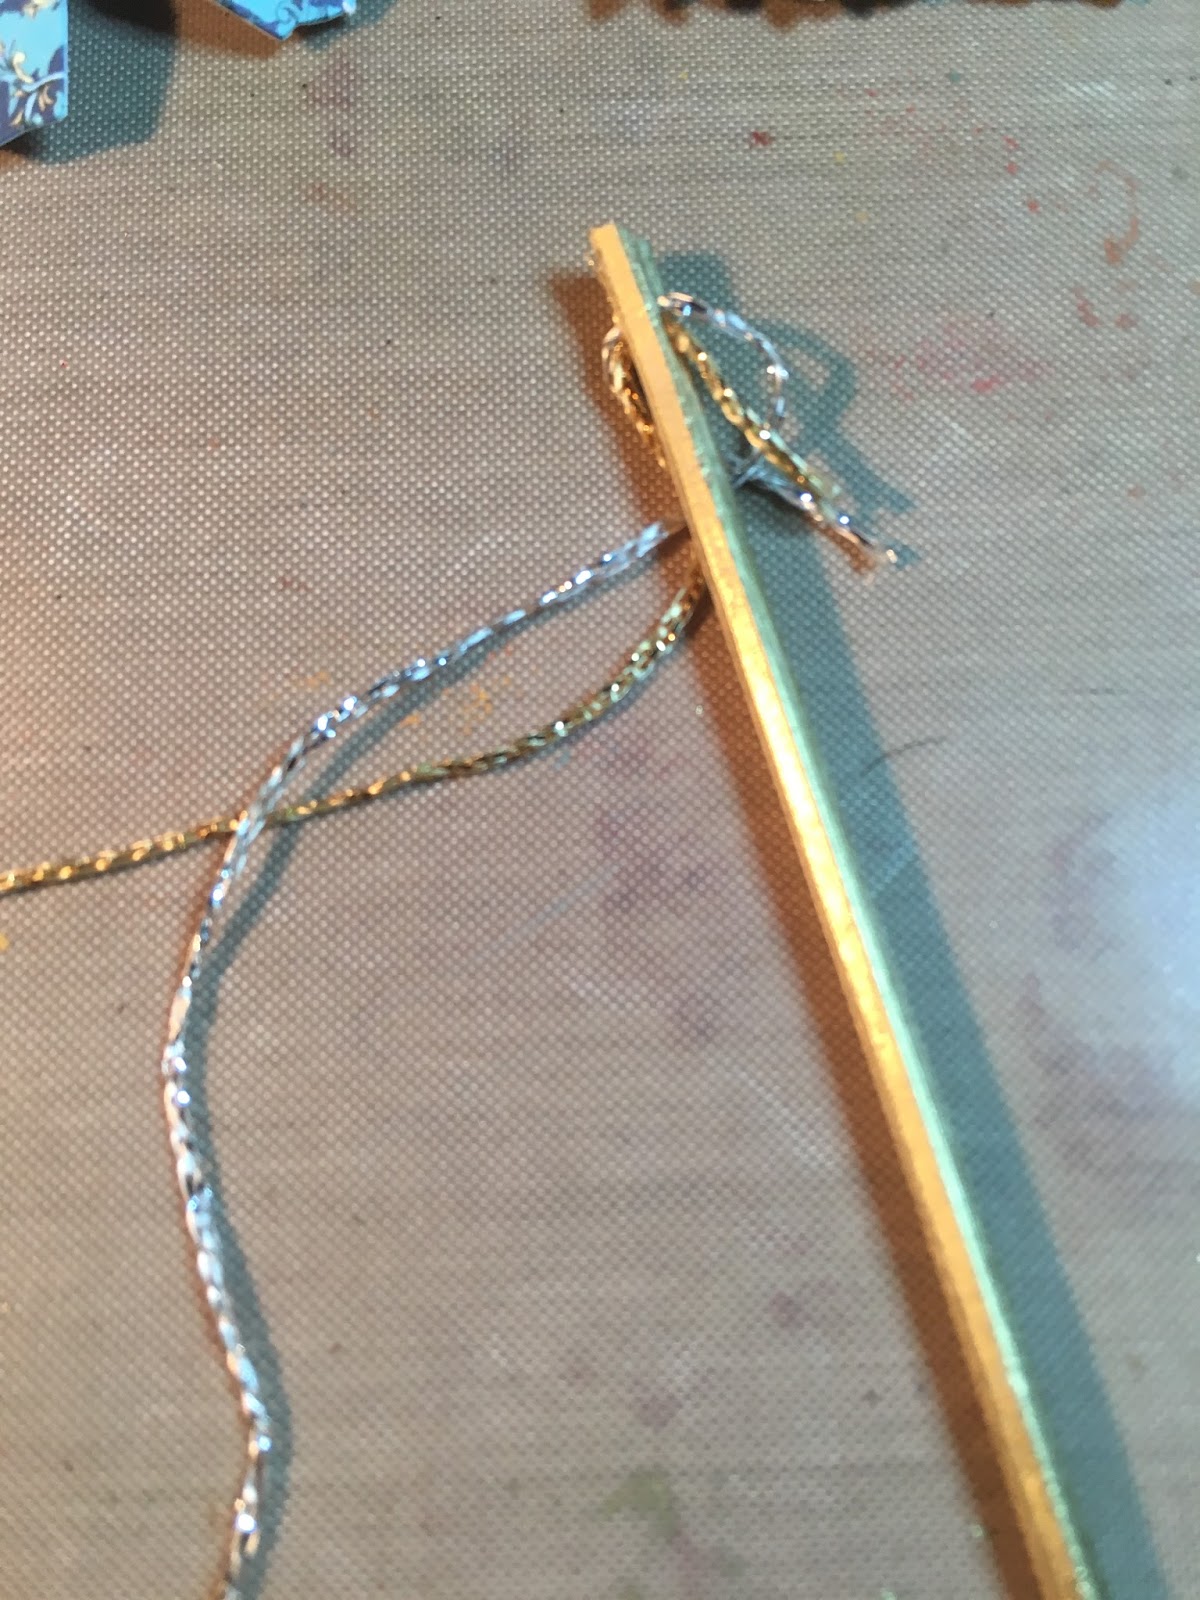
I then took a skewer and trimmed the top off, and made a slit in the wood with a craft knife.  I coated the stick with gold gilding wax


I then threaded two pieces of metallic cord and twisted them round the stick.  I did add a bit of glue to make sure they didn't slip


Now I had a play with the layout.  I decided to use this paper with the feather on, but when I looked at the feather and decided to fussy cut that as well (glutton for punishment)


I glued this onto my card.  And then reaslied I didn't want to do that at all!  I wanted to put a piece of paper under the feather, so I eased it up gently and added my paper underneath


You will see the paper I picked has a lovely border around the top and side, but I had to chop off the bottom so it would fit on the card


Thought I would, at this point, show you the ridiculous space I am working in!!  Ridiculous


I then took the piece of paper which I had trimmed off, and fussy cut the edge from it


I glued this to the base of the paper - oww I did actually edge all the pieces of paper before I glued them down, with a blue ink pad.  I also used this ink pad to add a little colour to the end of each flower petal.  I didn't glue down all the feather down, so you can see the fussy cutting (which you will be able to see in the shadow).


I popped the pieces on to see how it all looked


And then begun to glue everything in place.  I added some really pretty acrylic flowers from - I'm having a name blank as I write.  I'll try and come back to that one!!  Got it!! Anyway, I glued the flowers so the top one just sits slightly under some of the parts of the feather


I curved the mask and then glued it in place, together with the decorated stick.  The sentiment was a stamp from The Dreamees, which I stamped using the same ink used around the edge of the papers.  I'm really happy with this, I think the mask looks beautiful. I added a little more of the metallic cord, which I glued just under the edge of the mask, and allowed to fall onto the card.


Wednesday, 23 December 2015

56 days remaining! - the Crafty Countdown


All the dogs!!  Christmas starts with landing at my mums with my 3 dogs, and mum and Neils 3 dogs!  It's a complete house full.  At the moment it's all calm - no grumpy dogs (touch wood).  Caz is left holding the fort back in Peterborough - I bet it feels really quiet. I didn't bring loads of craft stuff up with me, so I set about raiding my mums craft stash.  


I found a box making kit that I actually bought my mum a while ago (I think it's Anna Griffin) - she has used some of them, but there's plenty left for me to play with.  I popped out the elements to make my first box.  Things like this are brilliant to trace round to keep as a template for future use.


They are dead easy to put together.  They're pre-scored, and just need a bit of tape to hold them together.  The lid still opens as well, which I like, as they are great for little Christmas treats.


The only part I really hate, are the little paper pips.  They really get on my nerves.  I went around the edges with my red pen to hide them a little bit.


I threaded my ribbon through the top of the ribbon buckle


And then I looped the ribbon and threaded each end back through the buckle.  I kept a large loop which will be used to hang the box on the tree


I glued it in place, making sure there was plenty of glue to hold the ribbon and buckle in place


Urgh, more pips!!


However, round the edge with the green pen, and viola, it looks much better doesn't it :)


This panel was glued to the front of the box, and I drew round the edge with a quickie glue pen, and then added a little glitter - this is handy if you have got any of those stubborn pips to cover 


Next I made a pretty ribbon, using satin, organza and curling ribbon.  I wanted something that made quite an impact


I glued it onto the front of the box, which I think looks really pretty


I then added some flowers from the kit, with some stick on gems in the centre


And also one at the top


I managed to find a little bit of space on mums tree to squeeze the box on.  Don't worry though, I have taken it back off, so it's ready to send out to the winner when I decide how I'm going to give away my Crafty Countdown makes.

Thursday, 16 October 2008

Work

I have been doing other things as well as trying to get my charity stuff sorted. I've been working on some lovely kits from All About Crafts. These are really nice double sided papers, which I've jazzed up with alotta glitter - mmmmm. These cards are for QVC, so not in kit form I'm afraid - maybe I could do photo's and instructions and aution them! If it doesn't move it's a possibility for auctioning these days - obsessed, me.

Sorry, photo's are abit rubbish, but need to get posting on ebay this evening, and times ticking on.

Did some Uni work, mainly thinking again! My journal is full of thinking not doing - my pencils are just to nice to use really - they smell great.

Decided what I want to do for my first project - it's a weight off my shoulders. I'll get some photo's when I'm done - only have two weeks so uh huh....

Anyhow, here's some pics:


The swirl paper is great to make fabulous gatefold cards, just cut round the swirls and add glitter.