Showing posts with label handmade. Show all posts

Monday, 2 July 2018

Let me loose with some new stuff....

Wow, the suns proper out out isn’t it! Blinking boiling. And here I am, tucked away making Christmas cards! Don’t get me wrong, I’m definitely not complaining. I’ve had a lovely weekend with my other half and my little nephew, Charlie. It’s a mixture of happiness and deep sadness, seeing my beautiful sister in his little eyes. Knowing what we have lost, but also acknowledging the joy he brings us all. 

So, I’ve had my time in the sun, and now it’s cracking on with work. I don’t often make a big deal of the amazing stuff I’m lucky enough to work with on my shows....but you know, I could!! From tv firsts with the incredible carabelle. Launching brand new ranges from amazing people like our very own Mama Makes. Bringing the brand new collections from the mighty Graphic 45....it’s not bad is it. And this week we have a brand new company to Hochanda. On my show. The first time we have brought a collection, well, two collections, from My Minds Eye. And they are stunning. Really exceptional quality. Great designs. So easy to work with. It’s a privilege to share these goodies with you.

So, the sun maybe shining, but I’m working with My Mind’s Eye, so crack those flags Mr Sunshine, I’m happy enough indoors 😊


Monday, 5 March 2018

Chichester- you were brill!


Thank you so much to the lovely ladies who joined myself and Mandy at the weekend in Chichester. The venue was a smashing find by Mandy. Really airy and light, perfect.
Mandy set our little shop up, whilst I got covered in Powertex, ink, paint...you know the score!


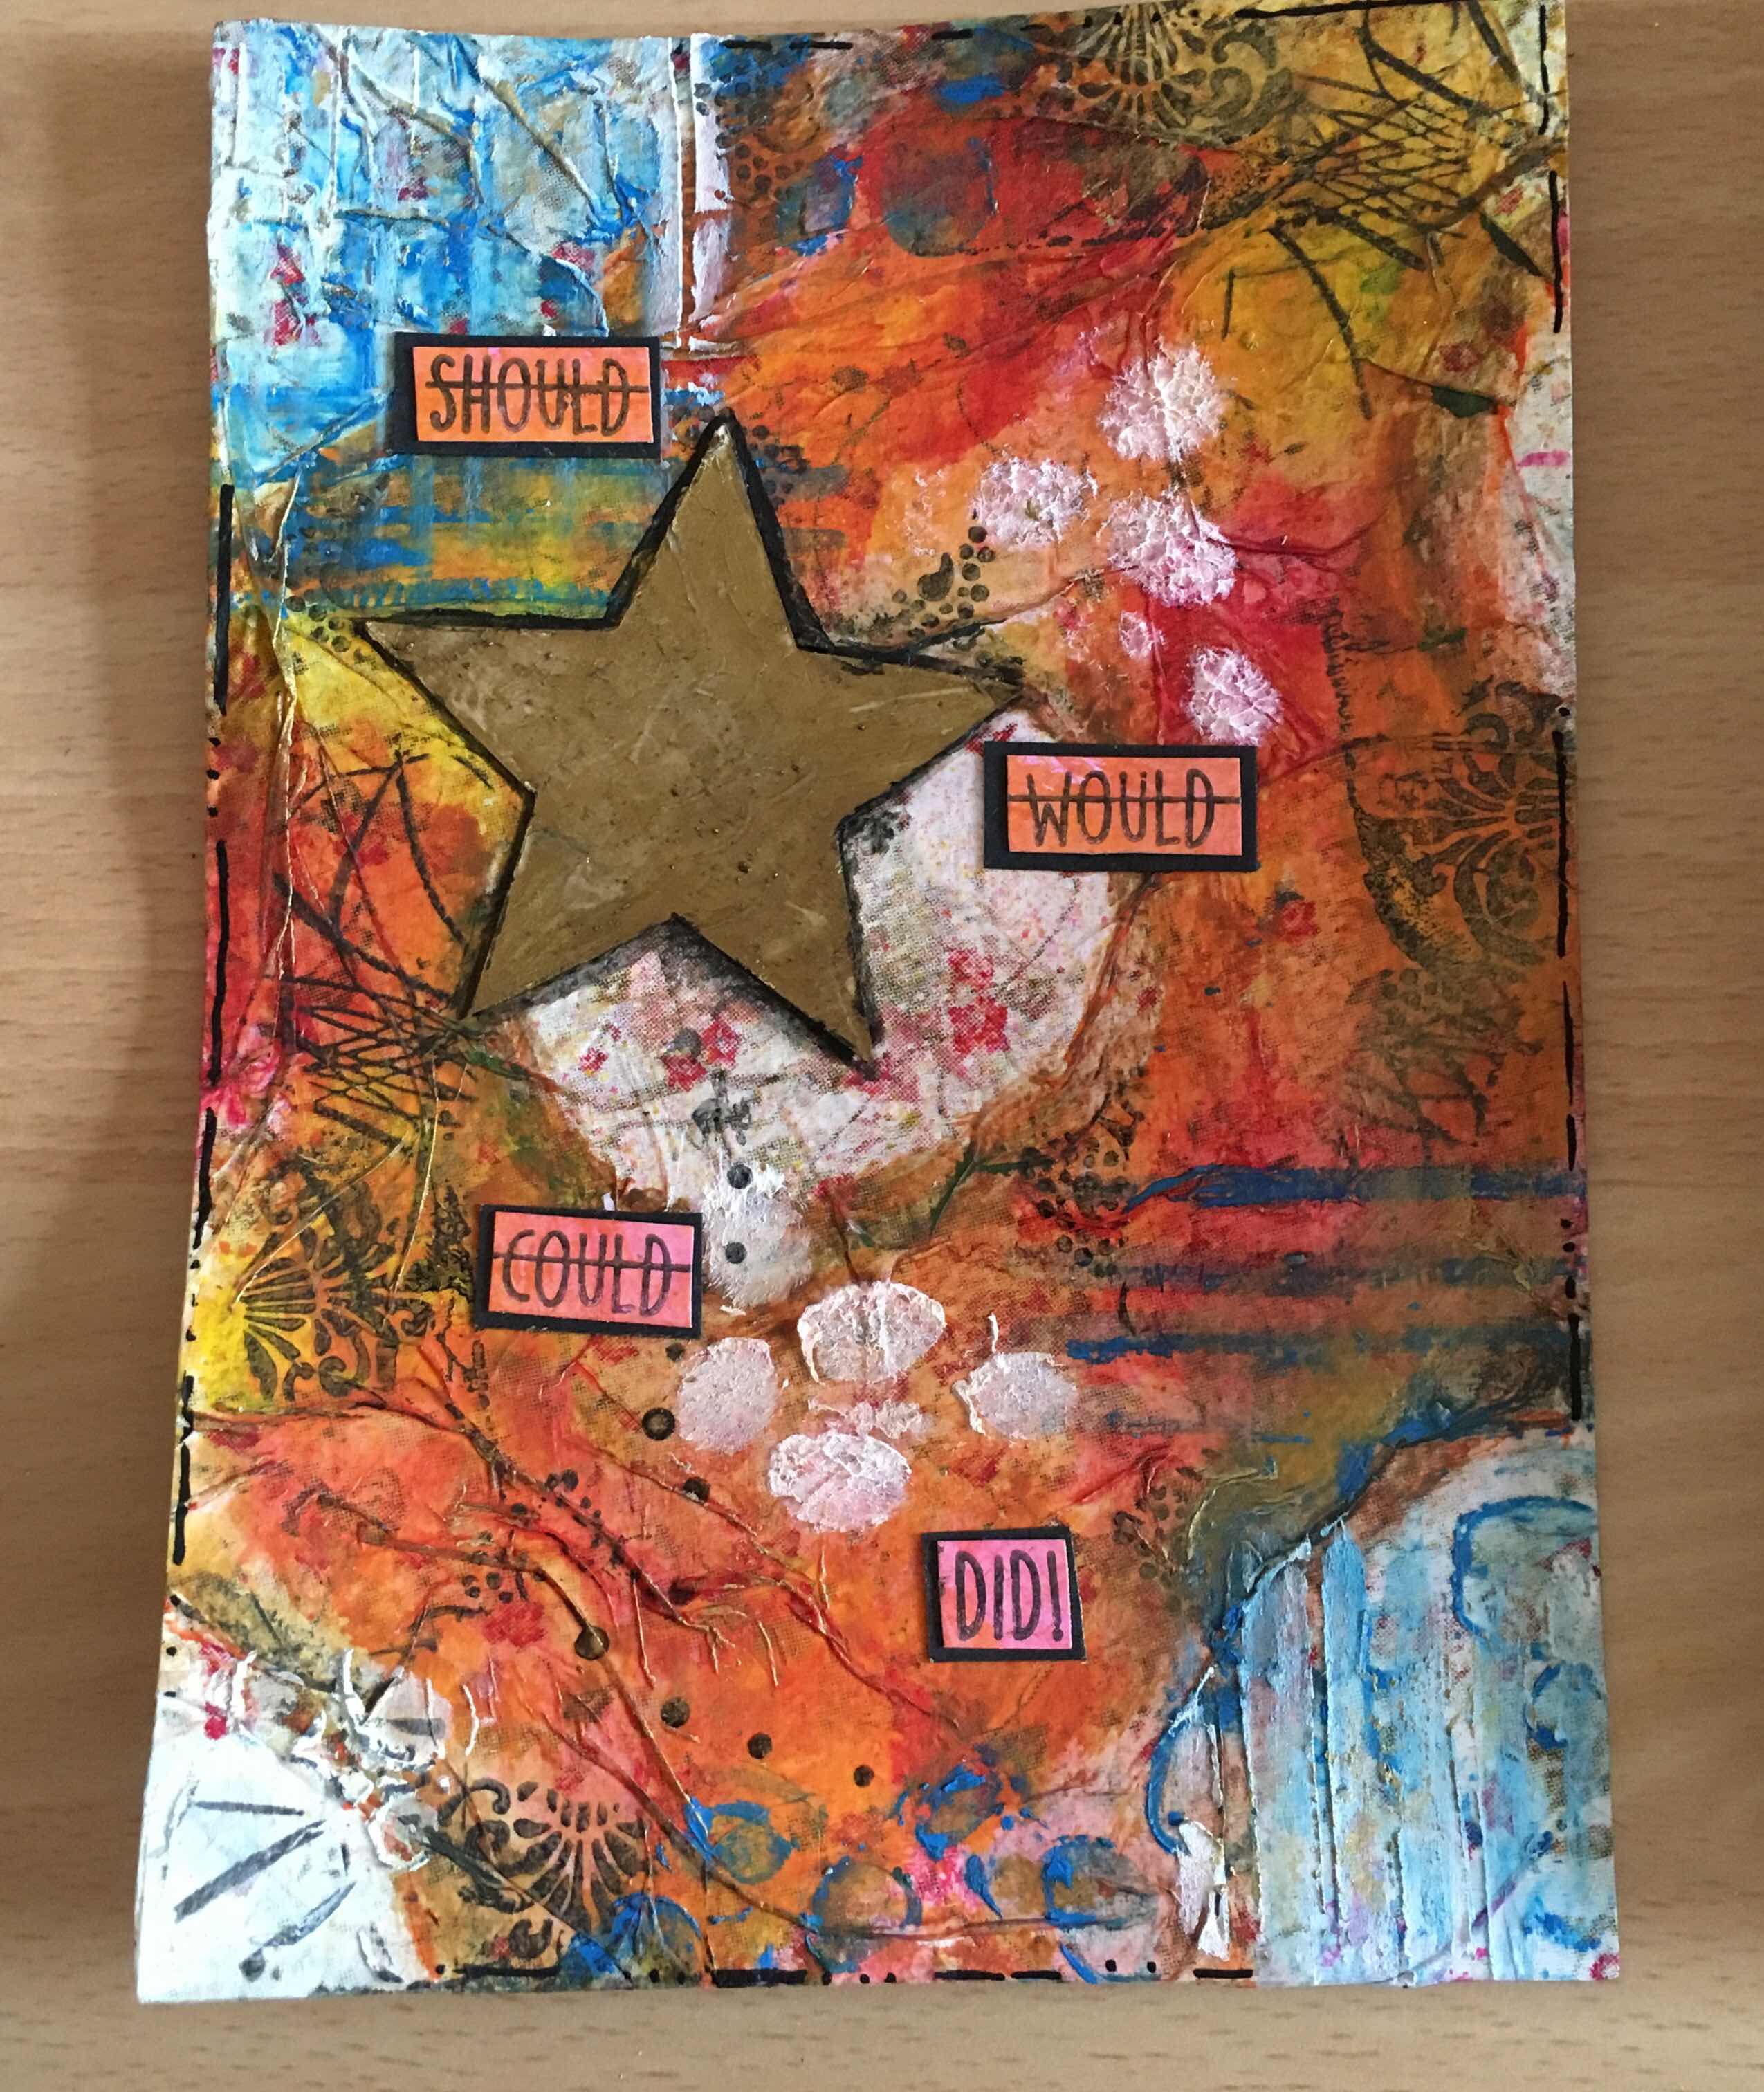
We worked on our journal page, using a variety of products to give it a real mixed media look. We incorporated Stamperia rice paper, the super cool Tim Holtz Distress Crayons, paints, ink spritzers, stencils, Pentart fibre paste....and the kitchen sink!!

I love projects like this, as everyone produced something completely different.


We also covered our Happy Cow book with Powertex, and created a cool book cover. I’m happy to say folk joined in and felt the Powertex under their nails!! (It washes off....environmentally friendly, water soluable and non toxic...boom, got it ladies!).


I always let folk choose their own colour palette, so each piece is unique and interesting. I’m really chuft with the results.


We will be repeating this workshop, next stop is going to be 22nd April in Hastings. All materials are provided, along with brews and biscuits...we hope you can join us xx


Saturday, 13 February 2016

4 days left and don't want to count anymore!!!!!

4 days.  I should be ironing.

Haha, nah, I'll leave that until Tuesday.

Today, I decided to have a play with stuff that's hanging round my craft room - this is kinda where it all started with this blog challenge, using old stuff which was hanging round.  And trust me, I have a lot of stuff.

For this card I decided to use some die cuts, which are ready and waiting.  I believe the dies are from Tonic and Couture Creations:


First I decided to cut an aperture into my square card, which is just a little smaller than the die cut.  Glue the die cut in place over the aperture


I then added a decorative panel behind the detailed die


And another over the top.  I actually fell out with the black layer, as it looked to heavy, so I pulled it off again!


I added this lighter panel instead, using 3D foam


I then decorated the front of the card with these pretty flower die cuts.  The white one was trimmed and added in separate elements


I then added a rub on in the centre, and popped  a little dot of cosmic shimmer PVA to each point of the die


This is a lovely simple card to put together, but effective. 

Friday, 29 January 2016

19 days to go - and the challenge is complete!

We're in the teens.

I did my random number generator to find the challenge, and it came up with 24 (I have taken into account the emails I received as well.  The winner of the challenge this week is Myra.  Thank you for the challenge, Myra, this is what she has asked me to use this time:

"Hello Leonie, 
I like that machine too! 
My three things are washi tape, domino and charms! Xxx"

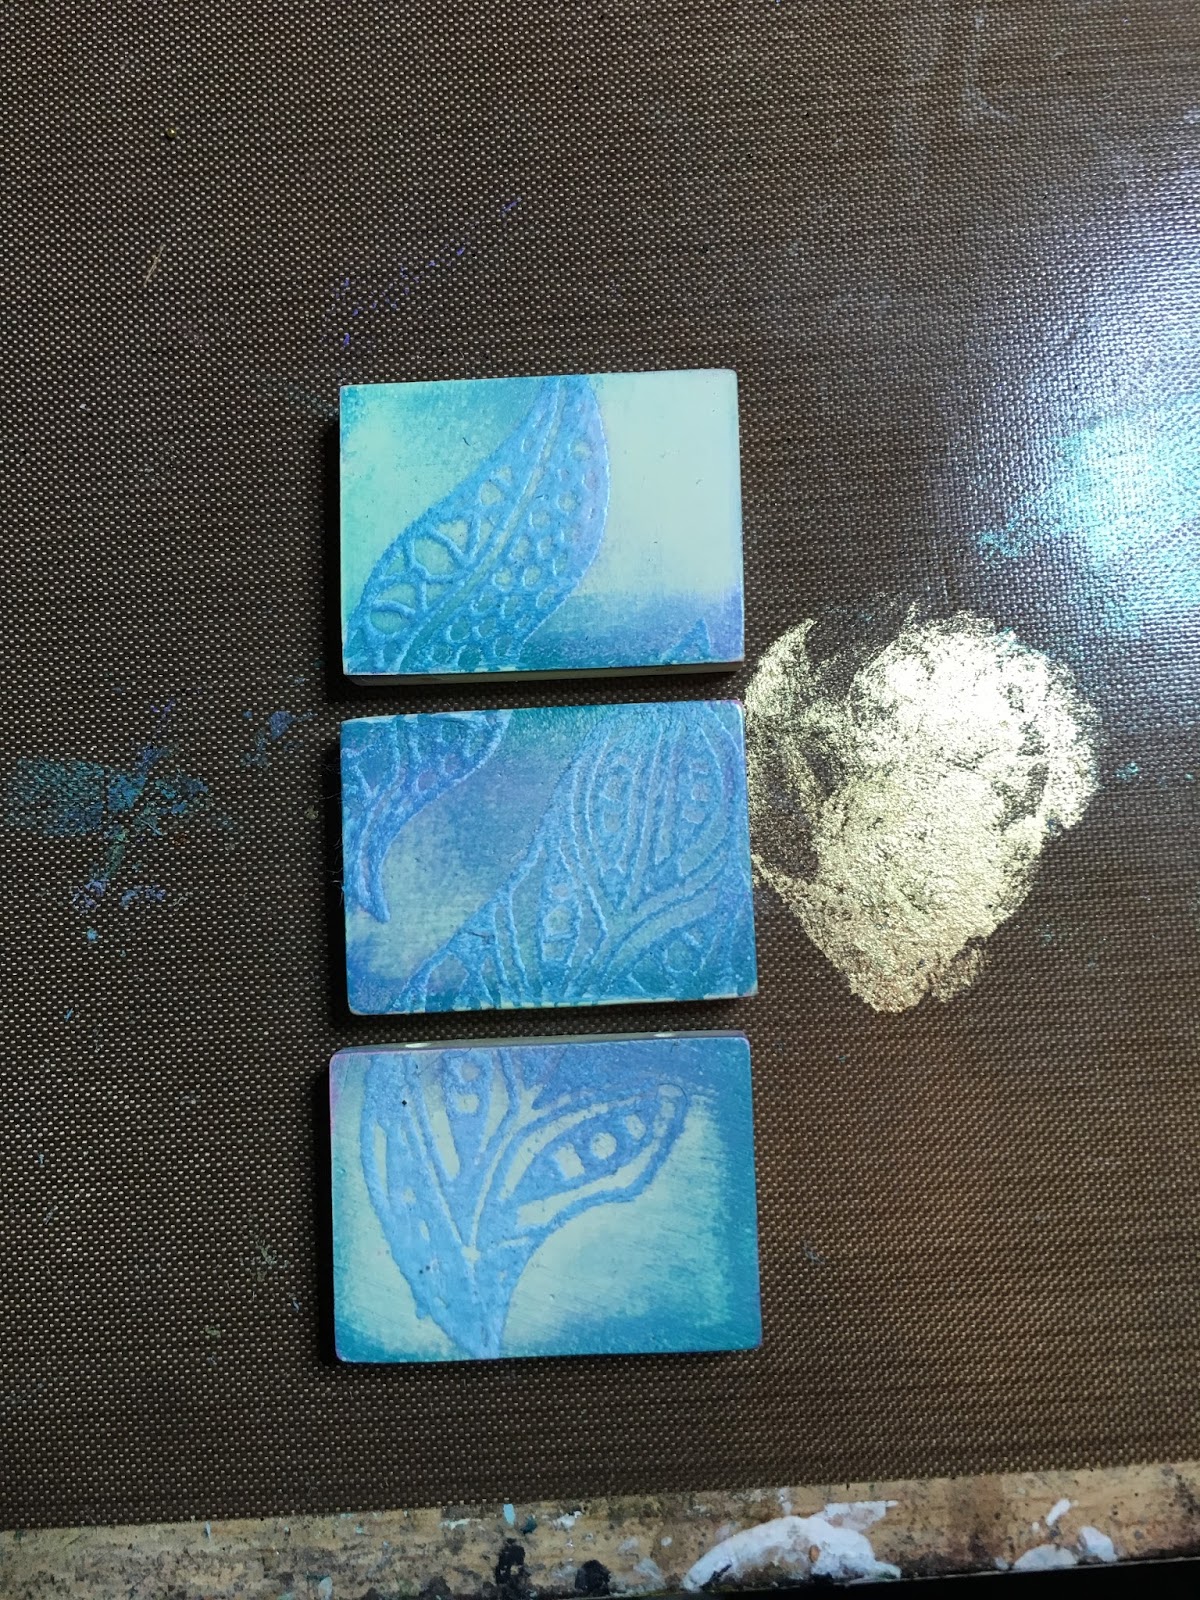
Off I trotted to look for the goodies.  I don't have any dominoes (pizza!!) but I did manage to find something very similar.  They are called Style Stones, and were released years ago.  I'm not sure if they are still produced, but Stampboard will work in the same way.  I decided to use 3, which is just a bit bigger than a domino


Before I started I just wanted to see how they would look if I scratched the ink back.  So I added alcohol ink, allowed it to dry (you can give it a blast with the heat gun to speed up the drying process


When you scratch the ink back the image pops out.  I just used a pokey tool


Next I used a couple of pretty stamps from Clarity, which I stamped and embossed with white embossing powder.  I kept all the plates together so the stamped images go over the whole tile collection.


And then I decided to play with inks.  First I tried the versamagic pads.  I do own so many ink pads, so it's nice to have a play and just see what they do on different surfaces


I dabbed the ink on, building up the colours


I blasted it dry, and then made my first boo boo :)  This is stupid - don't use a cotton wool ball to remove the ink from the embossed image when you've just used a heat gun.  I could have worked out that the heat gun melts the embossing powder again, so therefore it will be tacky.  Cotton wool ball = hairy!!  It's okay, I picked off the fluff.  And then used tissue to wipe away the excess ink


I then decided to have a play with these vibrant Vivid ink pads.  I gently applied these, just dabbing a little colour on my tile


Again you can blast the ink dry.  I then scratched the surface to create texture


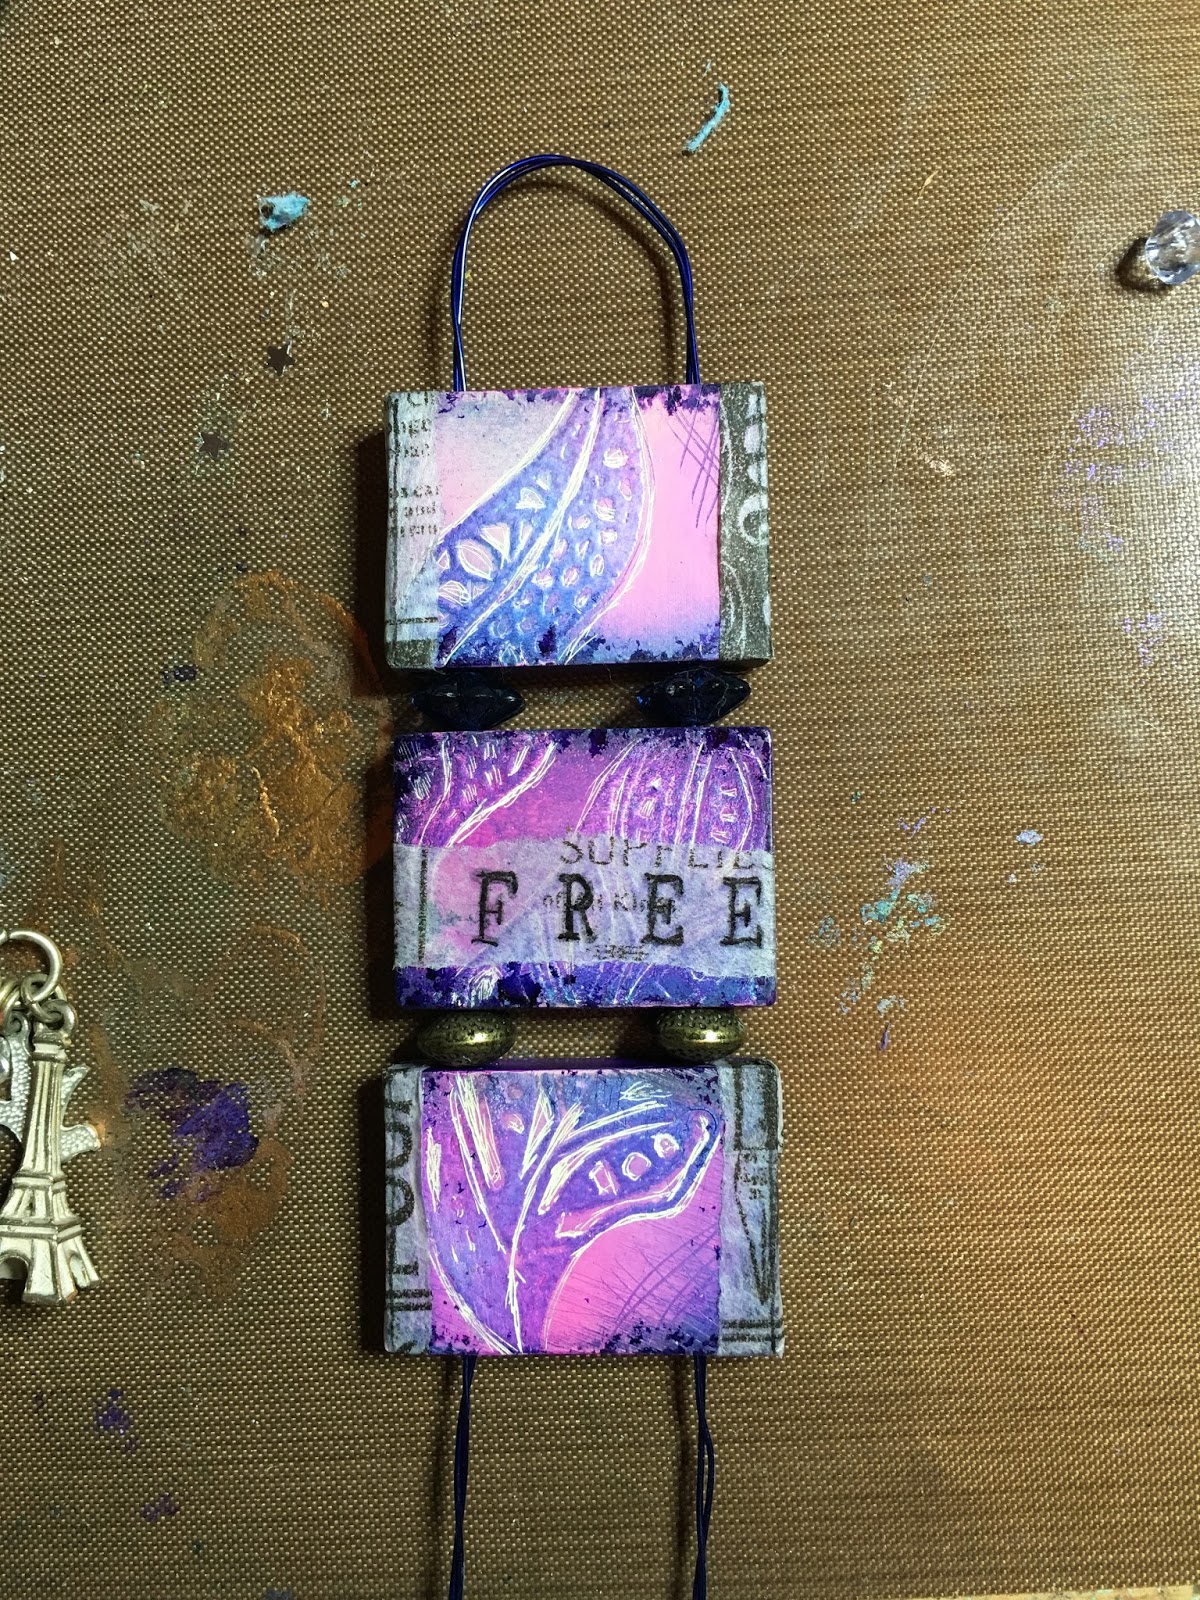
I decided to use the washi tape to add the word "Free".  I picked part of the washi tape that wasn't to heavily printed, and stamped on top 


I tore the tape at the top and bottom of my stamped word, as I like the frayed effect


I tested it against my tile to see if I would be able to read it, then popped it to one side


Now, lets really play with scratching.  I worked in the spaces left by the embossing powder.  I love that you don't need to be precise or perfect with this, and it still looks cool.


Myra wanted me to use charms, so I dug out the other earring.  I love these little charms!


I did add a little more ink.  The edges have been inked with alcohol inks, as it's so quick, and I couldn't resist adding a touch round the edges.  I also added washi tape to the side of the top and bottom tile.  I popped my Free in place, and did go over it with my drawing pen.  


I strung them together using wire, with pretty beads in between each tile.  I doubled the wire over to make it stronger


When I reached the end, I created lots of twirls


Finally, I added my charms.  Really chuft with this little wall hanging.  I will add glossy accents to it - but decided to photograph it before otherwise I would have to wait ages for the GA to dry


I took photo's on the white card as well, as it does look different on there.