Showing posts with label art. Show all posts

Sunday, 9 September 2018

Staithes art festival

Morning.

I did pretty rubbish at the daily blog post didn’t I!! I have excuses... I was ILL. Only a cold, but mother did it floor me. I suppose it’s because I’ve been run down, so it sneaked in. I think I’ve avoided a chest infection....fingers crossed!! So maybe trotting off up to Staithes wasn’t a great idea....but it seemed like the best medicine I could think of. Art. Good company. Beautiful scenery. Good energy. It’s the best way to mend.

The lovely Carolyn opened up her house to us, and we descended with paints, stamps, inks and goodness!! And within hours the house was unrecognisable. 

Myself, Lou, Kaye, Emma, the two Tamara’s and Carolyn chatted and crafted, then on Saturday trotted into Staithes for the festival. It’s utterly stunning. Beautiful little town. I love the quirky little alleys, the mix of architecture, and of course the wonderful views. Even better, a lot of the houses have been taken over by artists, so you can nosey inside the houses at the same time as looking at art!! Perfect combo.

There’s so much incredible art on display, it’s fantastic to see so much talent.

I better stop waffling as I can hear through my very muffled ears, the ladies are up and about, but I’ll share some pics.

Take care xxxx


Wednesday, 13 January 2016

Hey, 35 days left. Crafty Countdown....

And a good day to you.  How are you today?  It's rather chilly here in Peterborough.  I got up to walk the dogs this morning, and Teela (my little old girl), took herself back to bed.  She did get up for the walk - I think she rightly figured there was no point standing around whilst I faffed about getting ready.  She's pretty smart. I'm still hoping it snows - I have sledges waiting and ready :)

Now, back to the craft.  So yesterday I did my splatters.  I really liked the simplicity of that card.  Today I decided to faff a little bit more, and take the gauntlet thrown down by Sue Bowen (thank you, Sue), who said she would try my rather violent slamming technique, if I try the one she likes.....lets play

I started with a piece of white watercolour card stock, and two distress ink pads:


I created a soft blend with the colours using cut and dry


I then used a mask over the top and bleached out the ink just using water.  The top you will see has lost a lot of the definition from the mask - that's because I went in quite heavy with my sponge and to much water.  For the rest of it I just gently spritzed the mask with water.  Take the mask off and lay a piece of kitchen roll over the top.  This draws up the water and the ink.


Next I used the blue ink pad (salty ocean) to stamp a pretty border stamp onto my design


I then used some washi tape over the top of the stamp design - well over half of the design.  I don't use washi tape much - but I do really like it.  I like the translucent effect it has, the way it tears, the way you can overlap it for a more opaque finish (did you know opaque used to be spelt opake - why change something that really didn't need fixing!!).  I then stamped a Tim Holtz tree over the top of my tissue tape.  Initially I wasn't to sure if I liked this, but I've warmed to it now


I used acrylic paints, really watered down, to colour my tree.


And now, the paint and straw!!  Of course I love this technique - but I'd forgotten about it.  That's the beauty of craft isn't it - there's so many techniques for us to rediscover :)
I watered down my paint, and then used a dropper to drop blobs onto my card.  I then took a straw and blew the paint.  The finer lines, when blown, give even thinner and more detailed sprays of colour.  It's very addictive (again, thank you for reminding me Sue).


I did have fun with the dropper (pipette).  Sometimes it delivered paint bubbles.  I left these on the card to see what they would do when they popped.  To be honest, the effect wasn't amazing, but the bubbles looked cool.


When I was happy with my paint, I cut my card down, and then stamped my sentiment directly onto the card


I went round the edge of the card with a black ink pad, and then matted it onto a piece of white card.  I then matted this onto a black card, and added a little bit of the washi tape.  As I'm planning this to be more masculine, I figured the washi tape was a nice alternative to ribbon or gems. 


Viola.


Monday, 21 December 2015

58 days to go - it's crafty countdown time

Owww, still feeling a little delicate from yesterdays party and night out.  We had such a good time.  It was great to see some mates from Create and Craft, there's some brilliant people there.  Loen is so funny, and it was great to be part of Andy's surprise party.  After the party myself, Rachel, Alan, Nigel, Joe, Hayley and Shaun carried on with the prosecco - which was great.  So nice to spend time with that lot - they are such good fun.  However, I'm feeling it today!  Still, I did manage to get my crafting done!  Hooray.

So, the challenge was you had to select 3 products for me to use - and the winner was "C".  If you are reading this please email me your address as you are the winner of the finished piece, I hope you like it.

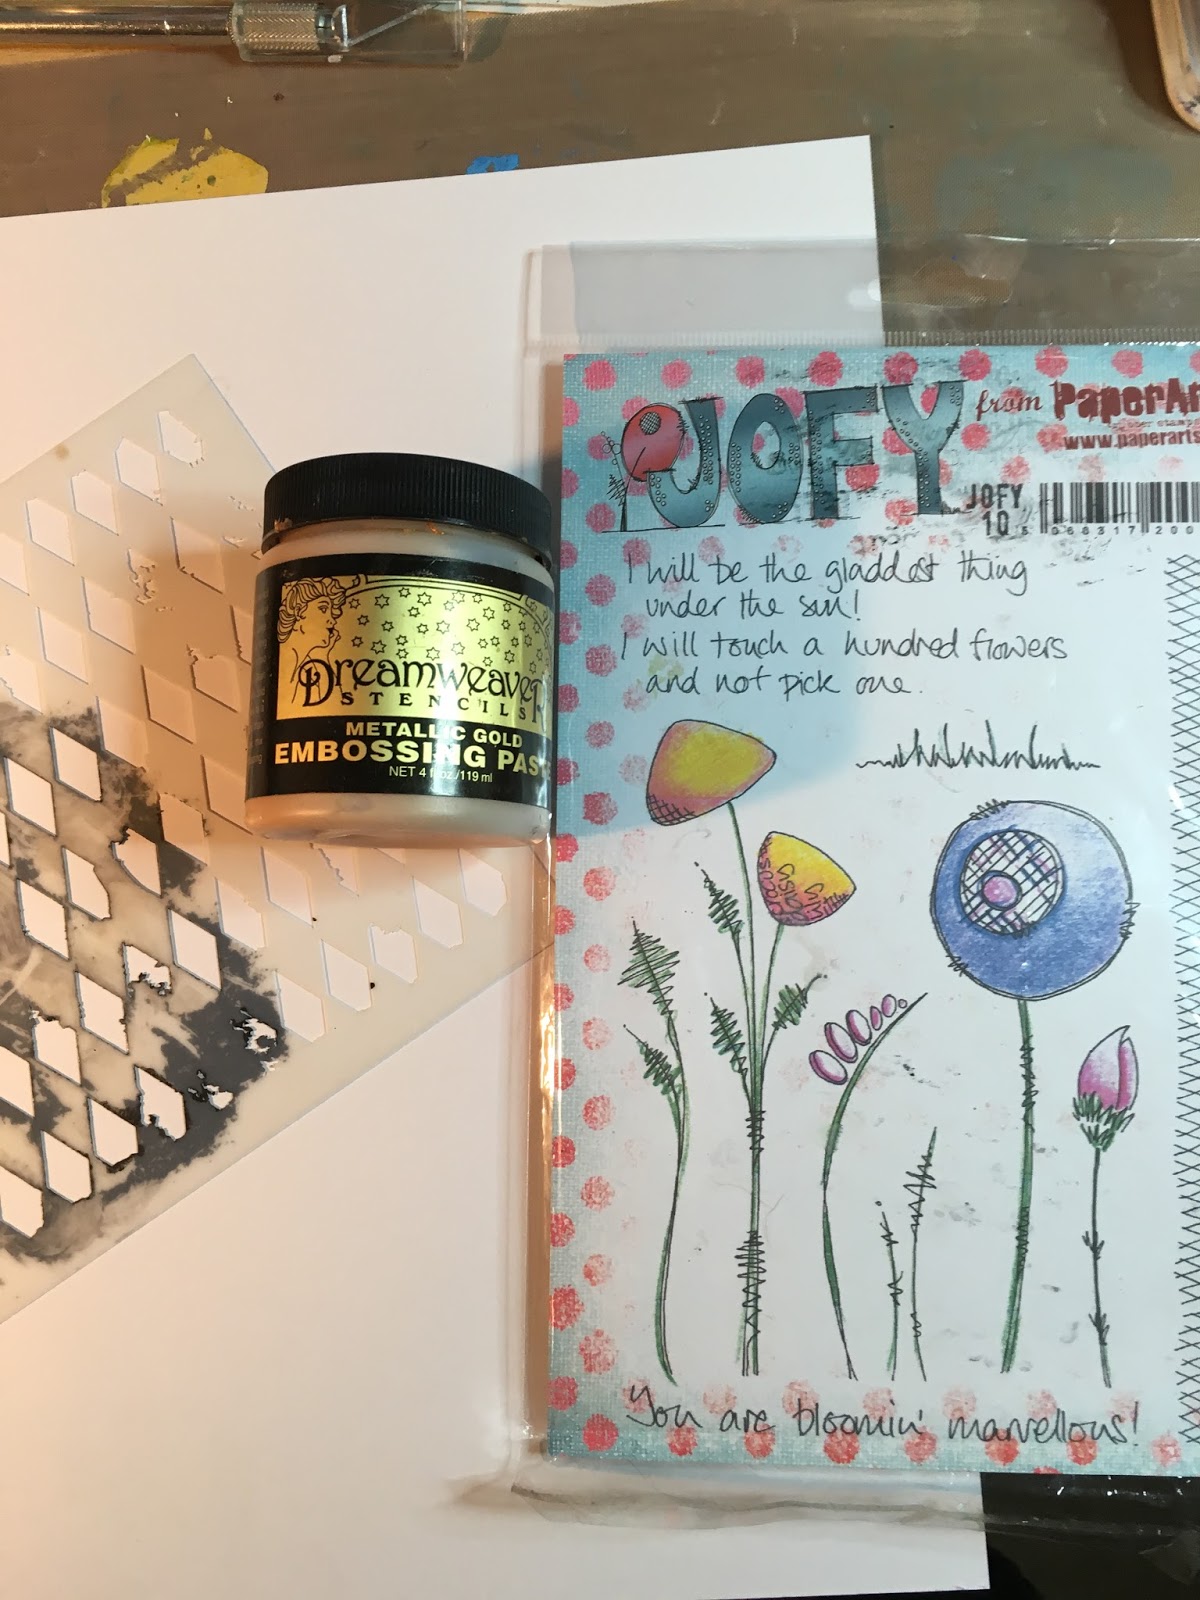
C choose embossing paste, stamp and natural twine.  Funnily enough, I have all these things in my stash.  So, these are the goodies I choose to work with:


The stamps are from Paperartsy, and really cool designs.  I've used a Crafters Workshop stencil (one of my favourite companies), and then embossing paste from Dreamweaver.


I also choose to use paints to create my background.  I'm using Paperartsy chalk paints.  I like their consistency, and also the ability to layer with them.


I created a really loose background.  I popped a block of each colour to form a square, and then layered a little of each colour over the top.  I used a sponge, and didn't worry about attempting to be neat and tidy.  I like doing backgrounds like this, as you always get an interesting finish when you over stamp.


I used the background stamp first, twice, to great a base


I then stamped my first flower.  I made a mask out of scrap paper, and added glue to the back.  I used a quickie glue pen, as when the glue goes clear it remains tacky, but is repositionable.  The mask will allow you to over stamp - which looks like this


You can see I've stamped the next flowers on the white paper, and then when I remove the paper:


You see the flowers just sitting behind the first flower


I added some grasses, all using black momento ink


Then to use the texture paste.  I used my mask, which I stuck down with masking tape.  I didn't have proper low tack tape, so only applied a little dodgy masking tape.  And then I didn't have a spatula - obviously I do have one somewhere - it'll t!  However, I just used a lolly pop stick, which was fine.  I wasn't attempting to get a smooth perfect finish anyway, so it did the job perfectly.  

I blasted the embossing paste dry with my heat gun, you can see the shine from this photo.  It looks lovely.  


I cut my card base down.  I haven't mentioned, but I am using mount board, as I wanted a heavy card to withstand the paint and paste - and just in case I changed my mind and started adding lots more paint!  I then wrapped my string around the edge.


I found some burlap, and frayed the edges, to give it more texture.  I added a little paint onto the edges, and then glued it down under the string.


Next, I used a scrap of the mount board which I painted a background using the same paints.  I dried it with a blast from the heat gun, and then stamped my sentiment onto the card.  I cut it down and matted it onto a piece of black card


Finished.  I added glossy accents to some of the words on the sentiment.  I went over my stamp designs with my drawing pen, to emphasis the images.  I'm really happy with it


Friday, 18 December 2015

60 DAYS!!! Crafty countrdown....

....60 days!!  Whoop Whoop.  Tonight is a bit of a cheat night - not because I'm off out sipping (!!) the Prosecco - but because I have been mega crafting this week, so fancied a night off, and a dip back into my old craft projects.  I love looking back on my old craft makes, it's reminiscing after all.  Generally we look back at photo's for our memories, but looking back on my crafting definitely reminds of a moment, a place, a feeling.  It's good to keep old craft makes as it also can show you how far you've come - or remind you of a technique you may have forgotten.

Today, I dug out one of my favourite favourites:


I love this stamp.  The first time I used this image, which was basically the same, it was produced by Hampton Arts.  I adored it - and have the wood mounted stamp knocking about somewhere!  It was then reproduced, with a few added bits, by Stampers Anonymous - I think (but don't quote me) it may have been one of the Tim Holtz collections.  I have used it over and over again.

This actual piece was made for one of the demo weekends I did at Ally Pally, with Creative Expressions.  I was demonstrating with Angelina Fibres (again), but wanted to try something different.  Normally the fibres are very shiny - which doesn't appeal to everyone.  I wanted to use the fibres in a alternative way, more grungy.  

I made my sheet of fibres as usual, but then glued it onto my card.  I then used acrylic paint over part of the fibres - making sure I don't cover the full sheet, as I still wanted a bit of that shine coming through.


You get a subtle shine, but you also get the texture.  


Something else I loved about this piece was the flower.  This is made out of grunge paper.  I used a Wendy Vecchi stamp, painted it using acrylic paint, and added to my piece with brads.  It's the perfect finishing touch


I decided to call today "Throwback Friday"....realised it probably should have been Throwback Thursday.....so renamed it Feet-up Friday :)

Have a lovely evening everyone xx