Showing posts with label recycle. Show all posts

Sunday, 10 January 2016

38 days left to go!

Good evening crafters....it's been a long day today.  Nothing to do with the Prosecco last night I'm sure.

However, I did manage to finish my challenge.  Here goes...

I attached the lights in place behind the paper cut to sit inside the milk carton.  I used strong double sided adhesive


I then popped holes next to the lights so they will shine through


I fussy cut tiny little Oz's, and covered them with glossy accents


I then took the rest of the paper from my Graphic 45 pad, and cut out some of the words and adverts


Next I began to paint the milk carton.  I gave it a coat of gesso first, and then painted it black.  I also combined it with a little cream paint, so it wasn't just a flat black tone


I glued the paper inside the box.  I made a base, which I also covered with the advert paper.  I fussy cut a witch, which I stuck in the box at the back, so she will peep over Dorothy's shoulder.  The red shoes were a bit of a faff!  I cut them out then attached them to a piece of wire.  I threaded the wire through the side of the egg box, and then attempted to get the red shoes hanging in place.  
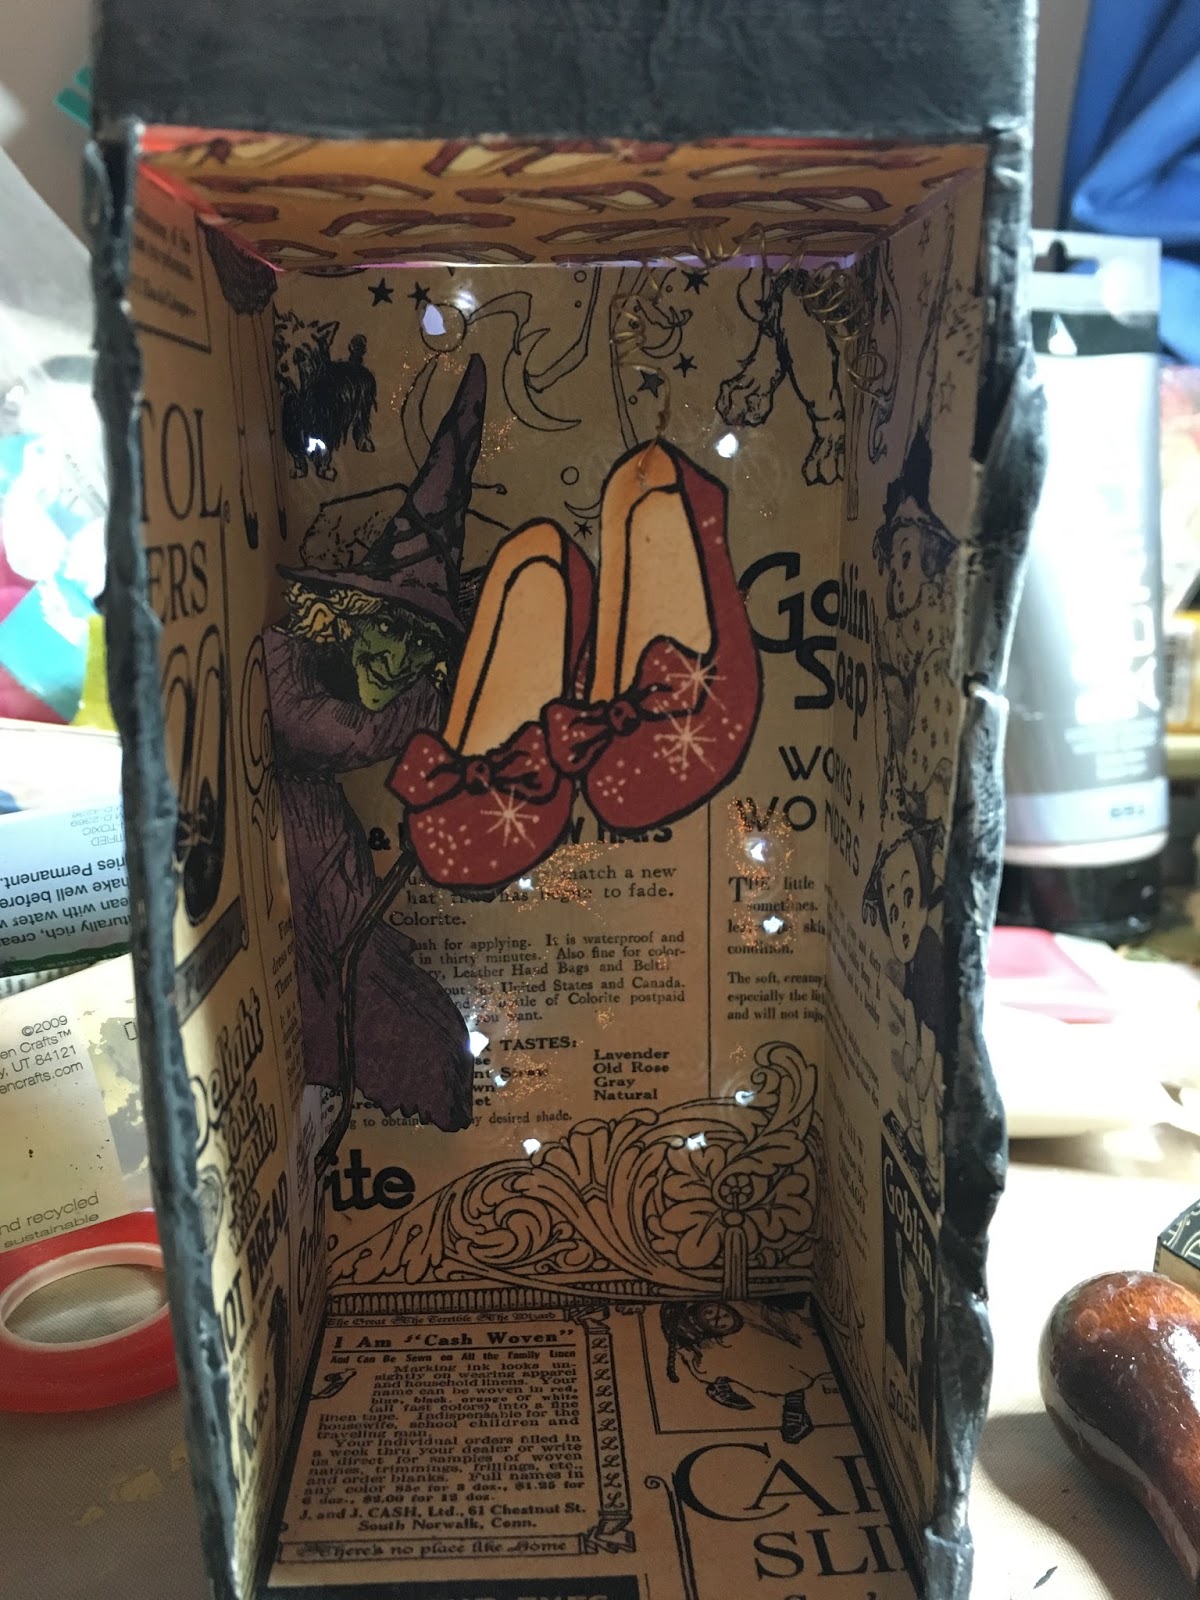

I then added Dorothy.  To attach the elements in place I used paper anchors - just pieces of folded paper does the job


I cut the witches stripey legs out, and fixed them in front of Dorothy, and then cut out some poppies.  I popped some inside the carton. I tied a piece of black, then green ribbon ribbon around the base, and sat another couple of poppies at the front of the ribbon


I then had a play with the lid which I thought needed something on the top.  I ended up deciding it didn't :)


Instead I just tied another piece of ribbon around it.  Now adding extra embellishments on the outside of the milk carton.  You can see from this photo, the wire from the shoes.  I added more tape to make sure it was secure


And I also added one of Tim Holtz thingies.  Not sure what they are called.  It's essentially a clip to hold one of my paper confetti 


I cut out "There's no place like home" and coloured it with one of the Spectrum glitter pens.  It's a clear pen, but has a lovely sparkle, which I hope you can see it in this photo


I added one of the adverts, to cover the wire and tape, and made sure it bends around the corner of the milk carton.  I also add paper confetti, and one of my glossy Oz


When I had finished adding all my embellishments, I then went over the empty spaces with gilding wax.  This is the Pebeo gilding wax, and goes on so well.  It gives a fantastic finish, and is very addictive.  I wanted to keep adding it!  It does really emphasis that texture created with the newspaper


I added another one of the paper clips inside the box, with another sentiment cut from the pad


I liked the key, and looped this onto the green ribbon


Had a break, well a few breaks today to be honest!  Look at Dylans' lovely face :)


And there we have it.  A milk carton.  Some newspaper, and then (a bit of a cheat), but a form of word confetti.  I hope you like this Donna, as it's yours.  Please send me an email with your name and address so I can get it in the post for you: leoniepujol@hotmail.co.uk


Saturday, 9 January 2016

39 Days to go.....we're in the 30's!!!!!

OMG....we're now in the 30's.  No wonder I can't sleep!!  Anyhow, thank you all for your brilliant suggestions.  I love this game, there were so many people who joined in as well. Thank you.  I use a random number generator to choose the "winner".  And, as I said in my previous post, it was Donna. Thank you Donna :) This will have to be a two part post, as I need drying time....so here goes the first section.

So, if you saw my last post you know what I have to work with, and this was the starting point:


I decided I wanted to use the milk carton to create depth to my project.  Initially I intended on using some Tim Holtz trees, so cut the front of the carton out to the correct height of the largest tree.  It was really easy to cut with a craft knife actually.  I made sure the join on the carton sat at the back 


I cut off the top of the carton.  Removed the plastic poorer, and cut a little bit out of the side flaps so I could fit a wire into the top when I popped it back in the top of my carton.  I stuck it down with strong double sided tape


I then popped my lights in and some card, to see what it would look like


It's funny, you know that random peg, that just seems to have appeared in your craft room....well, now I found a use for it - and even remembered where it was!!


I made a base out of cardboard, which I placed in the bottom of the box


And then started cutting hills from white card, and added the smaller tree


And then....found my Graphic 45 book and changed my mind!!  Aaaagh.  I do this all the time.  Cut out a page for the back and side of the box, and then fussy cut Dorothy.  There are so many elements in this pad which I can use.  So now I'm having a dilemma, and don't know what to do. What do you prefer?


Whilst I make my mind up, I have decided I want to use the paper to give me texture.  So I used Mod Podge to apply the newspaper.  I applied a layer of glue


Then scrunched up the newspaper, and popped it on with the glue.  I made sure there was plenty of wrinkles, tears and bumps


It almost looks like material.  It doesn't matter what it looks like, as I will be painting this.


Now, I need it to dry....and make up my mind what the next step will be :)

Sunday, 3 January 2016

45 days left..

Cutting it fine again this evening arn't I!!  I've no excuse.  Well, I have, but it's a bit rubbish.  Today I started going through my photo's to do the little year momento.  It took me hours, and I haven't yet printed one single photo off!!  Honestly.  First my computer had updated and my photo thing had changed, so I had to learn how to use it again.  Then I obviously started tidying up my photo's and deleting loads.  I realised I don't take that many photo's, so needed to look on Facebook - you know the story.  Facebook = 3 hours of your life suddenly disappears.  Yep, that.  I have started making a map of what I want to put on my canvas though - so I feel I've made a start.  Phew.

And then I decided I would take the challenge set by a message on facebook by a lady who messaged me (thank you Joan), and asked me if I could do a video clip showing how to revamp a Christmas card.  So, I choice a lovely card from my our cousin Alice and the family:


I eased off the reindeer 


and then cut out the merry Christmas, so I can use that next year.  The main thing I wanted to use though, was the glittered frame, so I cut this out keeping some of the shading


I used some Tonic dies, the Royal Frame and Butterfly Insert Set, and Simply Screens Clematis die, with one of the sentiment die.  Doesn't the frame from the Christmas card fit incredibly well!  So, I decided what elements I wanted to use, but then I had to decide how I wanted to fit them together.  Again, I find taking photo's the best way of deciding as I can look at the photo's to work out what looks best - as opposed to relying on my memory :)


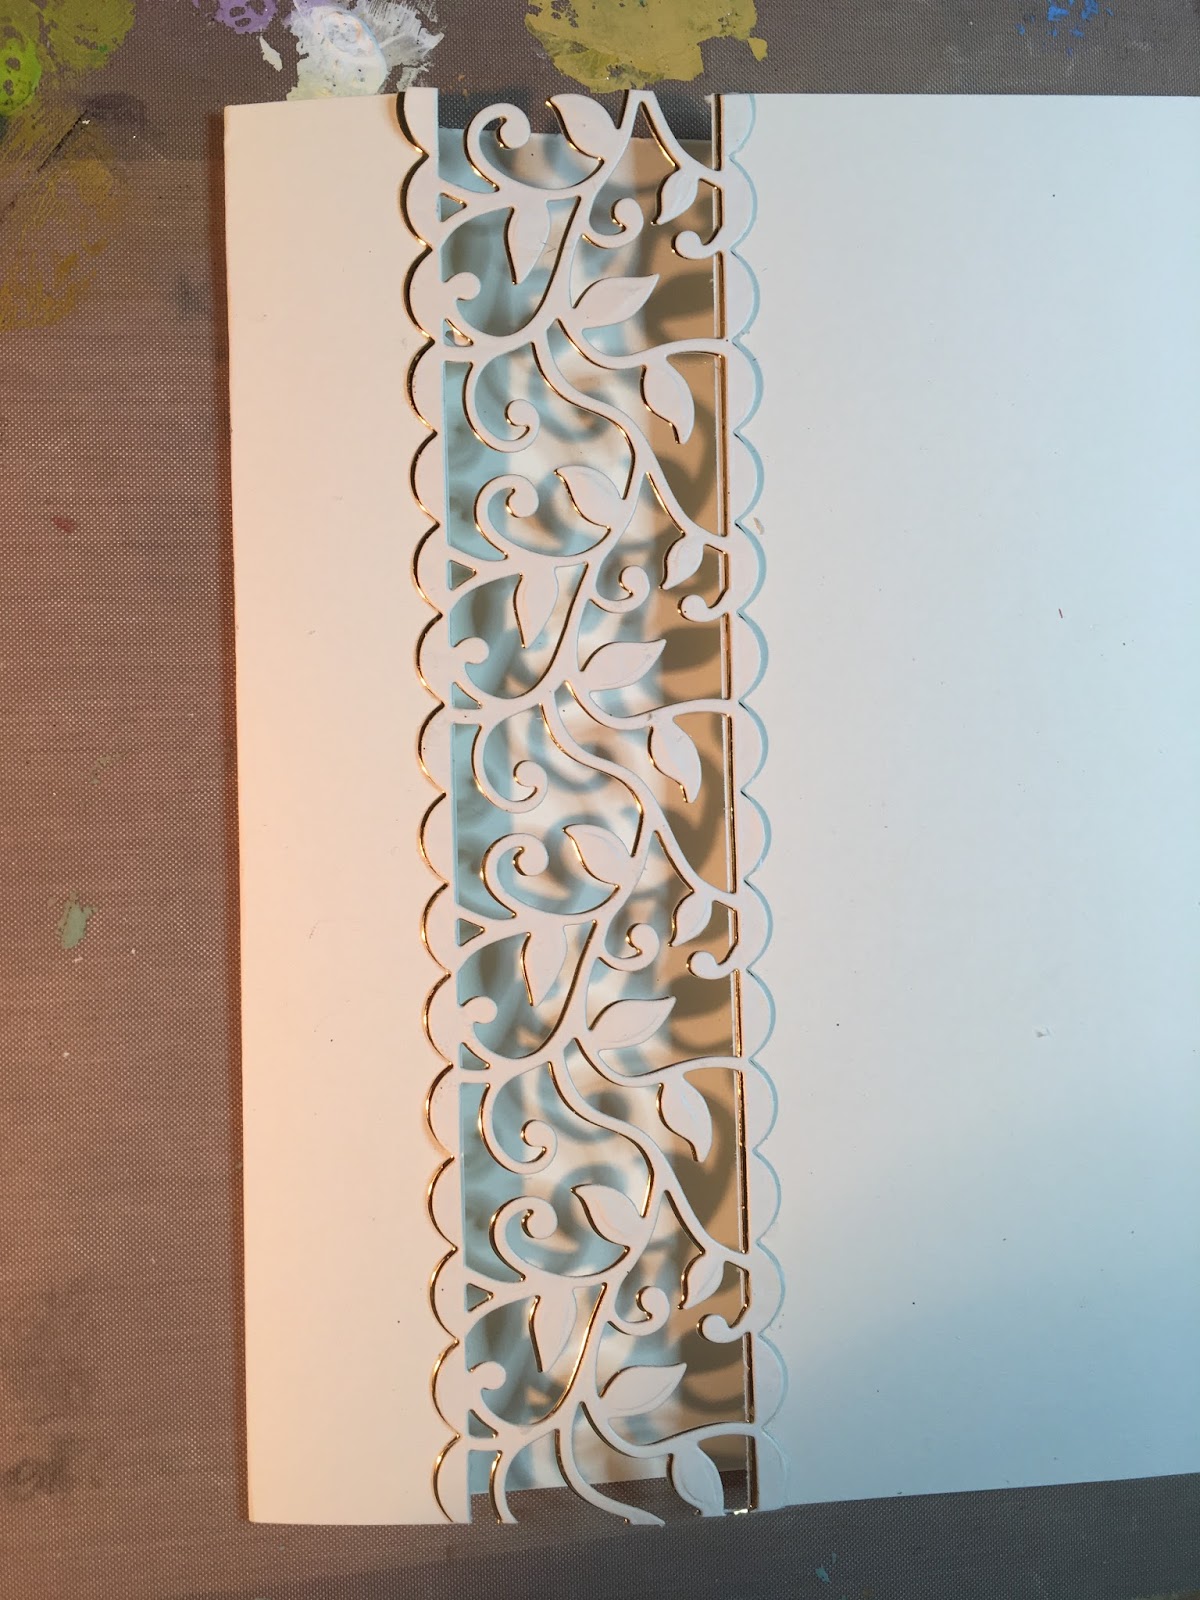
I decided to go for the tall card, and cut out a panel for the screen die to run down, so the screen is open.  I love this look, as it shows how beautiful and elegant the die is


I also inked the edge of the frame die, just subtlety, to make it stand out from the base 


I attached the frame onto my card, using 3D foam


And then added the frame taken from my Christmas card, together with the sentiment


Next, embellishments.  Again, it takes me a while to decide what to go for, so I took photo's to help.  This part always takes me such a long time.  I do like less is more though, so decided to just go for the ribbon, but did add some Tonic Nuvo Crystal drops to finish


I was finally happy, and took the card to my little light tent.....as soon as I get down on the floor to take photo's one of the dogs spots their chance


I did manage to take a photo of the card as well!