Thursday, 5 September 2013

Double, double, toil and trouble......

Sorry, I'll apologise for my picture quality on this one....bit dodgy.  But to make up for it, we have the lovely Dean!!  Hooray. The last Graphic 45 for the mo, this was one made during the show as well, so a quick and easy card.  I decided what part of the double double paper I wanted to keep in my frame, and used the lattice die to cut it out - inking around the edges of the die whilst it was still in place to emphasise the detail.  The rest was so so simple.  Mat and layer your papers, and use the fantastic pad for your toppers.  I again used the really beautiful satin stripe ribbon that I have on my web site to add a touch of class at the top corner, finished off with the chipboard skull and bones.  

Easy peasy.  We then have our Dean modelling the card :)

We also have a picture of Matt in a fetching all in one number for his birthday (nice Matt, nice).  And Jack hiding behind the camera!  There's then one of me and the dirty floor before it was all changed in studio 2.


Wednesday, 4 September 2013

A bag full of potions!

In my last post I decorated a candle (which I forgot to add I took bag home and lite - without any bits falling off!!). On air I got chance to decorate a bag.  This is a great way of recycling, you can change a bag you have received - or pick up some cheap blank bags ready to decorate.  I love doing things like this, as they are really handy, but look brilliant.

As I was doing this one live I only decorated one side - if I had been giving this away it would definitely have both sides finished.  I simply layered my papers down first, using a plain orange, and then the cogs paper.  I used some of the line paper to pop on a border at the top and bottom of the paper.  Choose two of your favourite postcards and mat and layer them onto orange card so they stand out when placed onto the decorative paper.  I love the two I picked for this one - the lucky spells can be written on, so you can make up your own spell which reflects the contents of the bag.  Dr. Dreadfull is fantastic, so he was a must!

I finished the bag with the ribbon.  I used a piece of wire to clinch the centre of the ribbon, so it was neat and avoided a bulky knot.  I used one of the chip board pieces to sit in the centre of the ribbon, and again would have given this a glaze with my glossy accents given the time! Once steampunk label and viola - your own bag of wonders and delights.


Tuesday, 3 September 2013

More spooky goings on....

Quick projects are really easy if you have quality products - so therefore it's got to be Graphic 45.  I used a candle (first one I got my hands on!) and simply cut some papers down.  I used papers around the actual glass - stick them on with a good glue.  I went for the red double sided tape as well as cosmic shimmer pva. I layered a second piece of paper, leaving just a slight black border.  Pick one of the fantastic postcards - I really like the Seymour Bones, so he was going to be the star of my candle.  I trimmed the corner off, so I could attach it to the candle at a jaunty angle.

I wanted to decorate the candle lid as well - as I always put this on when I'm not using the candle.  I just used the lovely satin stripe ribbon, and some of the heavy chipboard embellishments.  I must admit given more time I would have definitely popped glossy accents on the chipboard to give it a shine.  I did add some lovely stickles glitter glue in orange, the perfect finishing touch.

The Graphic 45 pad can be found on the C&C website, the stickles, beautiful black ribbon, glossy accents and glue can be found on mine: www.leoniepujol.co.uk


Monday, 2 September 2013

A little Steampunk spookyness....Graphic 45 style

Love Graphic 45.  Love their designs and quality.  Love working with em.....so when we had the new papers on the POD last week, the only disappointment was not getting enough time to work with them as I would have liked.  If you haven't tried Graphic 45 yet, do give them a go.  The papers are all double sided and they smell and feel wonderful.  The images are always so cool - and being a fan of the spooky and scary, obviously the new Steampunk range is completely up my street.

I managed to make one card.  I used acetate as the pockets are double sided, and what I didn't want to do was hide anything, so the acetate works perfectly (I actually couldn't find any, so had to cut up a packaging box).  I made a pocket from some of the papers on the inside of the card, for the wonderful little postcards.  Again, these are double sided, so you can write on the reverse.

Using papers like this means you need little else but adhesive - and maybe a little ribbon.  Soot black distress ink - or a lovely orange works well.

If you would like the papers please check out the Create and Craft website.  On  my website you will find other Graphic 45 paper packs and the lovely stripe ribbon.


Sunday, 1 September 2013

Cut, tuck and fold

Yep, the ones you can not say fast on live TV!!  I really like these dies.  I wasn't really a fan of Lace - mainly because of the time it took to do all the cutting - but I always liked the finished results.  Now, with the knife work done for you, I can love them and do them!  This card, dare I say it again, is really really easy.  Choose card/paper that's double sided, so when you fold you see both sides of the paper - this looks really dramatic.  However, John did a card just using white card with similar dies and it looked amazing.  I used the frame created by the die and then simply layered my two die cuts on top.  Honestly, that's it again.  Ridiculous isn't it.  Finishing touches provided by stickles glitter glue.


Saturday, 31 August 2013

Ribbon weaving

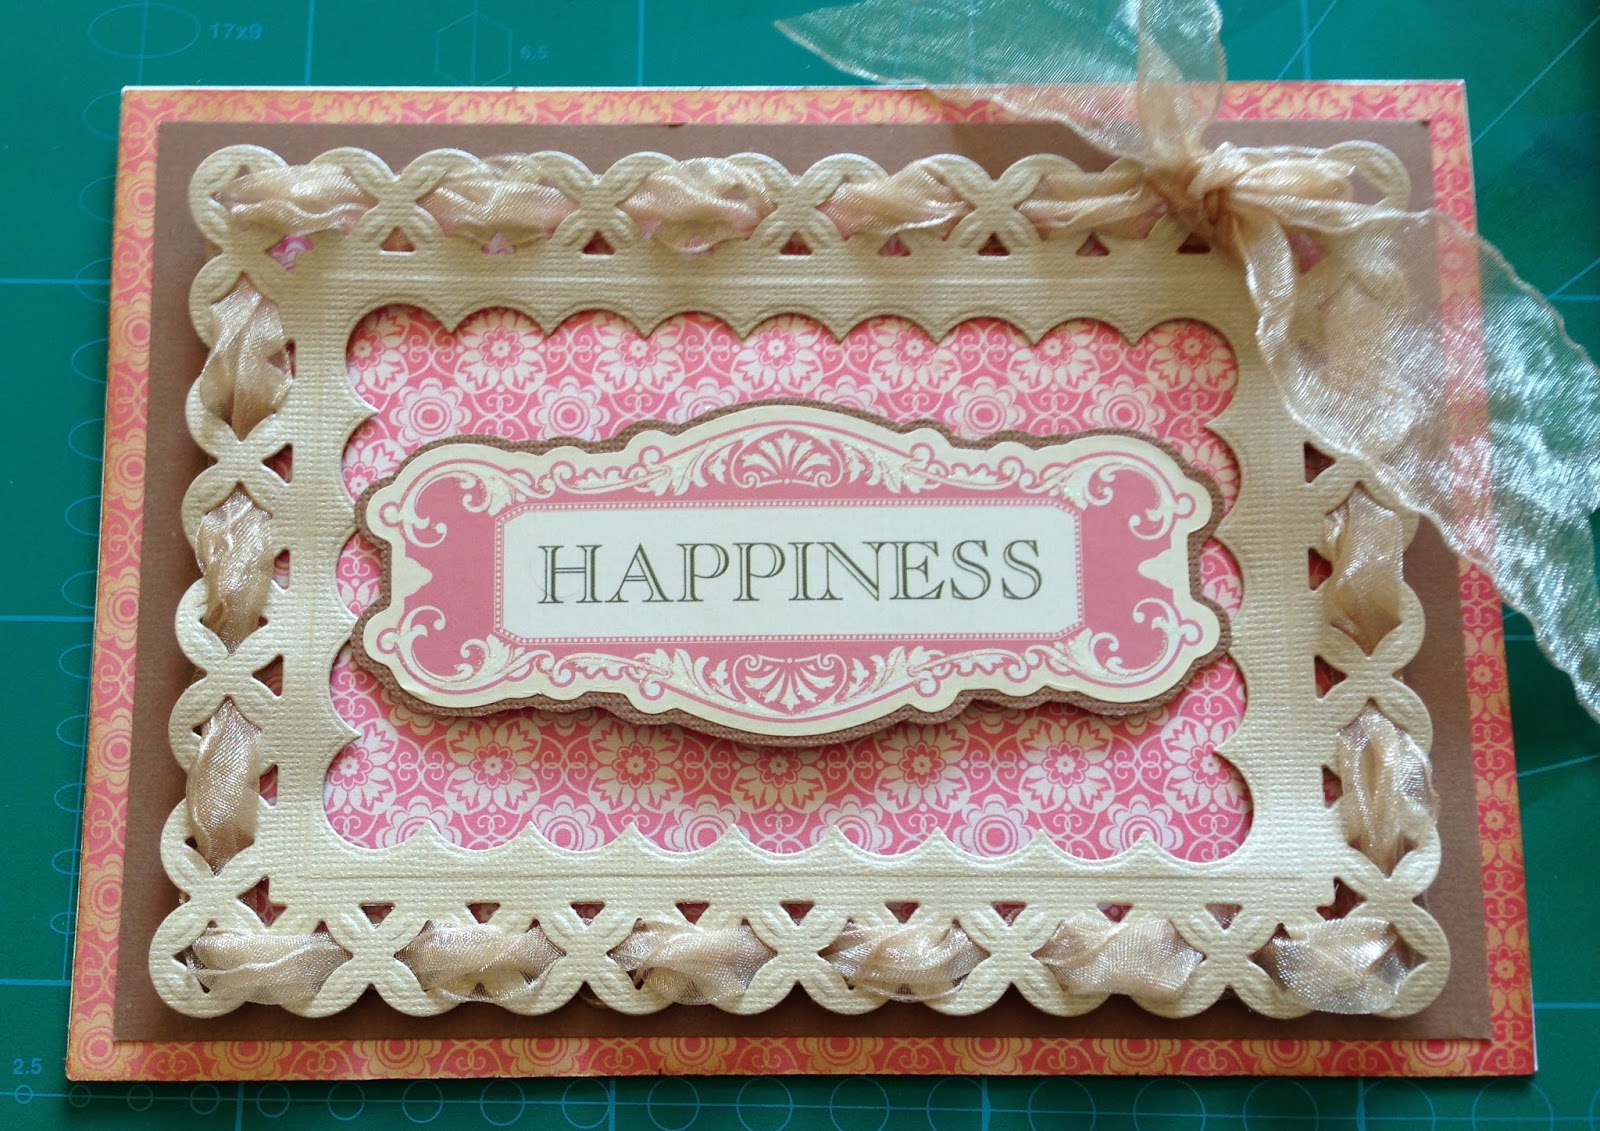
This was my favourite card from the POD shows.  I love the way you can use this die for weaving your ribbon.  It looks really effective and makes the frame sit proud, so really creating depth.  This was quite an easy card to make as well.  All I did was cut the frame, using the smaller lattice die in the centre, matted and layered the paper and card and then added a sentiment in the centre!  How simple is that.  I did do a little distressing as well around the edges of the paper - but really that was it.  Simple but very effective.


Friday, 30 August 2013

A bit Christmassy

Another quick post as I have 1 million and 1 jobs to do, an early morning and then a 3 hour drive.  Brilliant.  All to have "fun".  Mmmmm, at the moment a nice bath and a large bottle of wine sounds about as much fun as I can handle....ah well.

This card was made using the edgeabilities.  I love these dies.  They are so adaptable and pretty.  I cut the card so I had a fancy edge, and then cut the mirri card to sit behind, so you can see it through the design.  I used one of the labels sets to break up the patterned card and allow the flowers to show properly.  This is such an easy card, but the dies really make it look amazing.

As ever, I finished the card with my trusty cosmic shimmer pva.