

I cleaned the solution from the egg shells, and peeled off the membrane inside the shells. I then decided to use the tissue part of the challenge. I also decided to use this GlazOn from StazOn. I've never used this before, so thought it was a good time to experiment

I applied a layer of glaz to a piece of acetate

And then sprinkled mica flakes

and gold leaf

I then ripped and scrunched pieces of tissue paper which I stuck into the Glaz. I added Glaz on top of the paper where necessary, to make sure it's completely stuck down

Now, leave this to one side to dry

I decided to use a MDF frame for my egg shells

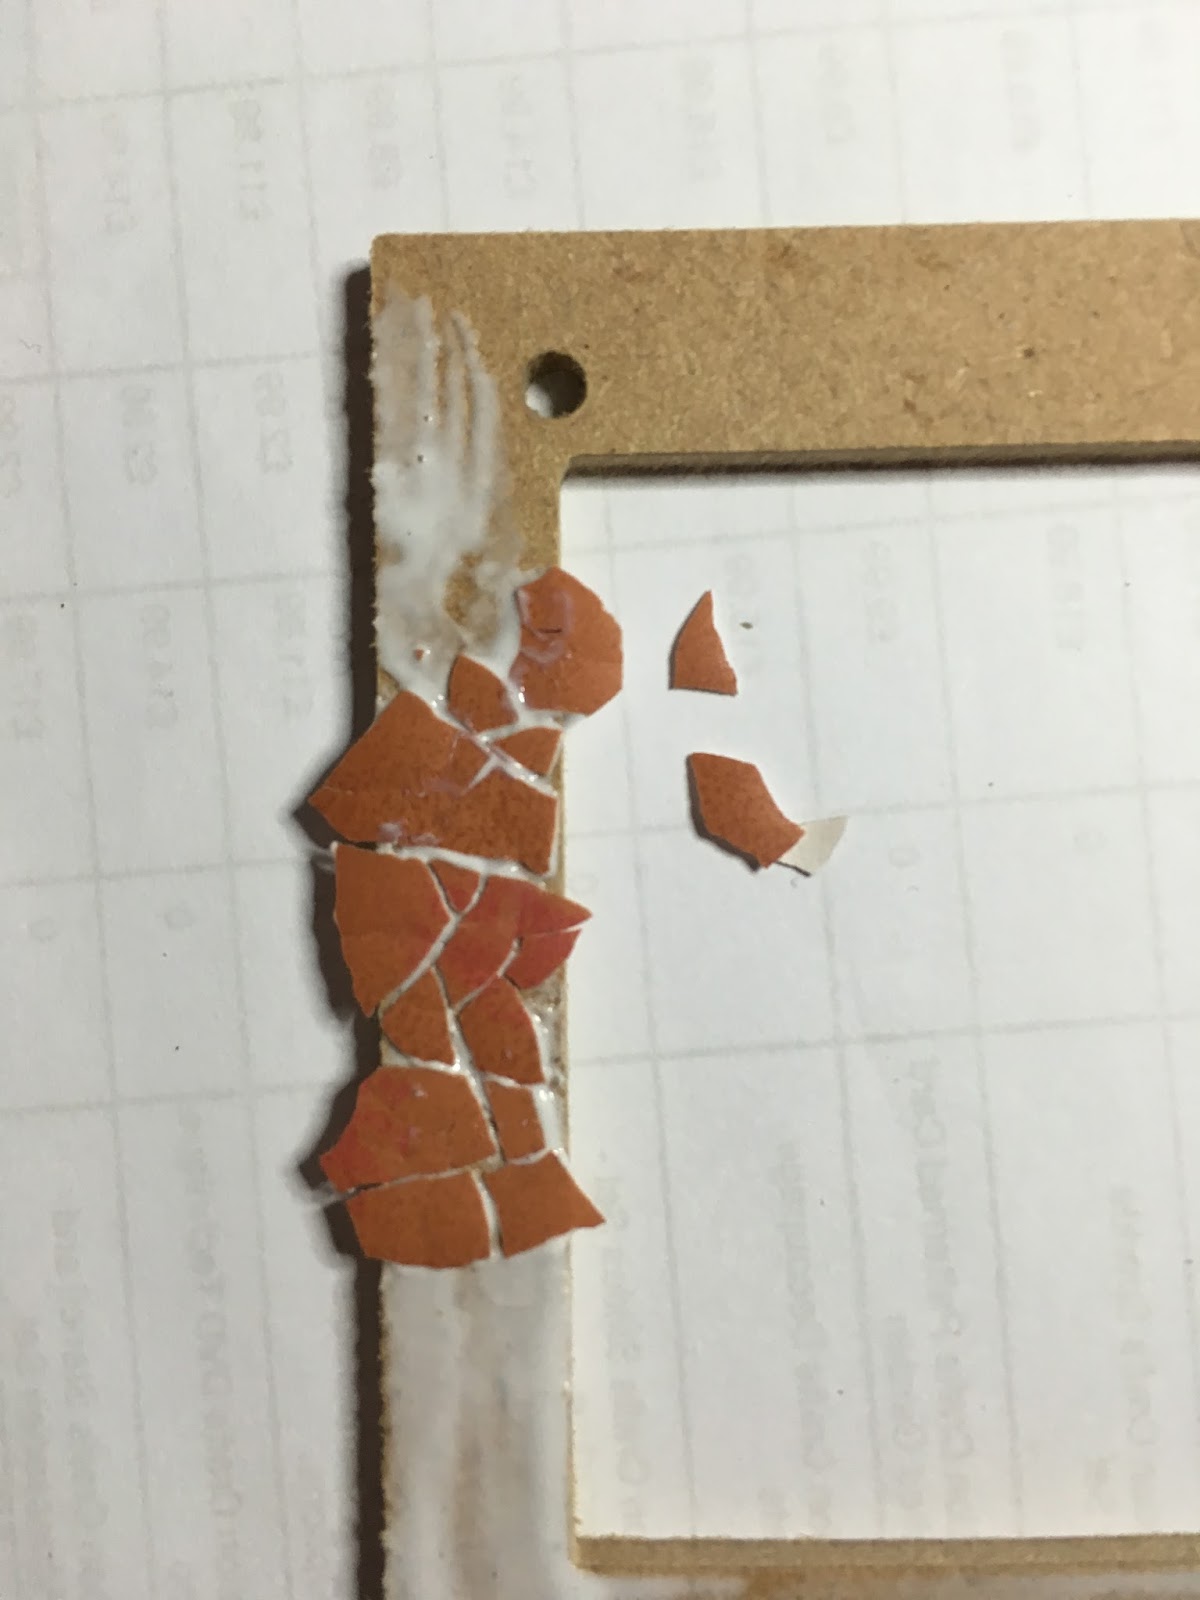
I used acrylic adhesive, this is one from Debbi Moore. I just did a little at a time, as the glue is strong, and quite quick drying.

Take your egg shell and lay it into the glue. Then squash it down onto the frame

It cracks, and basically gives you an instant mosaic! How cool is that. I used a cocktail stick to move it round and spread the shell out where required


It comes together really quickly. Don't worry about the glue being to thick, just try not to let it spill all over the shell

Even before it's painted I think it looks good


I had a look at the colours on the acetate sheet, to help me decide what colours I needed to use for my frame

I decided for warm reds and brown tones. I then added my alcohol inks. I haven't use these in such a long time. I love the way they move and spread

I used a nice red, butterscotch, and a brown.

I must admit, the colours arn't captured in the photo. They are very effective

I checked the background again, to make sure it looked okay. At this stage I was still unsure whether to use my background on the smooth shiny side, or the textured rough side


Next I took a little wood heart

If I add alcohol ink directly to it, because it's so porous, the ink just sinks into the heart. Apply a sealant to allow the alcohol ink to move and blend. I used Mod Podge.


The last item in the challenge, was rub ons. These are an old product, and Sheila was right, I've got some! The are still really creamy and worked beautifully. They are very similar in application and the results, to gilding wax

This is the frame before

And this is after the Rub Ons. You can see the sheen. You can see from this photo, I have also decided to go with the textured side of my acetate, and backed my frame onto black card

Now I started to layer. I popped a die cut

Then string

Some more foliage die cuts

And then I found a lovely button. Of course it needs alcohol ink.

I added this to the corner with Pinflair glue gel

I also added my wooded heart, and a little piece of lace

I dug out a spiral, and stampled the word love. I edged the card with the rub ons, and glued in place

And then changed my mind - and moved it. I also stamped Life, which I added on. I then decided to add Glossy Accents to my frame, heart and sentiments.

I added wire to the top of the frame, so it can be hung. And a few wire coils inside the frame.

Egg shell mosaic. Who knew it could be this cool!! Thank you for the challenge Shelia, if you send your address to me I'll get this in the post for you. My email address is leoniepujol@hotmail.co.uk

